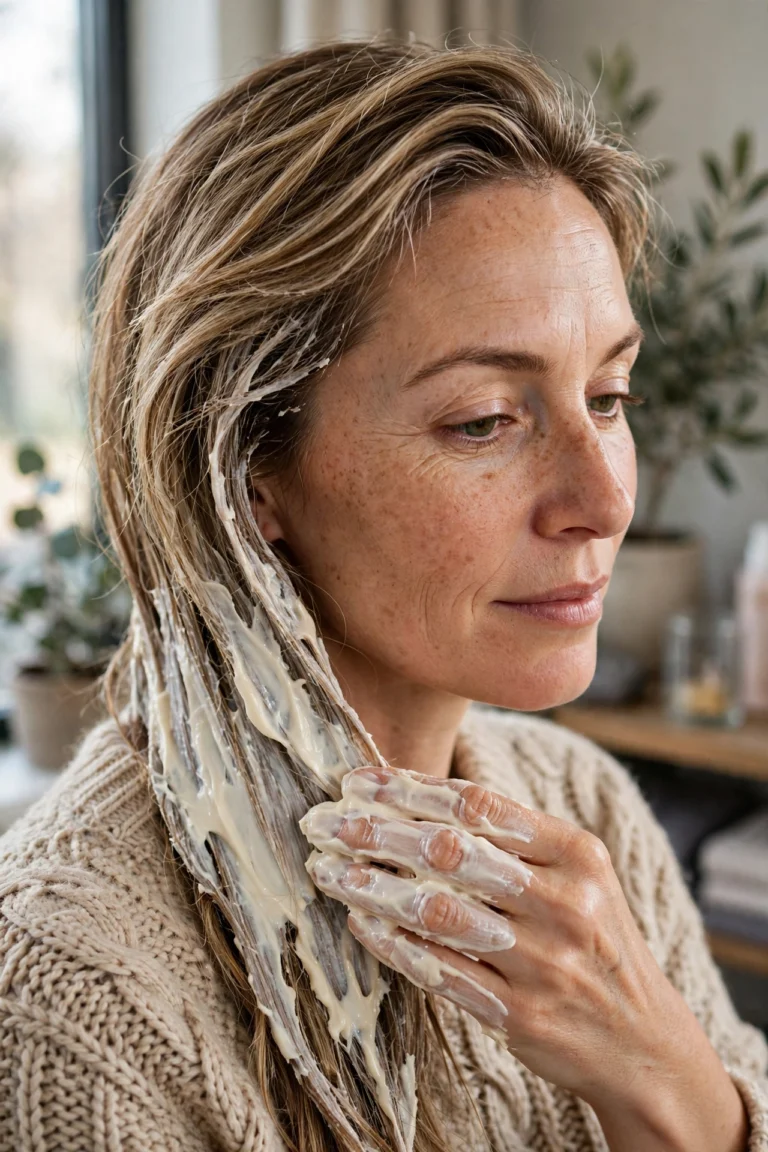
Glass Hair at Home: The Mirror-Shine Finish for Straight and Blow-Dried Hair
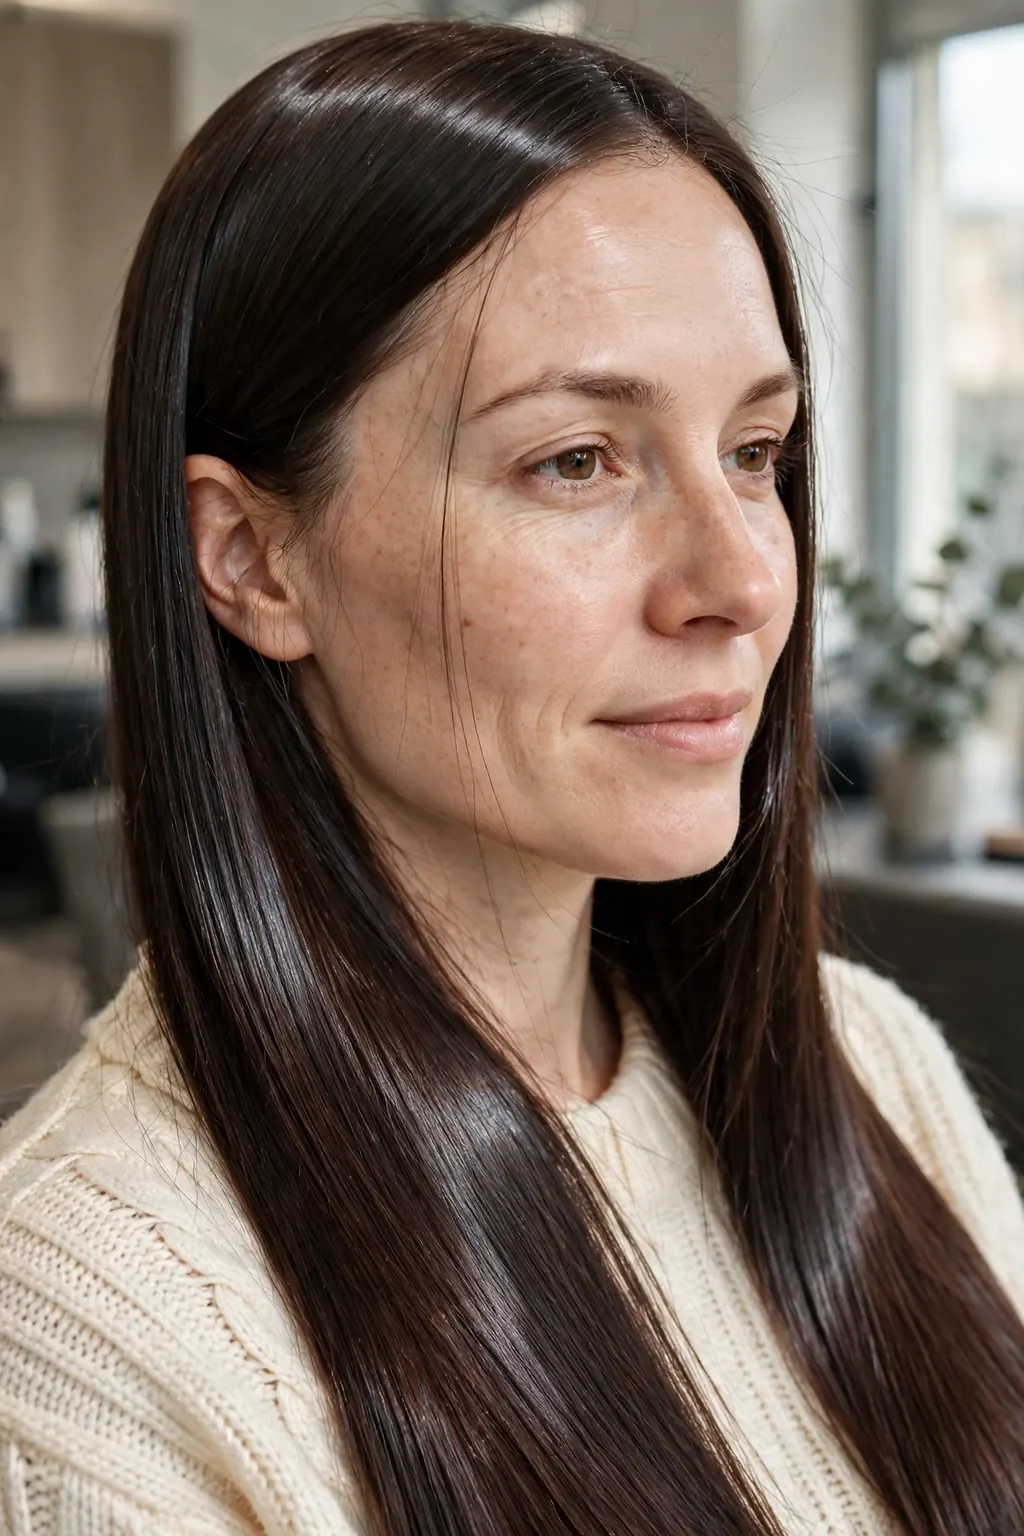
Glass hair is the finish where straight hair stops looking merely straight and starts looking like a surface — smooth, reflective, catching the light in one clean sheet instead of scattering it. You do not need a salon to get it. You need the right cut, a careful wash, a directional blow-dry, one disciplined flat-iron pass and a gloss layer applied in the right order. None of those steps is difficult on its own. The shine comes from doing all of them, in that order, without skipping the boring one in the middle.
Quick answer: Wash with a smoothing, sulphate-free shampoo, apply leave-in and heat protection to damp hair, blow-dry downwards in sections with a round brush, then take one slow flat-iron pass per section at a moderate temperature, and finish with a pea-sized drop of serum followed by a light shine spray. The routine takes about 30–40 minutes, and with the right sleep and refresh habits it lasts three days.
The Glass Standard: Cut and Condition Before Shine
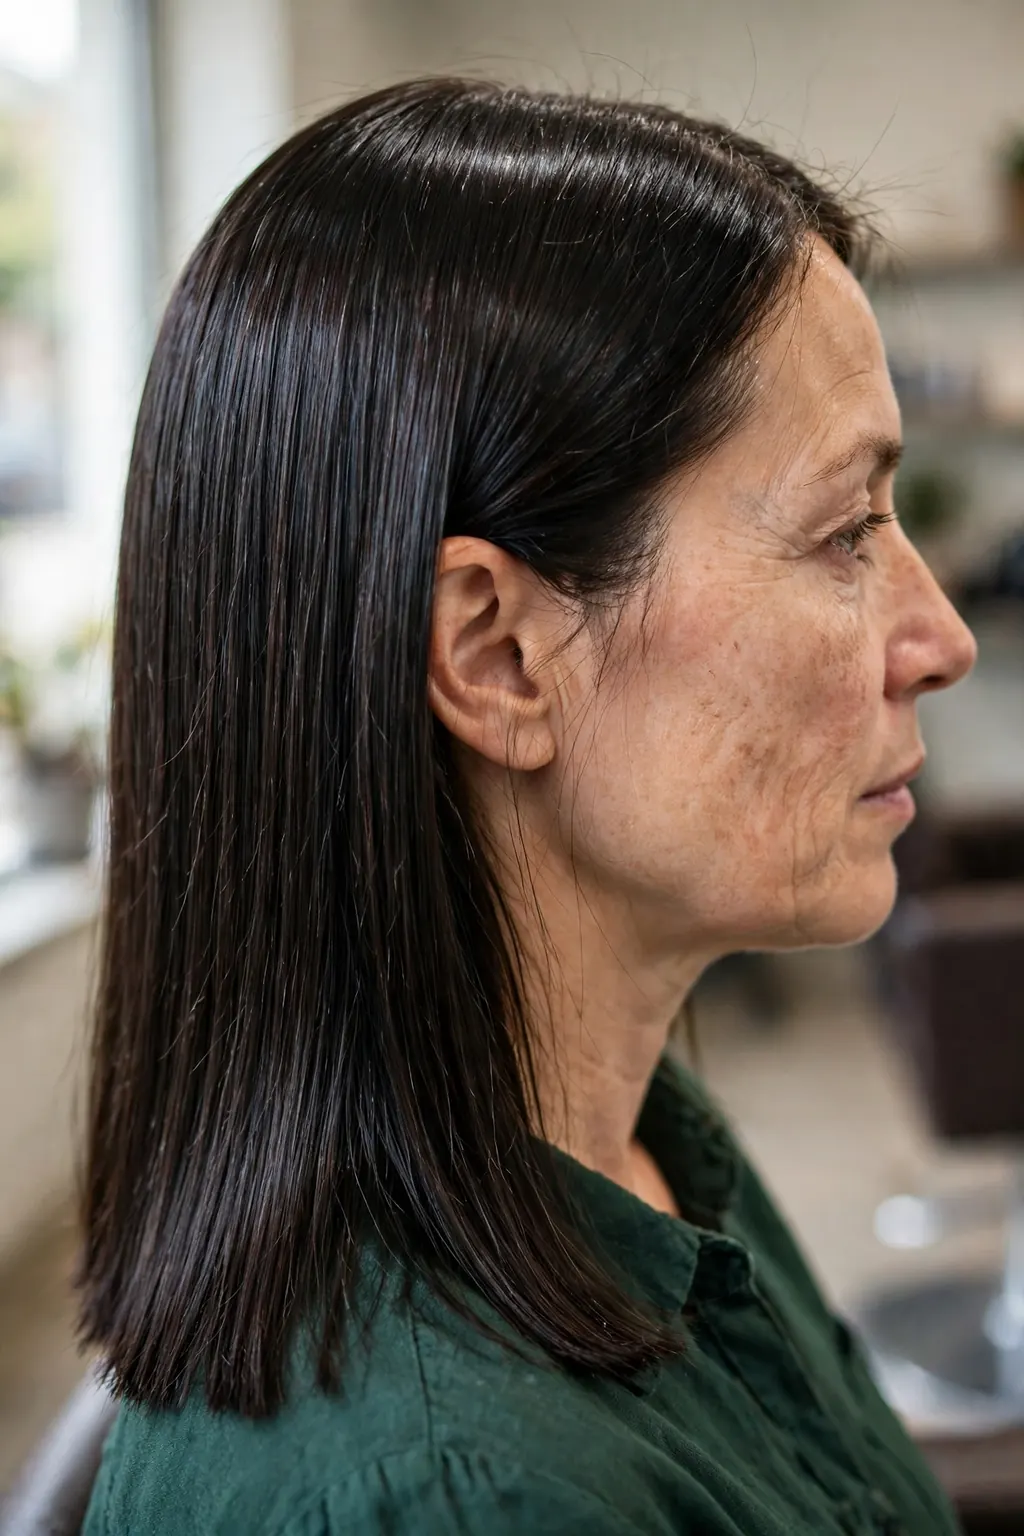
Shine is not a product. It is a surface, and a surface can only reflect light if it is smooth. Split ends, uneven layers and a ragged perimeter break the hair into tiny edges, and each edge scatters light in a different direction — that is what dull hair actually is. So the first step happens before any styling: the cut has to be clean, with a blunt or softly bevelled perimeter and layers long enough not to kick out. If your ends are frayed, no serum will make them reflective; a quarter-inch trim does more for the shine than a whole shelf of glosses.
The technique, step by step
Start with the trim, then deep-condition twice in the week before and skip heavy oils — they coat the hair and stop the blow-dry from gripping. On the day, the sequence is wash, leave-in, heat protection, blow-dry, flat-iron, gloss. Each step prepares the next; none replaces the one before it.
Common mistakes to avoid
Trying to iron shine into damaged ends — the heat just makes the frizz straighter and more visible. Using a shine spray before the flat iron instead of after it — it burns off and leaves a sticky film. And layering three glossing products at once: they build up, and build-up is the opposite of glass.
Products and tools that help
A smoothing shampoo and conditioner, a weekly deep mask, a lightweight leave-in, a heat protectant spray, a round brush, a flat iron with adjustable temperature, a pea-sized serum and a fine-mist shine spray. That is the whole kit.
Wash and Prep: Building a Smooth Canvas
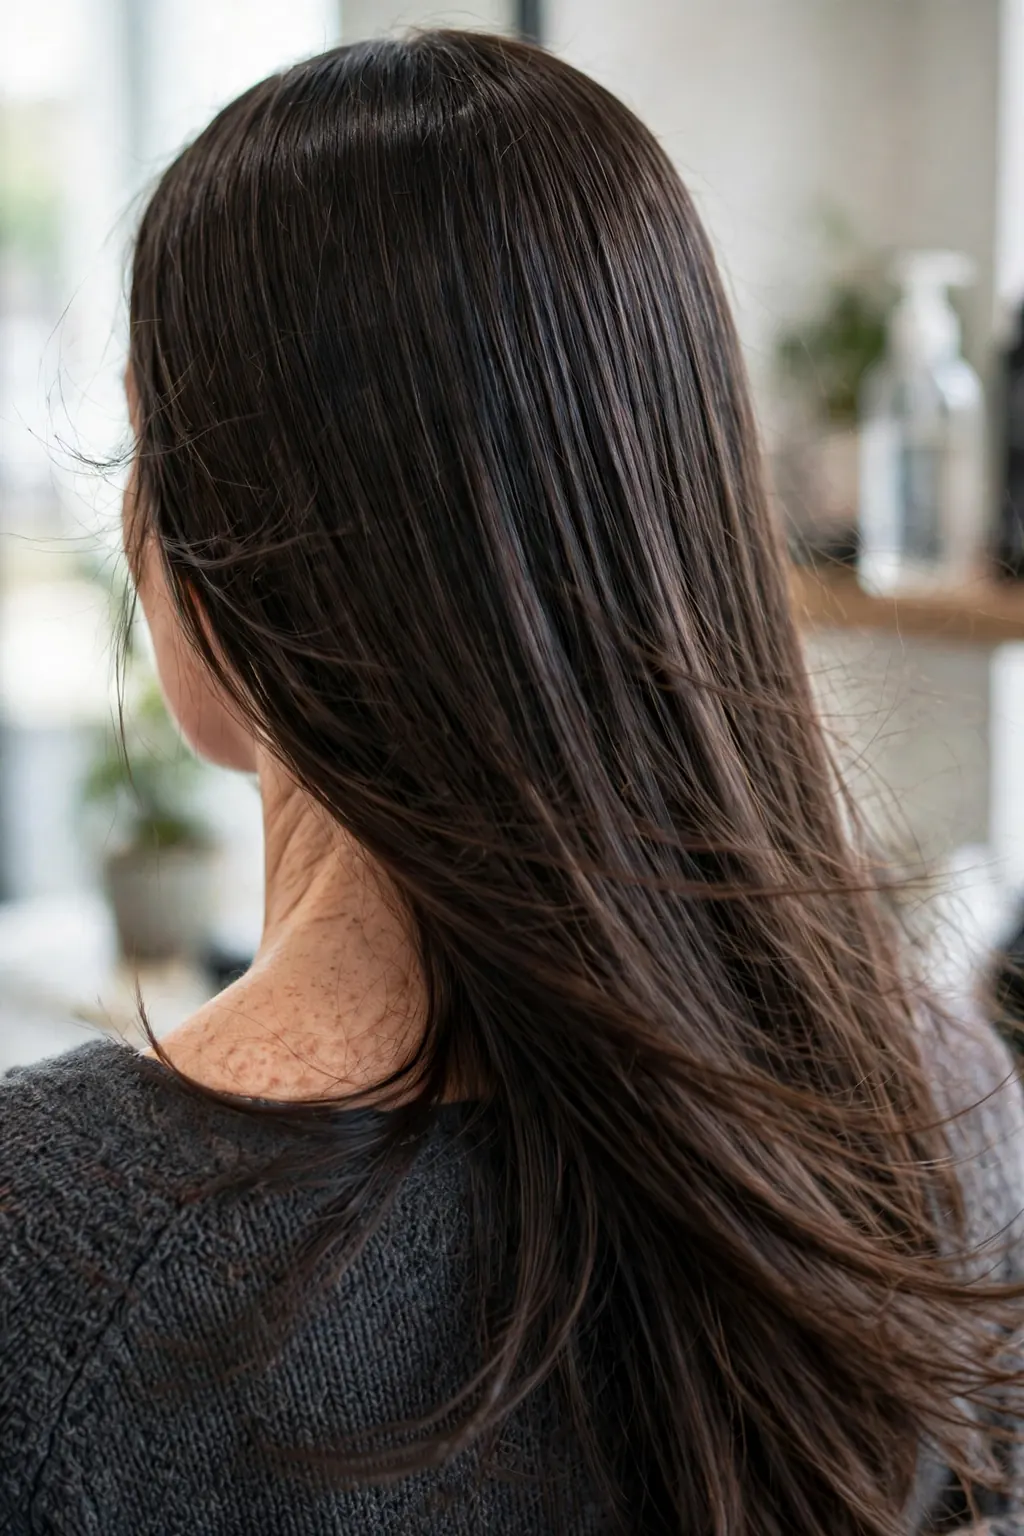
The wash is where the glass finish is won or lost, and it is won quietly. Shampoo twice: the first wash lifts oil and build-up, the second actually cleans the scalp and lengths. Rinse with lukewarm water — hot water swells the cuticle and roughens the surface you are trying to smooth — and finish with a cool rinse, which helps the cuticle lie flat. Condition from mid-lengths to ends only; conditioner on the roots flattens the crown and makes the top go greasy by midday, which reads as dull, not shiny. Towel-dry by squeezing, never rubbing, then detangle from the ends up and apply leave-in and heat protectant evenly, section by section.
Best for: hair types and face shapes
Glass hair suits straight and gently wavy hair best, because it already wants to lie in one direction, and it suits every face shape — a blunt glass bob frames a round face, long glass lengths elongate it. Thick hair holds the finish longest; fine hair can wear it too, but needs lighter products and less serum.
The exact salon wording
“I want a glass finish — a blunt, clean perimeter with the ends bevelled so the hair falls in one sheet, and I want to keep the length. No short layers that kick out, and please check the ends in daylight before we finish.” Salon lighting hides split ends, and split ends are what break the shine.
Maintenance schedule
Deep-condition once a week, clarify once a fortnight to remove build-up, and trim the ends every six to eight weeks. A glass finish is a maintained finish — the shine fades as the ends wear, and the trim is what brings it back.
The Directional Blow-Dry, Step by Step
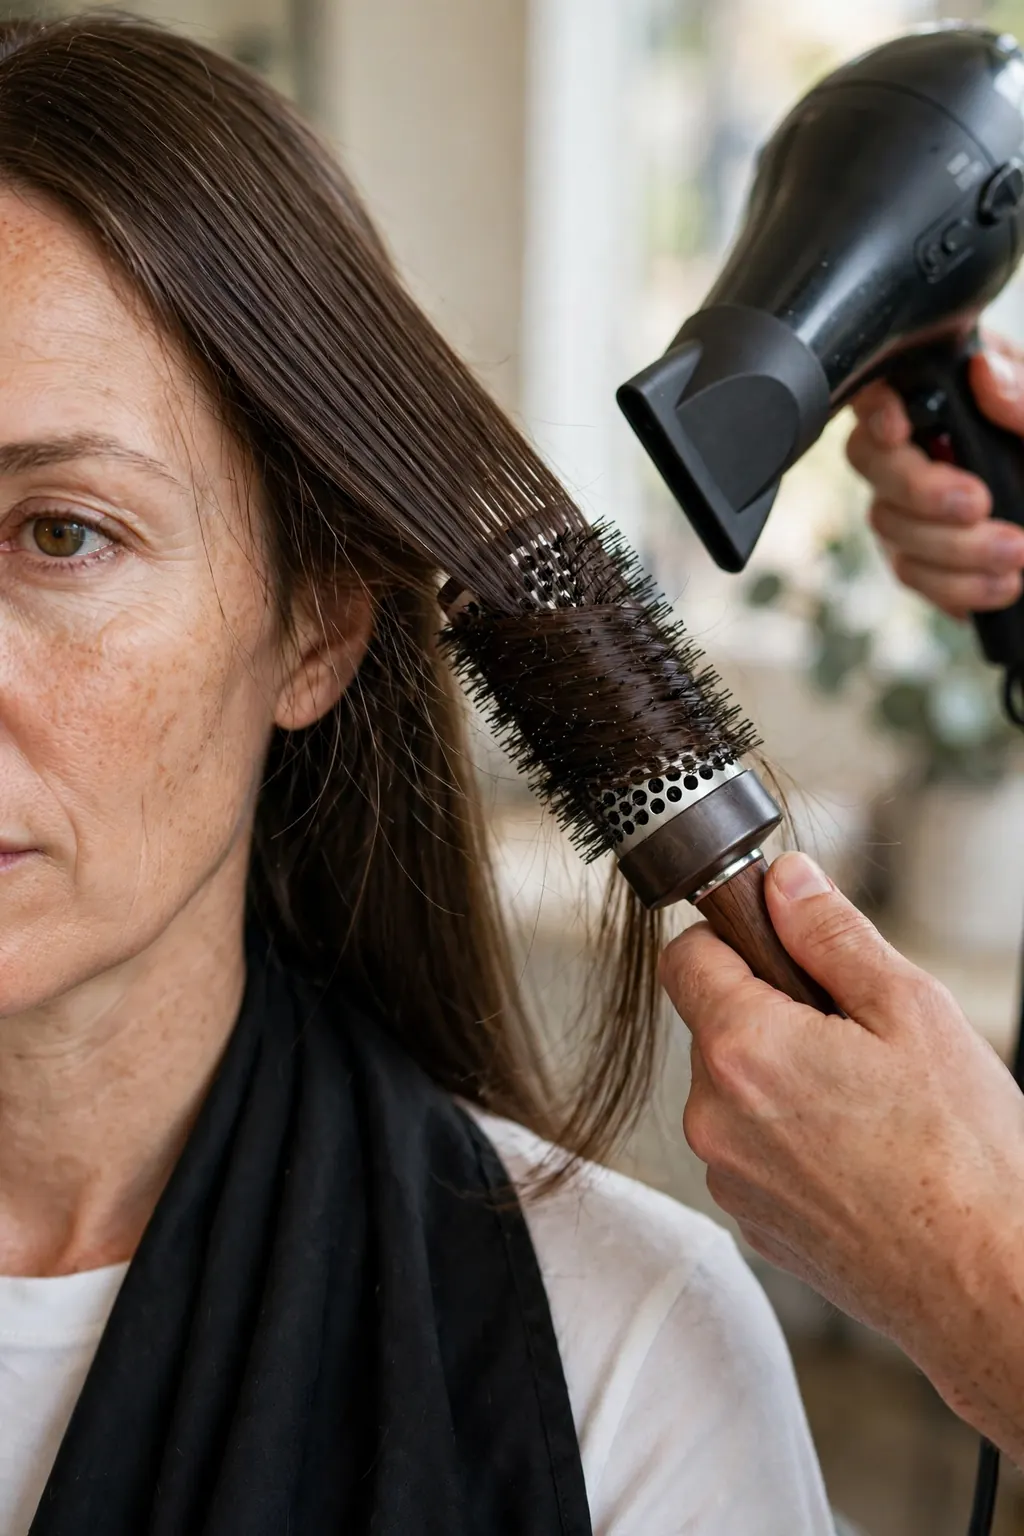
The blow-dry is the step most people rush, and it is the step that does most of the work. The rule is one word: downwards. Air should always travel from roots to ends, in the direction the cuticle lies, so it presses the cuticle flat instead of lifting it. Point the nozzle down the hair shaft, never up at it, and keep the dryer moving — parked heat in one spot creates a bend you will have to iron out later. Work in sections and dry the roots first, pulling each section taut with a round brush, and finish each section with ten seconds of cool air to set the cuticle flat.
What it looks like in real life
Done well, the hair after the blow-dry alone is already 80% of the way there: smooth, straight, with a soft sheen, and the ends curving gently under instead of flicking out. If it still looks puffy or wavy, the flat iron will not save it — re-dampen the section and dry it again with more tension. The flat iron is a finishing tool, not a rescue tool.
Variations worth trying
A paddle brush instead of a round brush for very long hair — faster, and it keeps the lengths straighter. Drying with the head tilted forward for extra root lift, then flipping back and smoothing the top layer over it. And for the sleekest result, drying each section twice: once to 90% dry, then a second, slower pass — the second pass is where the real smoothness happens.
When to skip it
Skip the full directional blow-dry when the hair is already very straight and fine — a rough-dry with the nozzle pointed down, then a single flat-iron pass, is enough, and the extra brush work can flatten fine hair too much. Skip it too when you are short on time: a half-hearted directional dry, rushed and uneven, gives a worse result than a simple rough-dry followed by the iron.
Flat-Iron Passes Without Frying the Ends
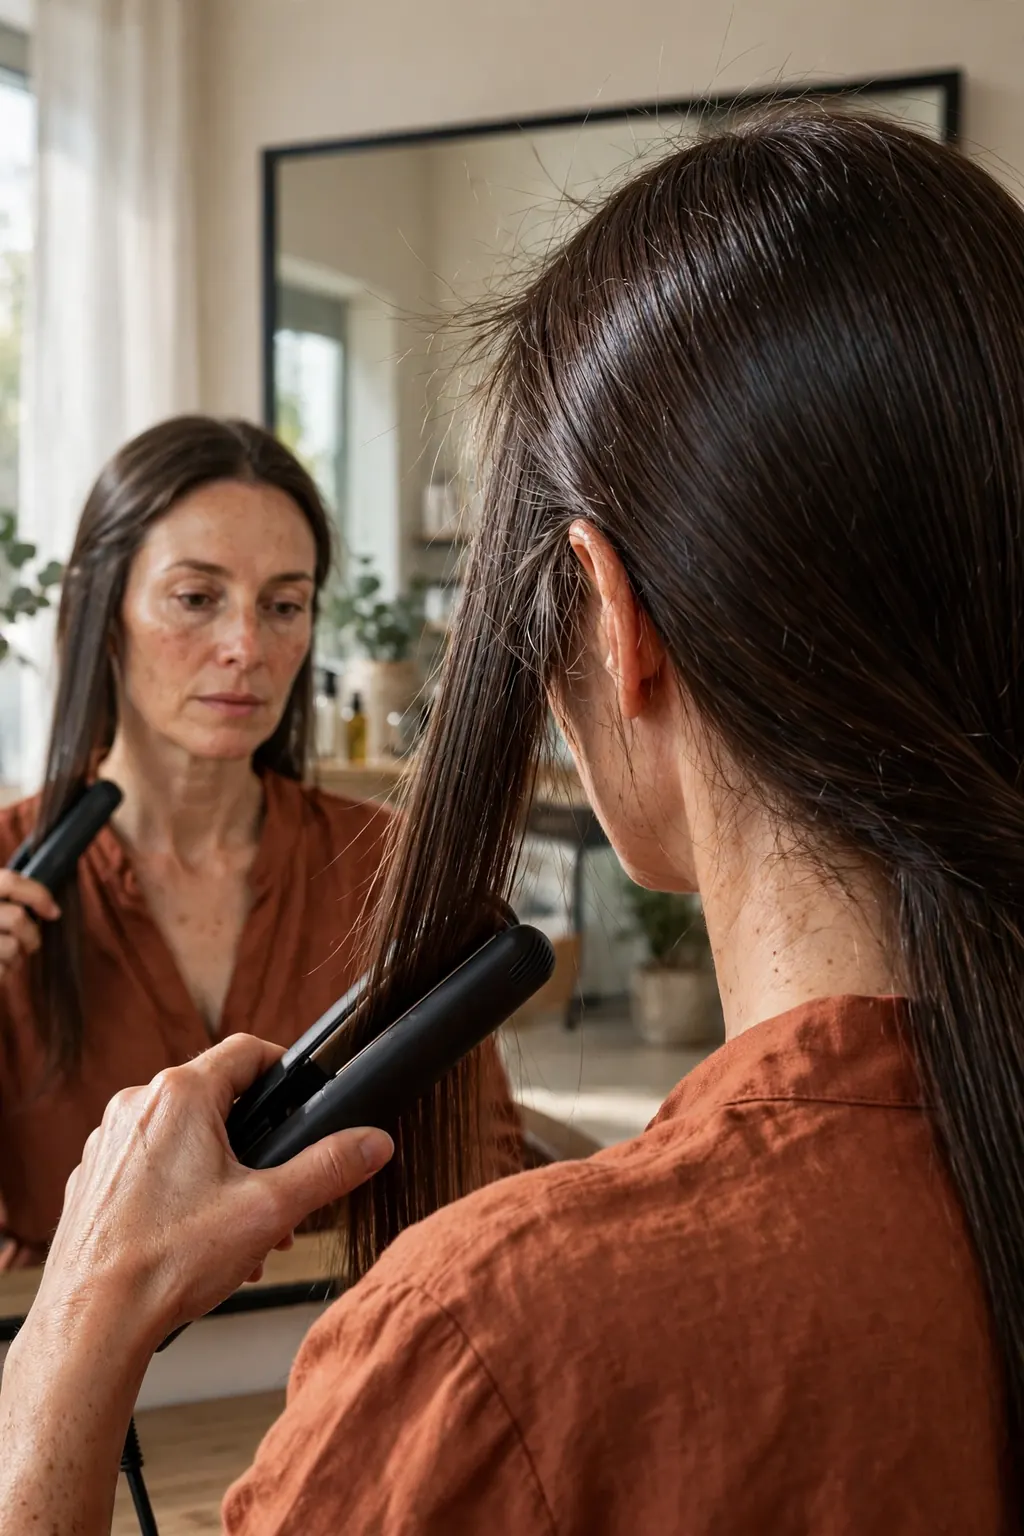
The flat iron is where glass hair gets its name, and it is also where it gets ruined. The rule is one slow pass, not five fast ones. Set the temperature to the lowest that works — fine hair around 150–170°C, medium hair around 180°C, thick or coarse hair up to 200°C — and test it on one underneath section first. Take thin sections, about an inch wide, and pass the iron down each one slowly and steadily, from root to tip, without stopping mid-length. Stopping leaves a dent, and a dent in a glass finish is visible from across the room.
Who it suits best
Anyone with straight or blow-dried hair who wants a polished finish for a day or three — work, weddings, photographs, any day the hair needs to look deliberate. It suits thick hair especially well, because the weight holds the iron’s work. Fine hair suits it too, at a lower temperature and with a lighter hand.
How to ask for it (or do it at home)
At the salon, say “one slow pass, lowest temperature that works, and please check the ends — I want glass, not fried.” At home, the discipline is the same: thin sections, one pass, cool the section before you touch it. If a section needs a second pass, let it cool first and use a lower temperature.
Styling and upkeep
After ironing, do not brush the hair — brushing breaks the sheet into separate strands and the shine goes with it. Run your fingers through it once, lightly, and leave it alone. If a section kinks during the day, re-iron just that section with a single pass rather than redoing the whole head.
The Gloss Layer: Serums, Sprays and Order of Application
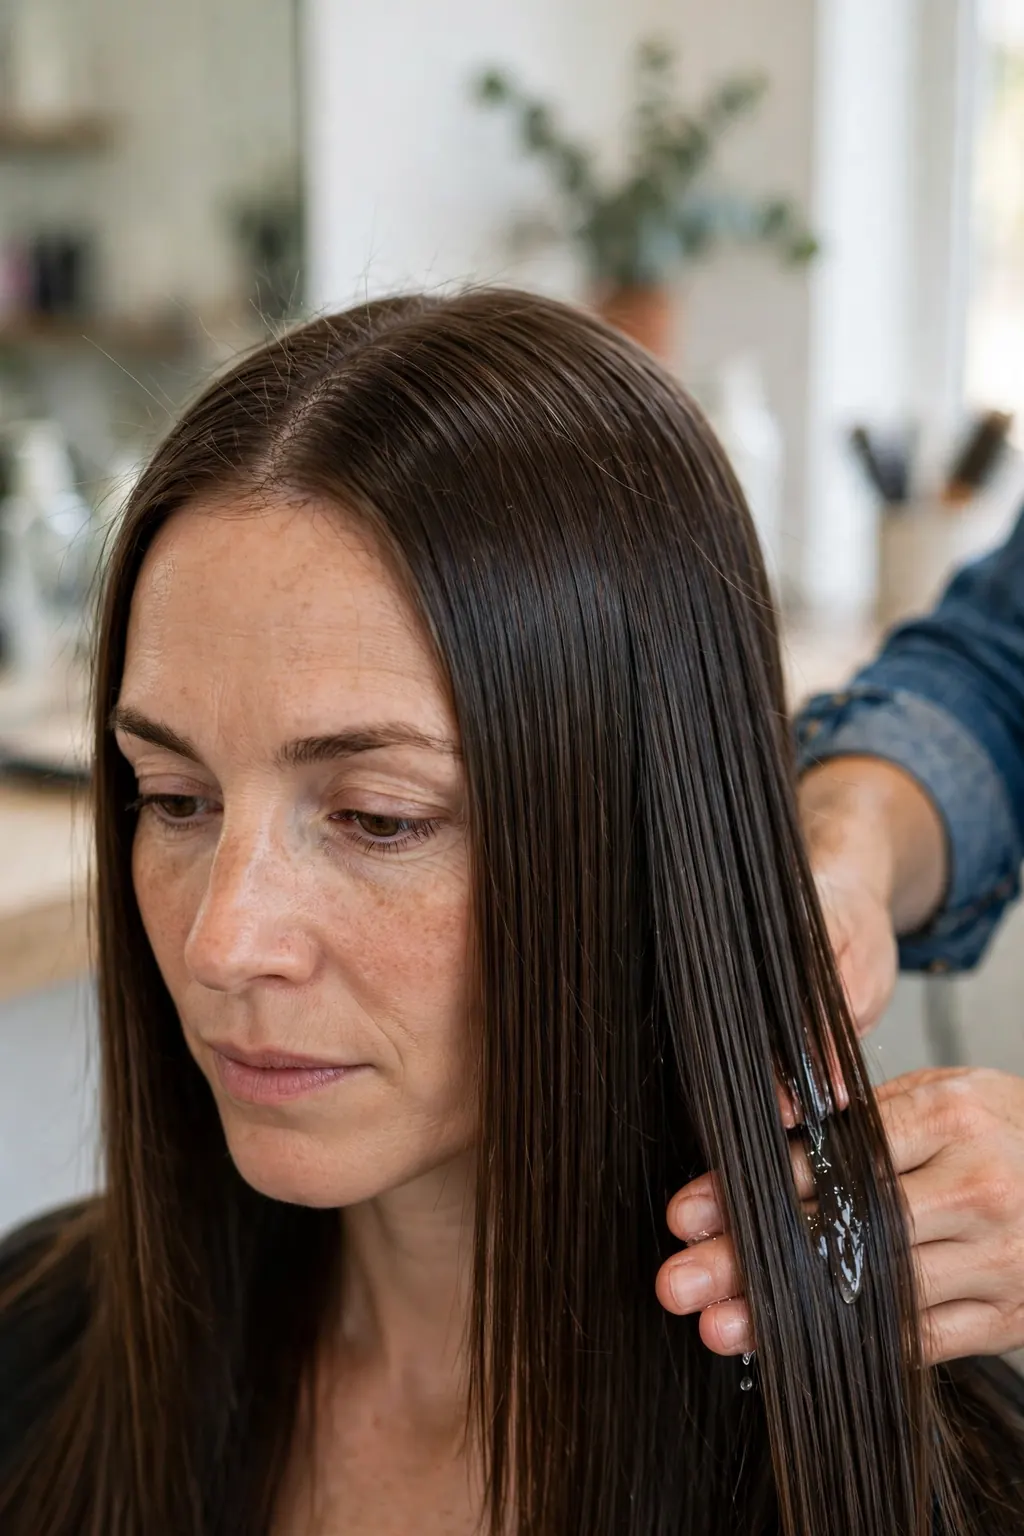
The gloss layer is the smallest step and the most commonly overdone. The order is fixed: serum first, on the lengths and ends only, while the hair is still warm from the iron — the warmth helps it spread thinly and evenly. Use a pea-sized drop, warm it between your palms, and press it through the mid-lengths and ends, never the roots. Then, and only then, the shine spray: a fine mist from arm’s length, one pass over the top layer, and no more. The spray is a topcoat, not a treatment; its job is to catch the light, not to condition the hair.
The technique, step by step
Warm one pea-sized drop of serum between your palms. Press — do not rub — it through the lengths and ends, then smooth the top layer with the flat of your hands. Hold the shine spray at arm’s length and mist once over the crown and the top layer. Wait thirty seconds, then look at the hair in daylight: if it reflects in one clean sheet, you are done.
Common mistakes to avoid
Applying serum to the roots, which makes the crown go greasy within an hour. Using a shine spray as a heat protectant before ironing — it is not one, and it burns. And mixing a heavy oil with a shine spray: the two together weigh the hair down and kill the movement that makes glass hair look alive rather than lacquered.
Products and tools that help
One lightweight silicone-based serum, one fine-mist shine spray, and nothing else in the gloss step. A glossing mask once a week supports the finish from underneath, but it belongs in the wash, not in the styling. Keep the gloss shelf small — two products, used sparingly, beat five products used heavily.
Glass Bob vs Glass Lengths: Where Shine Reads Best
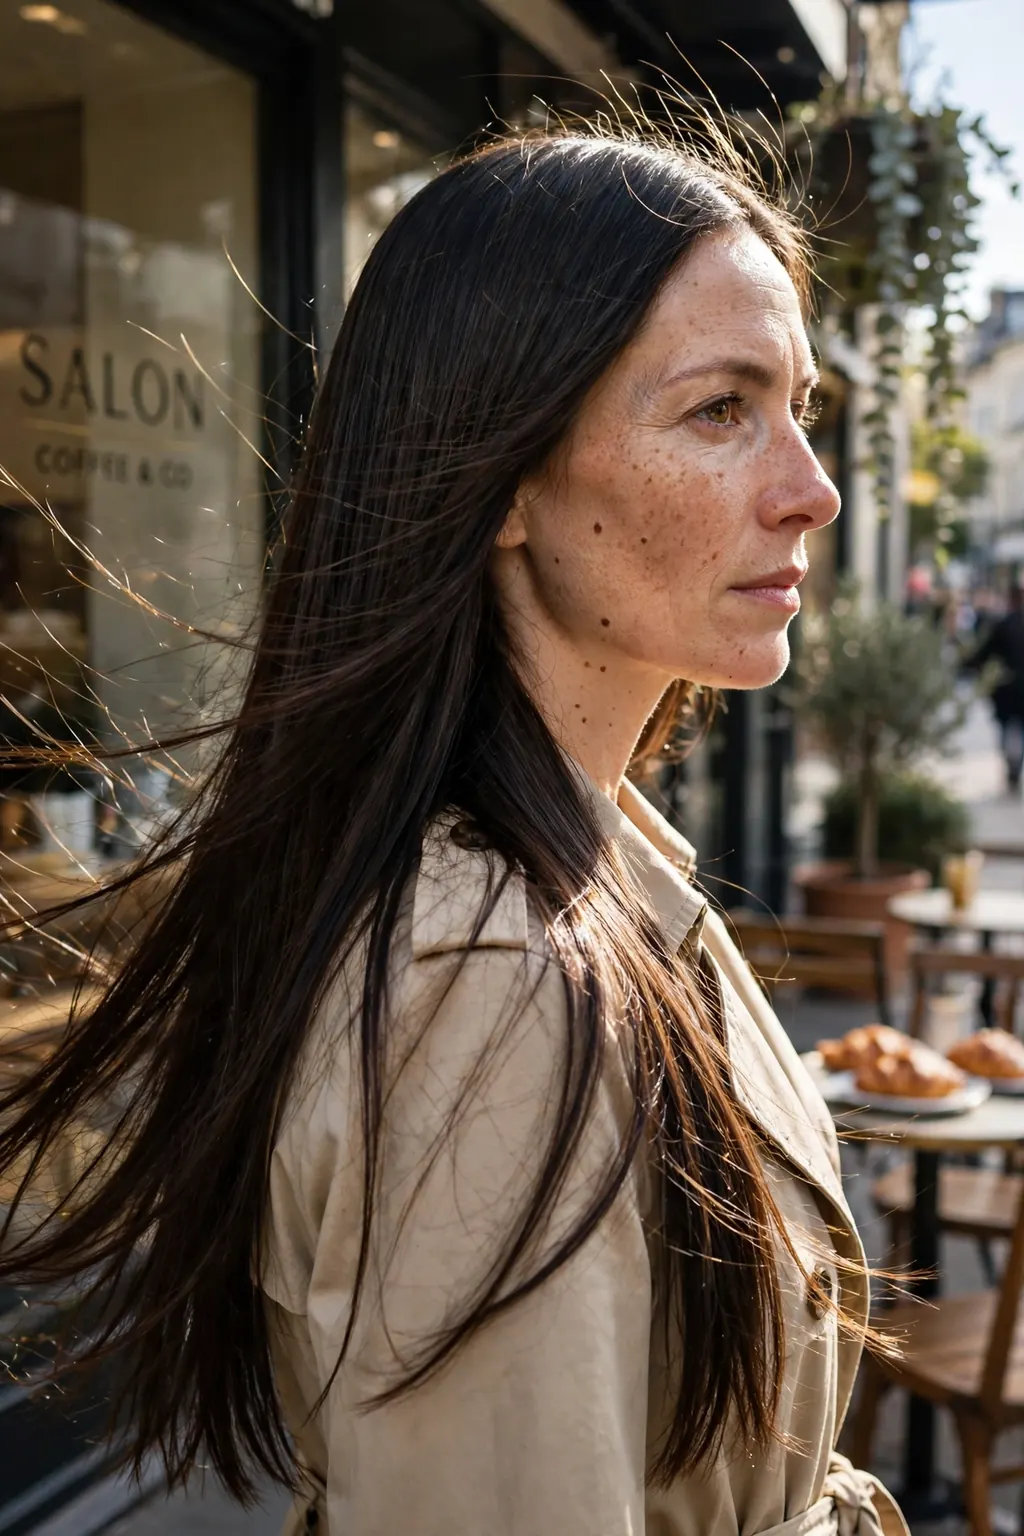
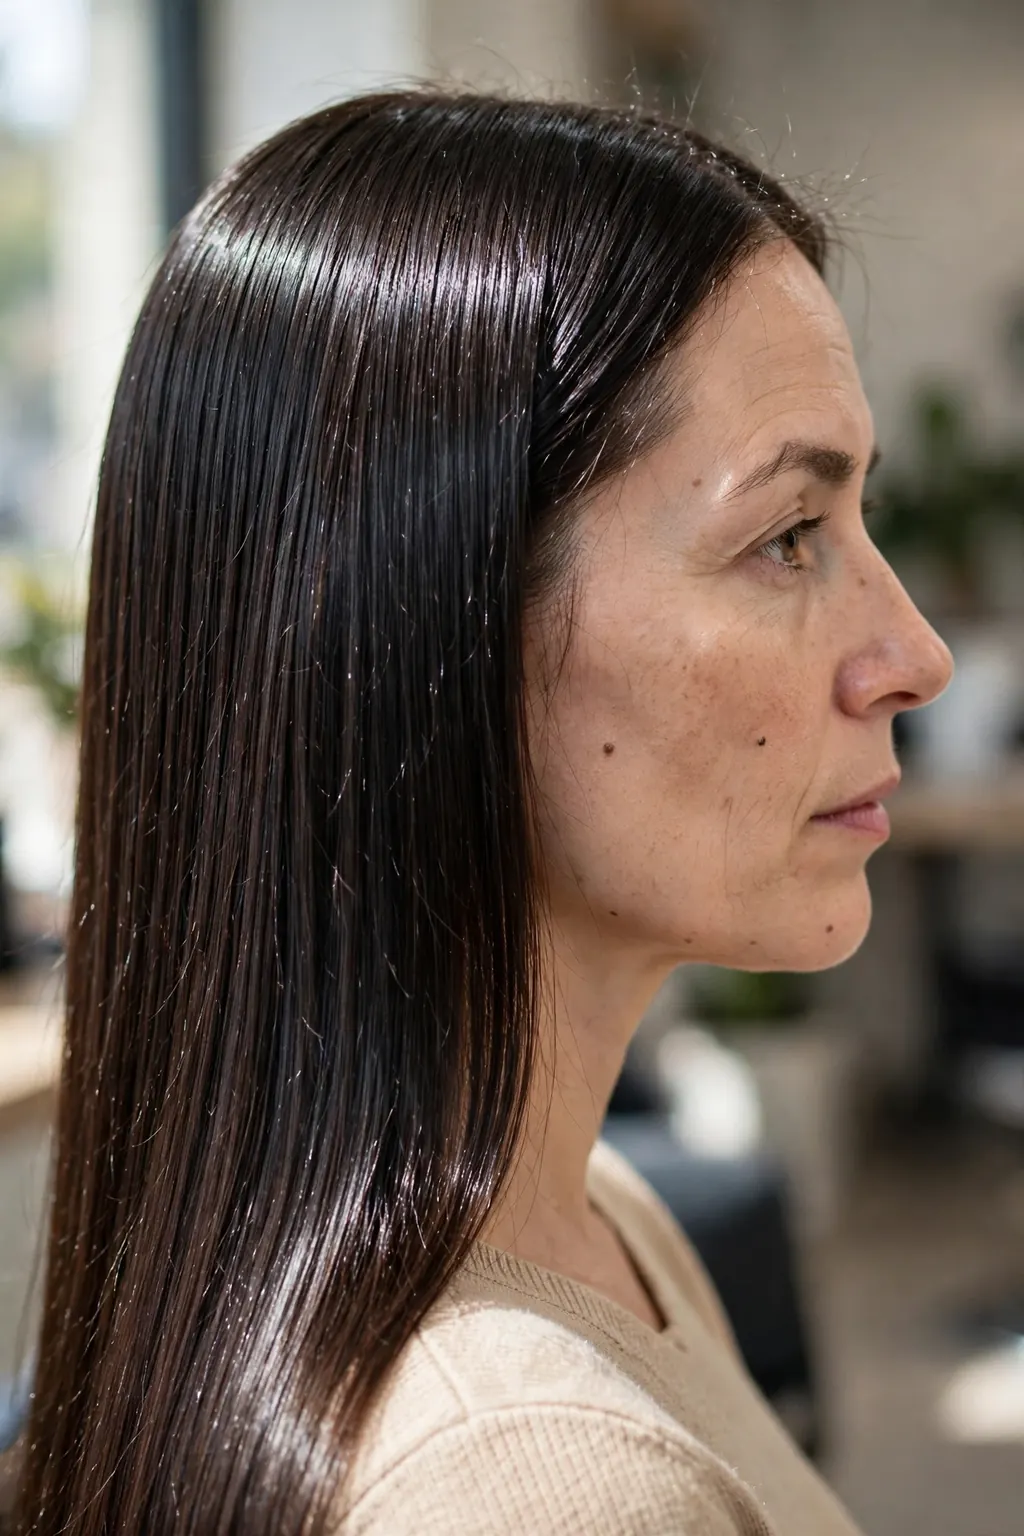
The same finish reads differently at different lengths. A glass bob — chin to shoulder length, blunt, bevelled — shows the shine as a sharp, graphic edge: the light hits the perimeter and the whole cut reads as one polished shape. It is the most striking version, and the easiest to maintain. A glass length — past the shoulders, long and straight — shows the shine as movement: the light travels down the hair as you move, and the finish reads softer, more expensive, less severe. Neither is better; the bob suits a reader who wants the finish to be the statement, the lengths suit one who wants the shine to be quiet.
Best for: hair types and face shapes
The glass bob suits oval, square and heart faces, where the blunt edge frames the jaw, and it suits fine hair well, because the short length gives it weight it would not have long. Glass lengths suit round and long faces, where the vertical line elongates, and thick hair, which has the weight to hold the finish. If you are deciding between them, see the cuts that show this finish best in our shoulder-length hairstyles guide.
The exact salon wording
“I want the glass finish — mirror shine, blunt perimeter, ends bevelled under. If we go bob, keep it at the jaw or just below; if we keep the length, I want long layers that stay inside the silhouette, nothing that kicks out.” Say the length out loud with your hand on your own hair, so the stylist sees exactly where you mean.
Maintenance schedule
A glass bob needs a trim every five to six weeks to keep the edge sharp; a glass length can go eight weeks, because the shine hides a slightly worn end better at length. Both need the weekly deep-condition and the fortnightly clarify, and both need the gloss layer refreshed on day two and day three — the routine in the next section.
What to ask your stylist: “I want a glass finish at home, so I need a cut that does half the work — a clean perimeter, ends bevelled under, and no short layers that kick out. Can you show me where the shine will break if the ends wear, and how often I should come back for a trim to keep it? I would rather keep the length and trim more often than lose the length to fix the ends later.”
Making It Last 3 Days: Sleep and Refresh Rules
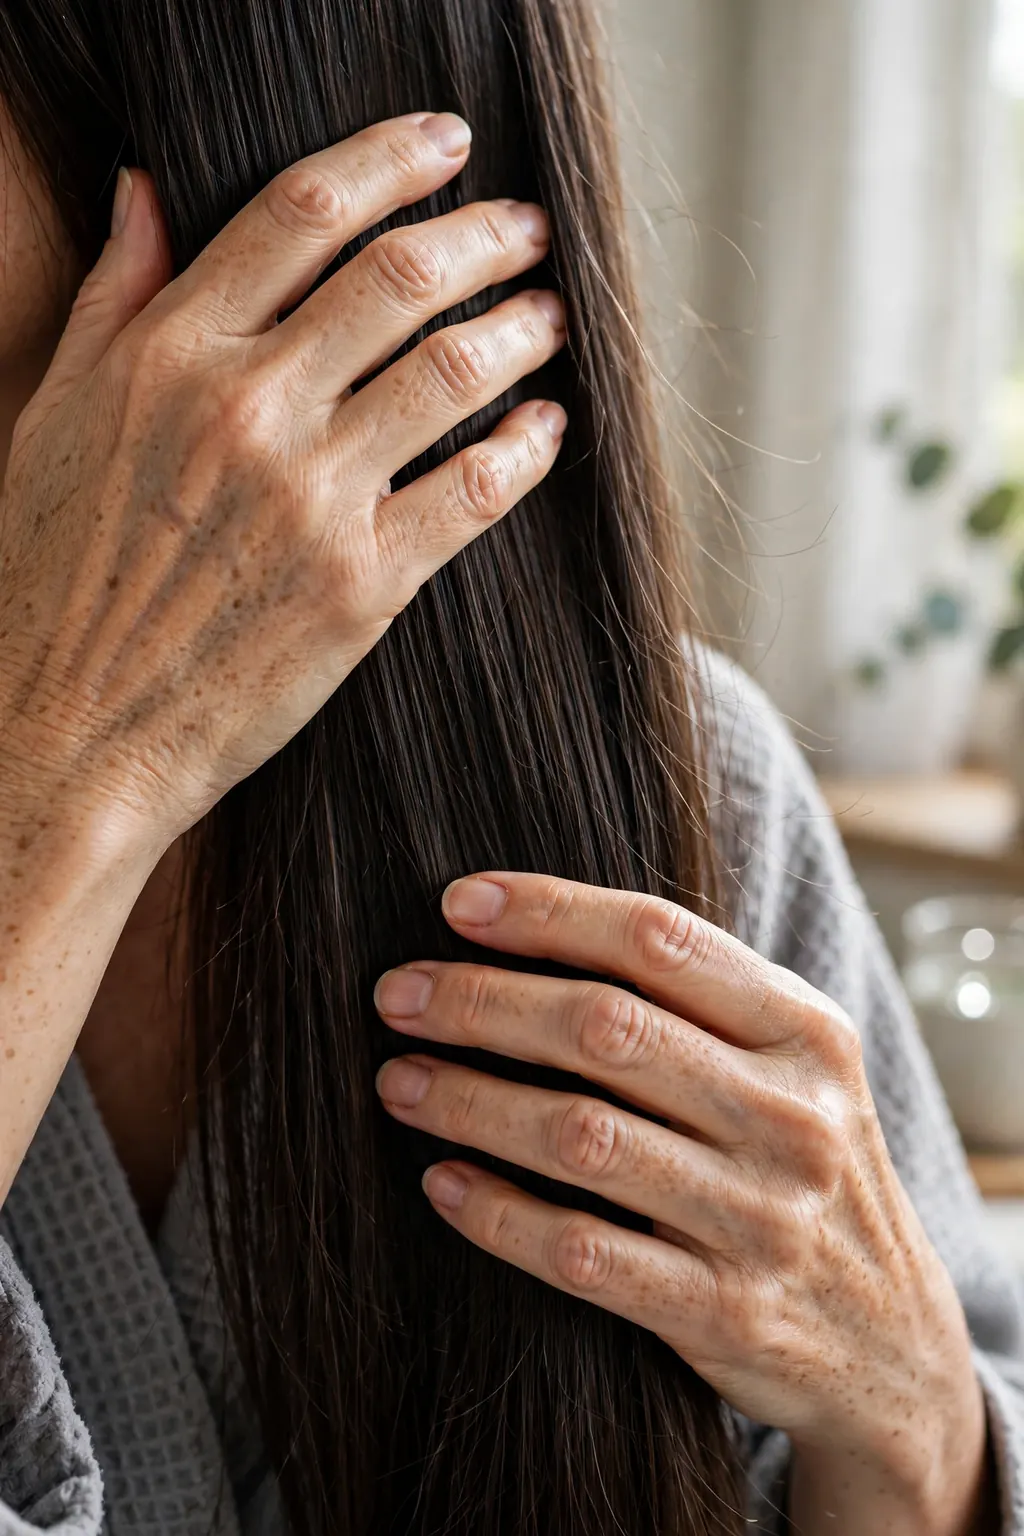
Glass hair is a one-day finish unless you protect it at night, and the protection is simple. Sleep on a silk or satin pillowcase, or wrap the hair loosely in a silk scarf — cotton creates friction, and friction is the enemy of a smooth cuticle. Gather the hair into a very loose, low ponytail with a silk scrunchie, or braid it loosely, so it does not tangle while you sleep. Never sleep with the hair wet, and never tie it tight: a tight tie leaves a dent that no morning smoothing will fully remove. In the morning, the refresh takes five minutes: re-iron only the sections that have bent, a tiny drop of serum on the ends, and dry shampoo at the roots on day three.
What it looks like in real life
Day one is the mirror finish. Day two is a softer version — still smooth, still shiny, with a little more movement. Day three is polished hair rather than glass hair: smooth, tidy, with the shine concentrated in the lengths. That is a good result, not a failure — three days from one styling session is the whole point of the routine, and by day three the hair is ready for its next wash anyway.
Variations worth trying
A loose topknot on day two, using the glass finish as the base — the smoothness makes the knot look deliberate rather than messy. A low, sleek ponytail on day three, when the roots need dry shampoo and the lengths still shine. And for the fastest refresh of all, a silk wrap for twenty minutes before you go out: the warmth and the smooth surface re-set the top layer without any heat.
When to skip it
Skip the three-day stretch in humid weather or after a workout — sweat and humidity break the finish from the inside, and no amount of re-ironing will bring back a finish that has absorbed moisture. Skip it too if the hair is fine and goes flat by day two: for fine hair, two days is the honest limit, and a day-two wash with a quick re-style looks better than a day-three stretch that has gone limp.
Troubleshooting: Puffy Roots, Dull Ends, Greasy Crown
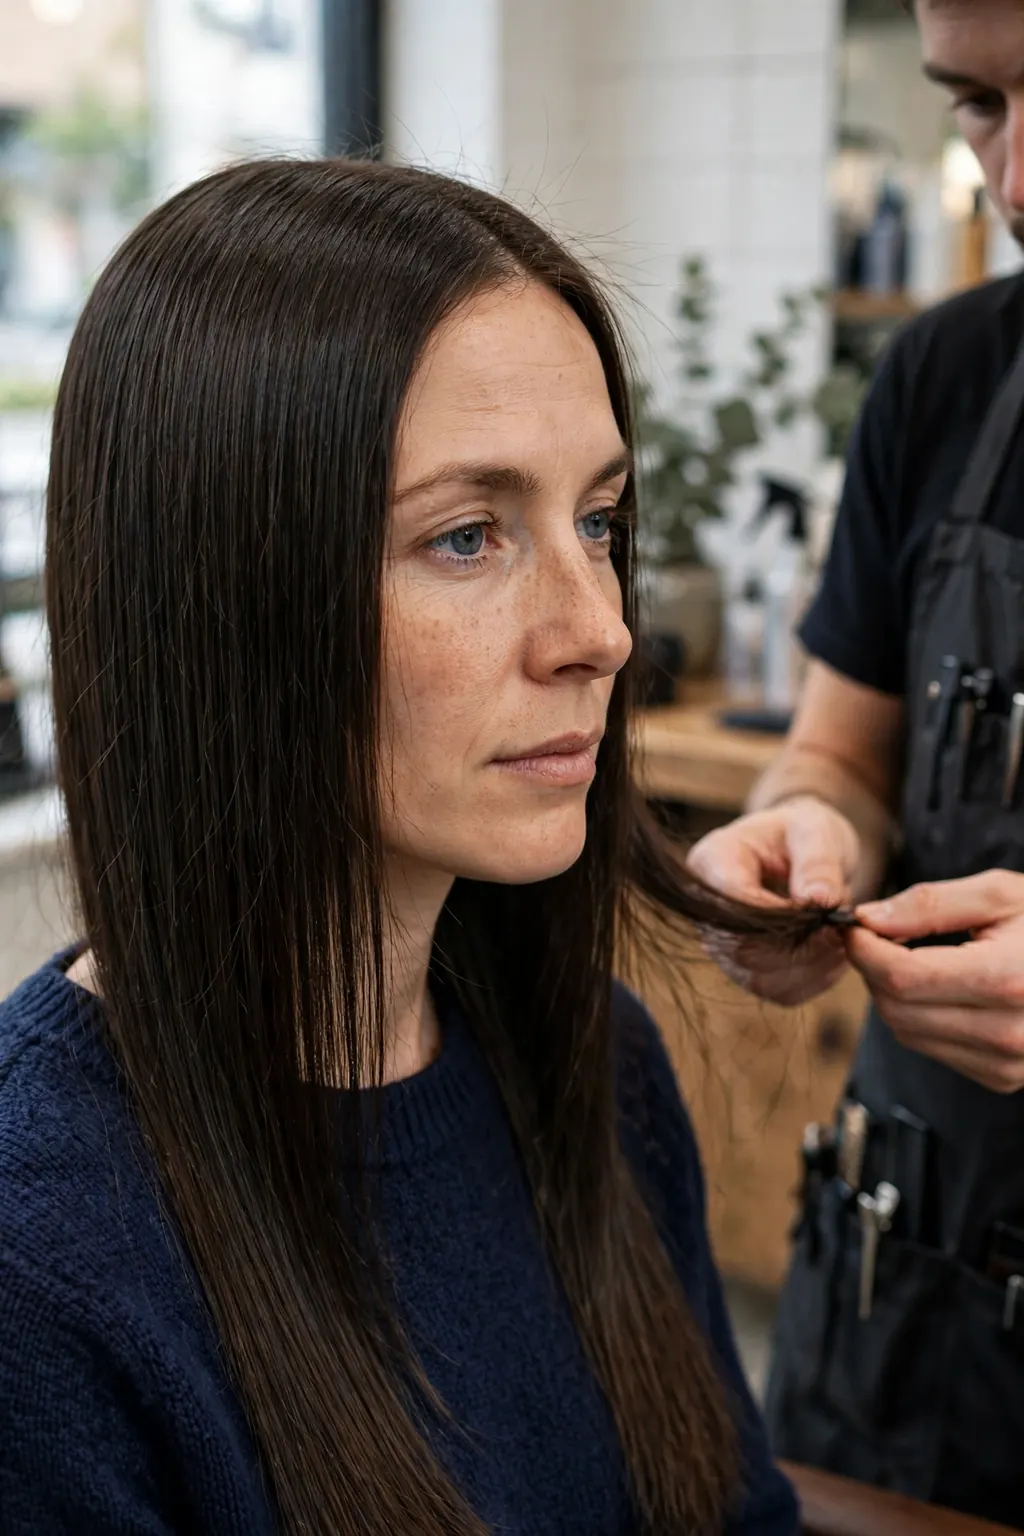
Three problems cause almost every glass-hair failure, and each has a different fix, so diagnosing correctly matters more than trying harder. Puffy roots mean the roots were not dried with enough tension, or the hair was dried upwards instead of down — the fix is to re-dampen the roots and dry them again, nozzle down, with the brush pulling the hair taut. Dull ends mean the ends are damaged or the iron temperature was too low. A greasy crown means product on the roots, and the fix is dry shampoo at the roots and no product there next time.
Who it suits best
This section suits the reader who has tried glass hair once and been disappointed — which is most readers, the first time. The finish is a system, and a system fails at its weakest step. Finding that step is the whole skill, and it is usually the wash, the blow-dry direction or the product on the roots, not the flat iron.
How to ask for it (or do it at home)
At home, change one thing at a time: if the roots are puffy, fix the blow-dry direction first and change nothing else. If the ends are dull, try the trim before you try a hotter iron. At the salon, describe the failure exactly — “the roots puff, the ends go dull by evening” — rather than asking for “more shine”, because “more shine” gets you more product, and more product is usually the problem.
Styling and upkeep
Keep a small log for the first month: wash, products, iron temperature, how the finish looked on day one and day three. After three or four washes you will know your own recipe — your temperature, your serum amount, your refresh routine — and the finish stops being a project and becomes a habit. That is when glass hair gets easy.
Frequently Asked Questions
What products do you need for glass hair?
A smoothing shampoo and conditioner, a weekly deep mask, a lightweight leave-in, a heat protectant spray, a flat iron with adjustable temperature, a pea-sized serum and a fine-mist shine spray. That is the whole list — the finish comes from the sequence (wash, blow-dry down, one slow iron pass, gloss last), not from owning more products.
Can you get glass hair on wavy or curly hair?
Yes, with a blow-dry first. The finish needs the hair straight before the iron — wavy hair needs the full directional blow-dry with tension, and curly hair needs the same plus a slightly higher iron temperature on the first pass. The result lasts less long on curly hair, usually one to two days instead of three, because the hair’s natural texture pulls it back towards wave.
How long does a glass hair finish last?
Three days with the sleep and refresh routine in this article — silk pillowcase, loose tie at night, re-iron only the bent sections in the morning, dry shampoo at the roots on day three. In humid weather or after exercise it lasts one day. Fine hair usually manages two days; thick hair manages the full three.
Conclusion: Glass Hair at Home — Your Next Step

Glass hair looks like a salon secret, but it is really a sequence: a clean cut, a careful wash, a blow-dry that always points down, one slow flat-iron pass, and a gloss layer so small you could miss it. No single step is hard, and no single product is magic. The shine is the sum of all of them, done in order, and the three-day finish is the reward for protecting it at night instead of redoing it in the morning. Start with the trim, wash the way this article describes, and try the full routine once on a day when you have forty minutes to spare. If the mirror shows one clean sheet of light instead of scattered shine, you have it — and the next time, it will take half as long.
📌 Save this before your next wash day — the blow-dry direction, the iron temperature guide and the three-day refresh rules are the parts you will want open on your phone while you style.