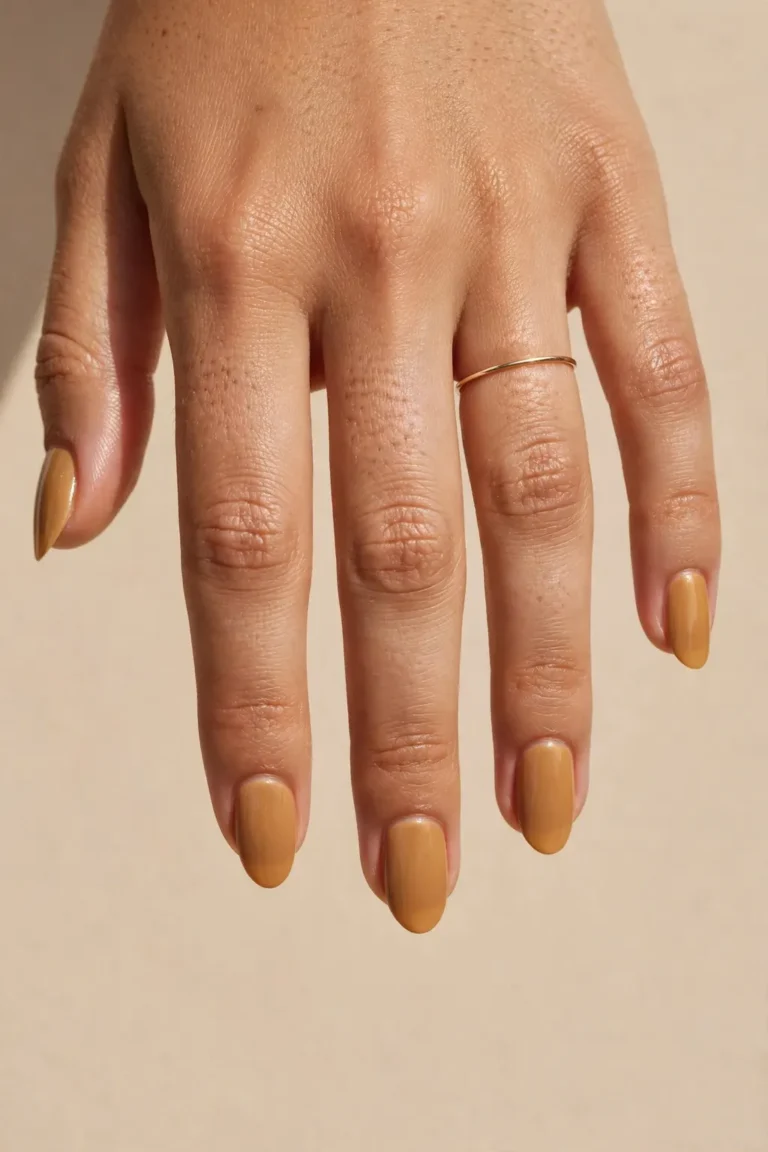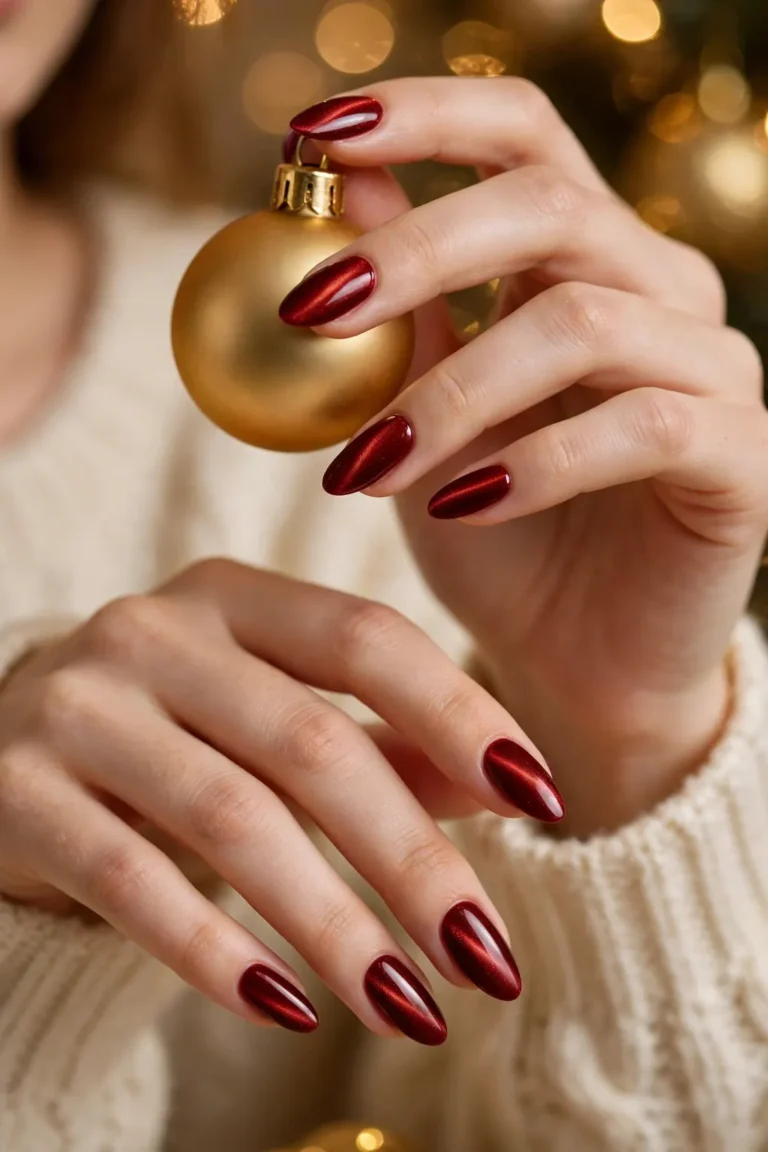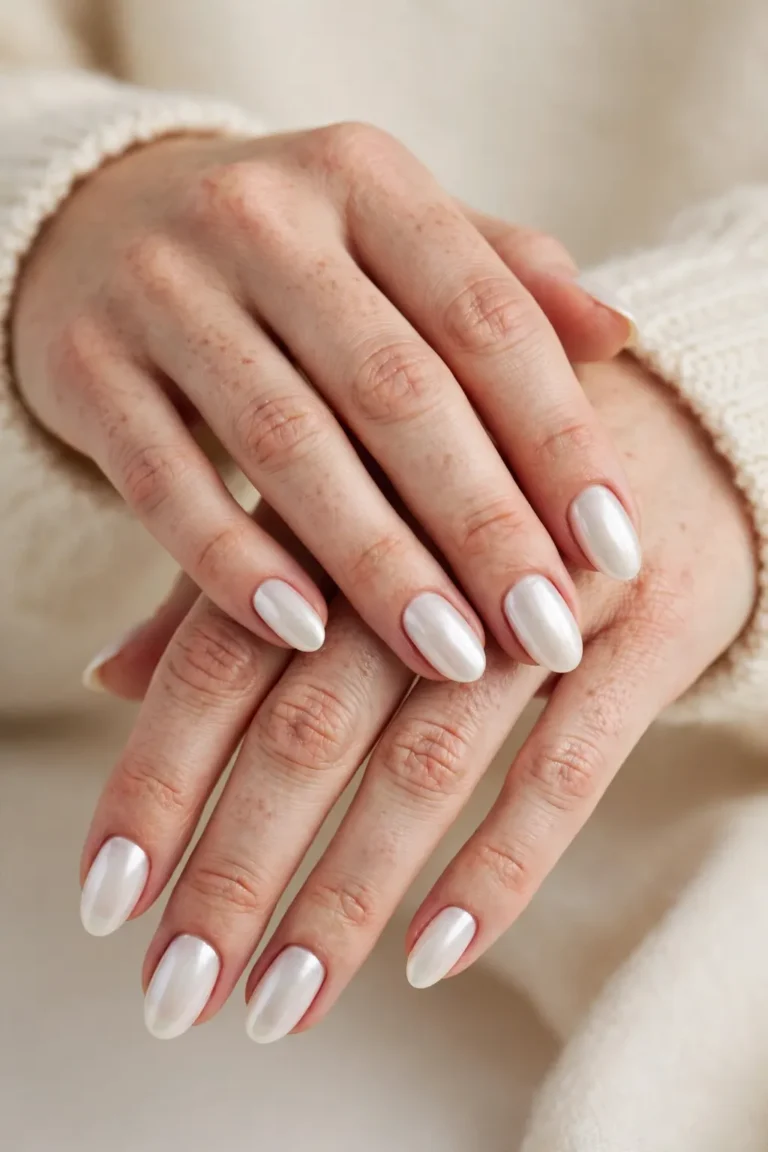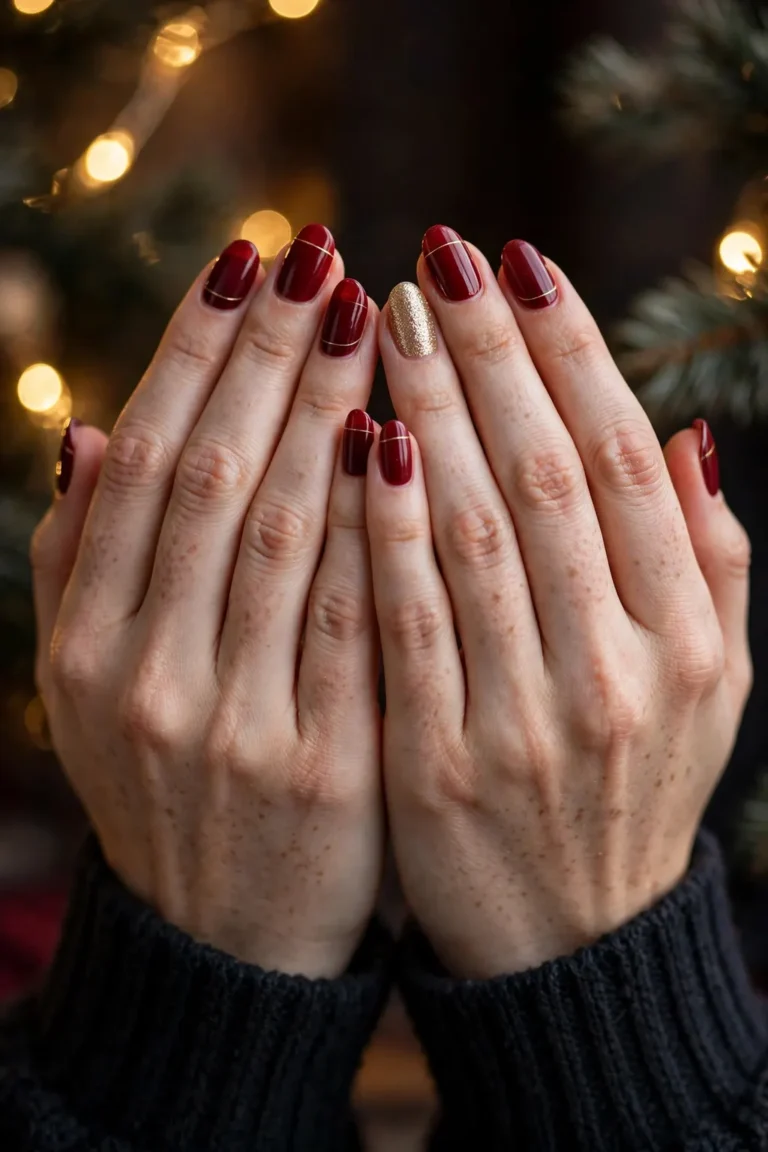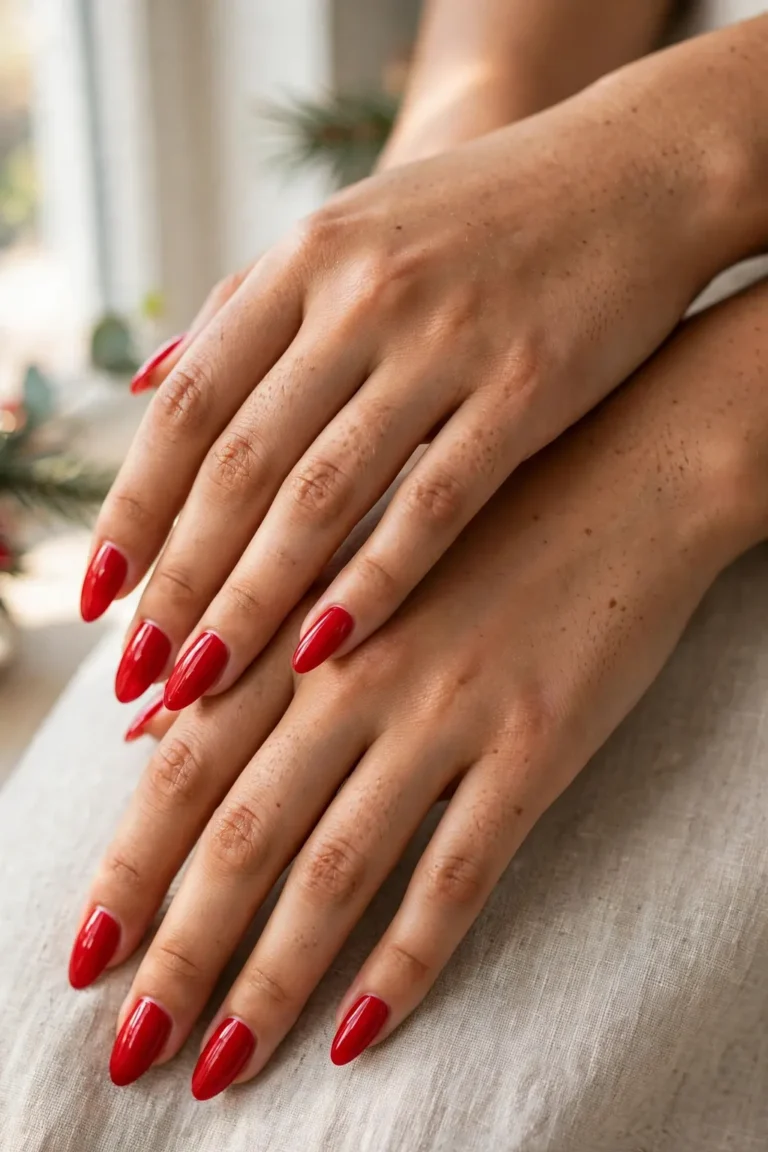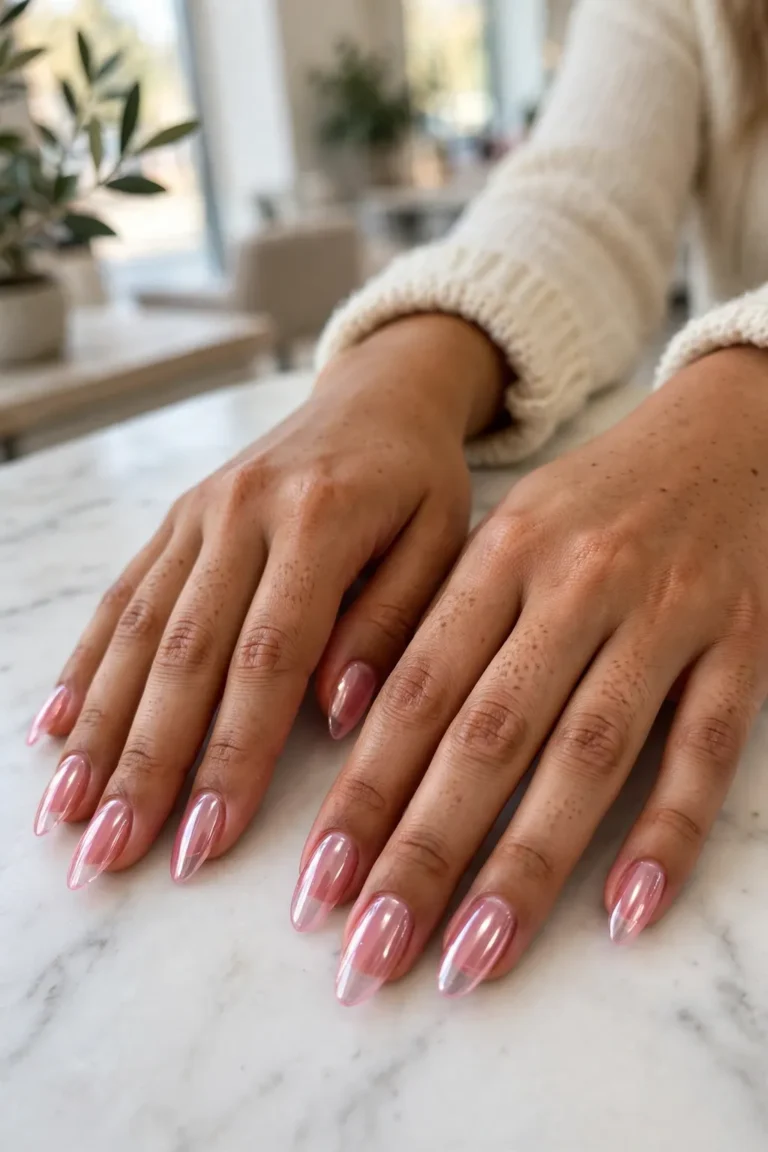
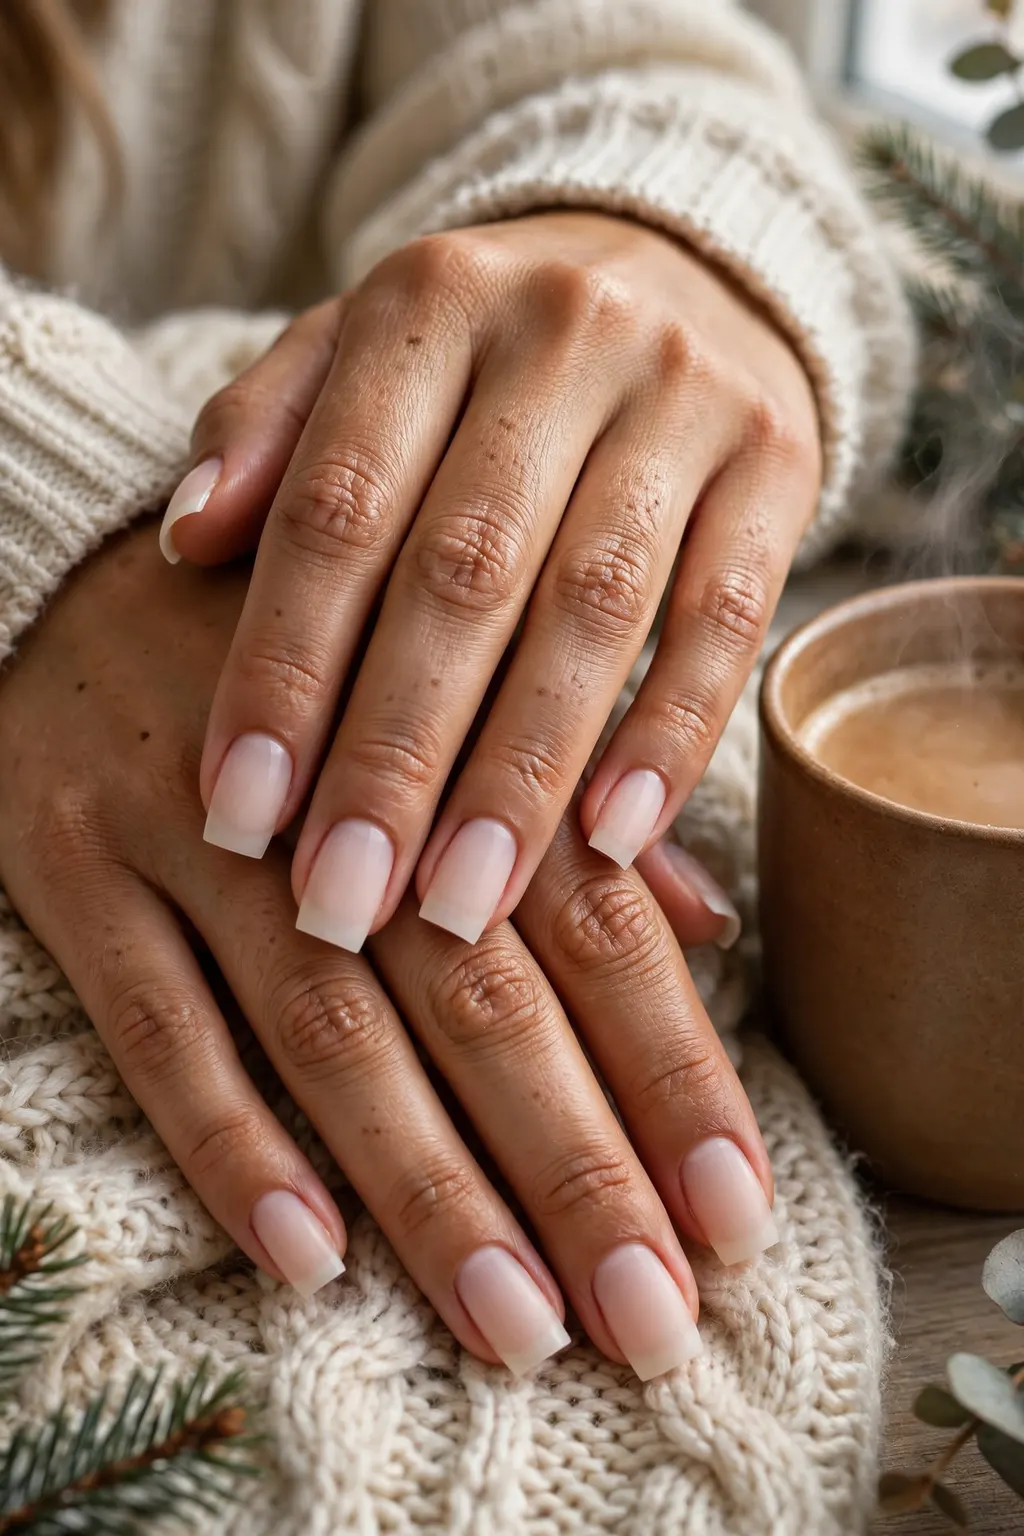
Nail Inspo: Square Nails — the Quiet-Luxury Shape of Winter
Square nails are the shape for women who want their manicure to look expensive without looking decorated. The nail is filed straight across the tip with sharp, clean corners — no curve, no point, no drama — and that straight edge is exactly what makes the hand look neat, the colour look richer, and the whole manicure look deliberate. Searches for “nail inspo square” are running at 857,000 a month on Pinterest (Pinsearch, Nov 2026), up 73% on last year, and the shape is riding the same quiet-luxury wave that made milky neutrals and clean lines the winter look. This guide covers the square shape from every angle: why it reads as quiet luxury, the short square and soft-corner versions, the square French, dark glossy colours, nail art that suits straight edges, which hand shapes it flatters, the exact wording for your nail tech, and how to keep the corners from chipping. For more beauty inspiration, start at AboutSuperstars.
Quick answer: Square nails are filed straight across with sharp corners, and they suit short to medium lengths best. Ask for a straight free edge, corners filed at 90 degrees with only the sharpest point softened, and a top coat wrapped over the edge — then pick milky, dark glossy or French colour to match the quiet-luxury look.
Why Square Is the Quiet-Luxury Shape Right Now
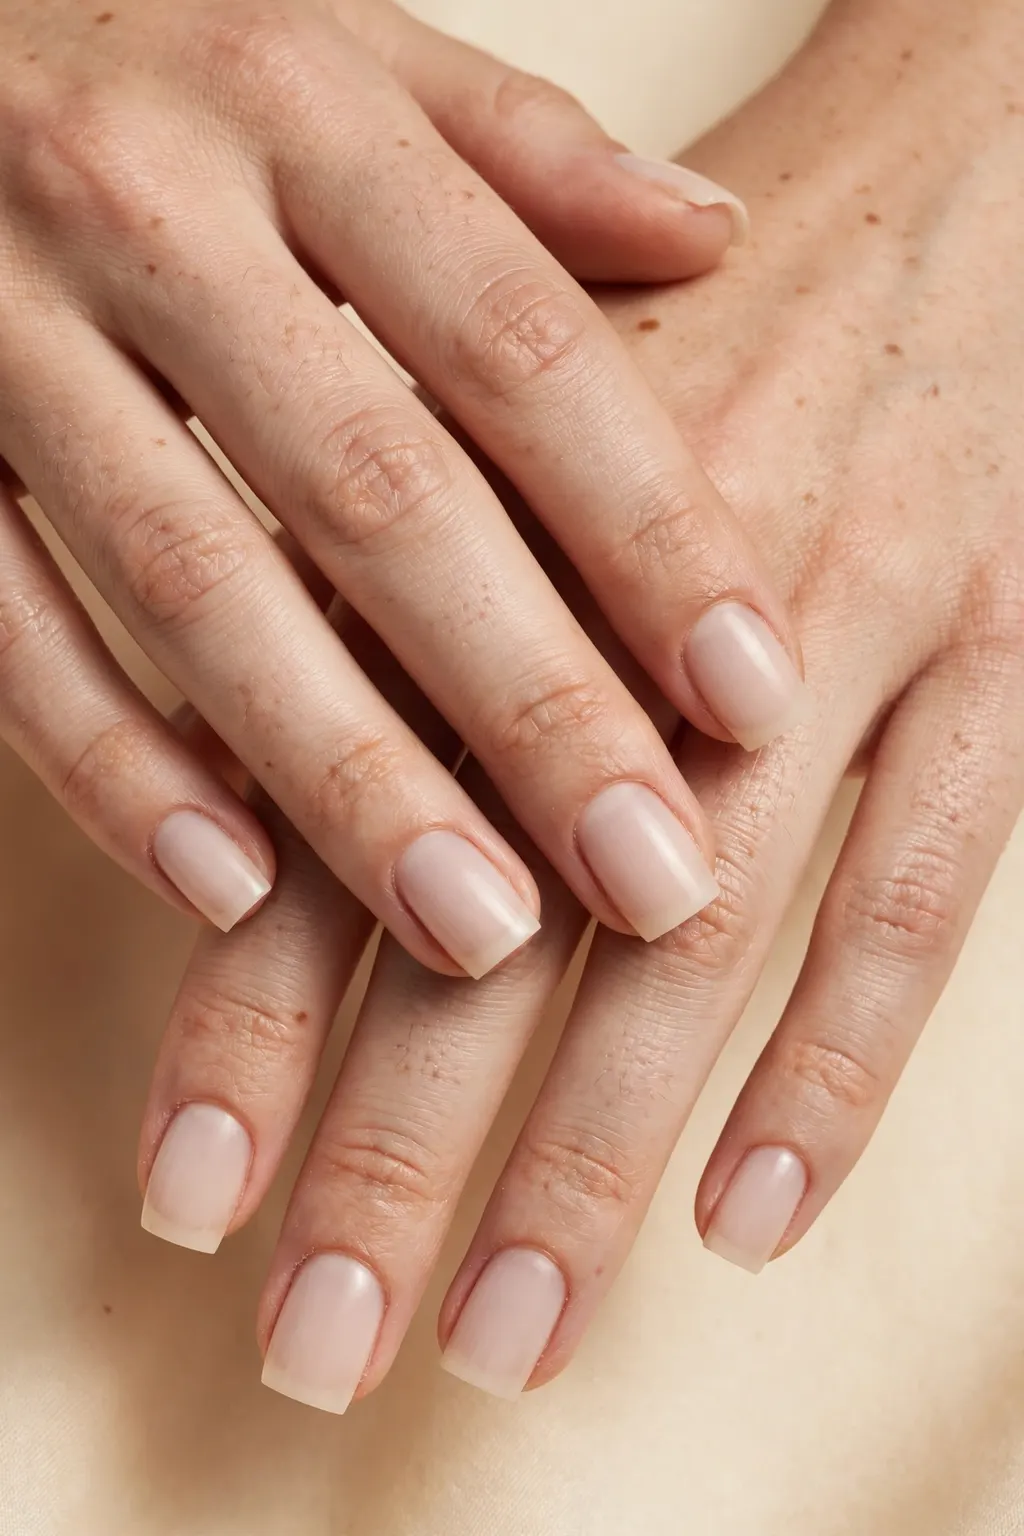
Square nails look like quiet luxury because the shape does nothing extra. Almond and stiletto shapes draw the eye to the point; coffin and ballerina shapes draw it to the taper. A square nail draws the eye to the colour and the finish, because the straight edge frames them like a picture frame. That is why the shape photographs so well with the colours winter loves: a milky nude on a square nail looks clean and expensive, a dark cherry looks deep and glossy, and a French tip looks crisp because the white line sits on a straight edge instead of a curve. The shape also suits the way women actually live in winter — short square nails do not catch on knitwear the way a point does, and they do not need length to look finished. The catch is that square is the least forgiving shape in the salon: a crooked free edge, a corner filed at the wrong angle, or one nail a millimetre longer than the rest all show immediately, because the eye has a straight line to compare against. So the luxury is real, but it depends on the filing being exact.
Step by step
Start with the length: square works from very short to medium, and the free edge should be filed straight across in one direction, not sawn back and forth. Then the corners: file each side wall straight down from the cuticle to the tip, so the nail is the same width at the tip as at the base, and finish the corner at a clean 90 degrees. Soften only the very point of the corner with one light pass of the file, so it does not snag — if you round the corner, you have made a squoval, not a square. Then colour, then a top coat wrapped over the free edge to protect the corners.
Common mistakes to avoid
The most common mistake is filing the free edge at a slant, so one corner is longer than the other — on a square nail it reads as crooked from across the room. The second is tapering the side walls inwards, which makes a square nail look like a narrow coffin and loses the whole point of the shape. And the third is leaving the corners razor-sharp: they catch on fabric, chip within days, and feel scratchy. One light softening pass on each corner fixes all three problems without changing the shape.
Products and tools that help
A straight, fine-grit nail file (180 grit is the salon standard for shaping natural nails), a glass file for smoothing the free edge without tearing it, and a ridge-filling base coat, which evens out the nail surface so a straight edge reads as perfectly straight. A glossy top coat matters more on square nails than on round ones, because the shine running across a flat tip is what sells the luxury look.
Short Square Inspo: Clean Lines, Milky Colour
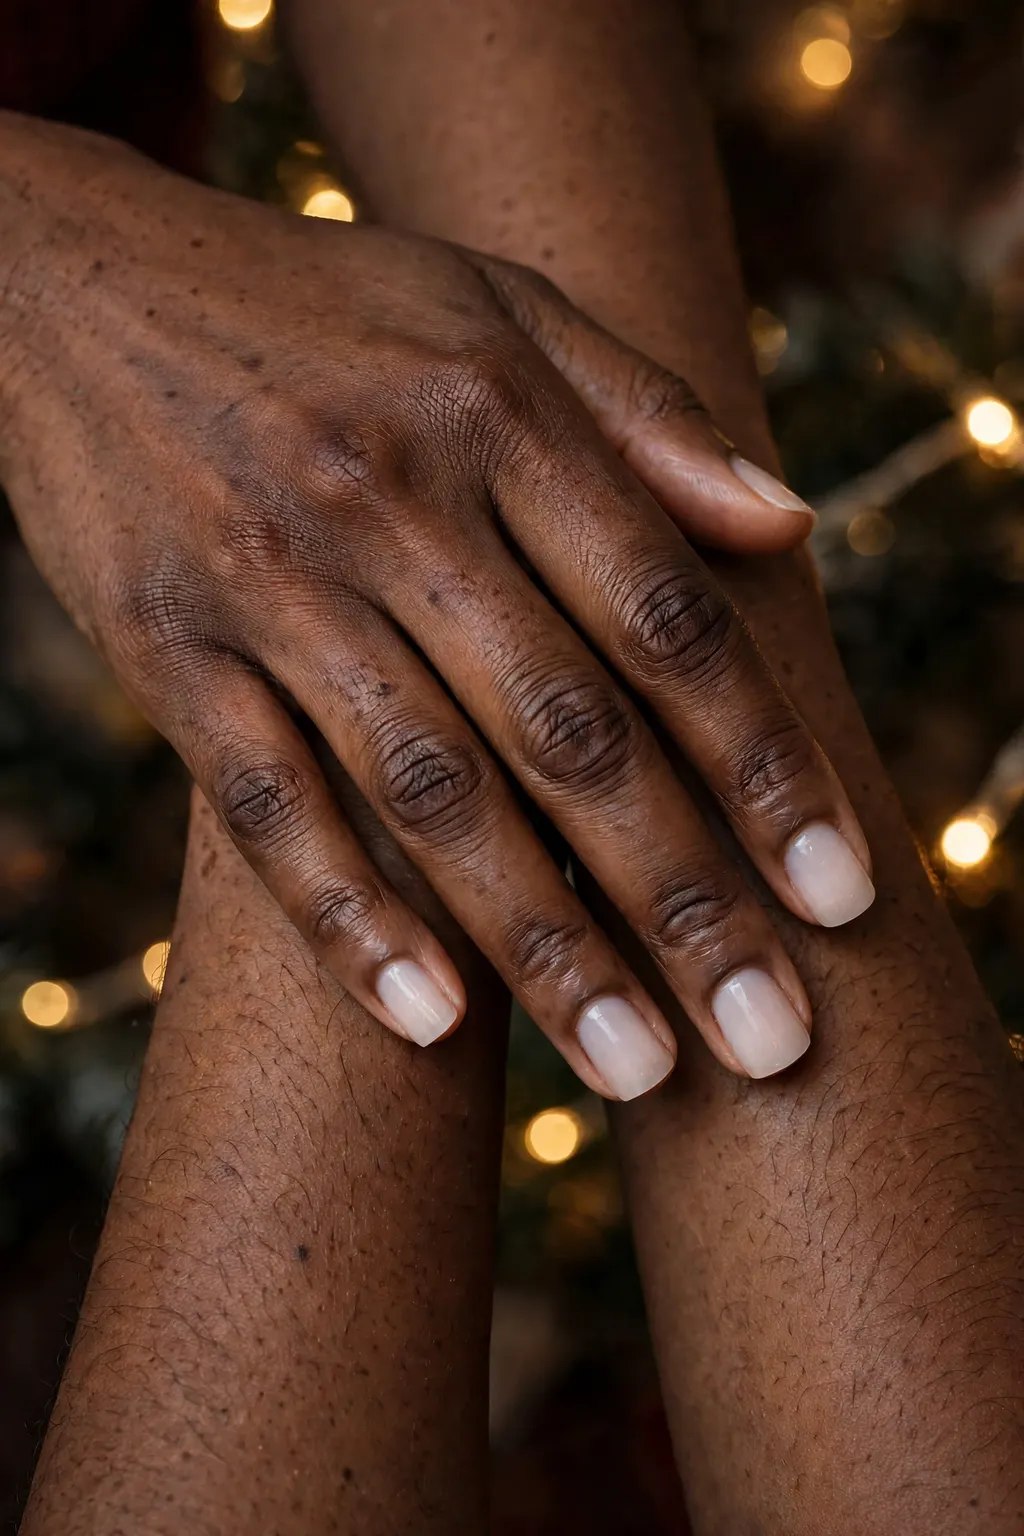
Short square nails are the most wearable version of the shape, and the one to choose if you want the quiet-luxury look with no maintenance anxiety. On a short nail, the straight edge reads as tidy and deliberate — the manicure looks like a decision, not like nails that have not grown out yet. Milky colour is the pairing that made this version famous: a sheer, milky white or milky pink over a short square nail looks like clean, healthy nails with a soft-focus filter, and it suits every skin tone because the translucency lets the natural nail show through. If you already love the milky family, our Milky White Chrome Nails on Almond guide covers the chrome version of the same soft look, so you can compare milky square with milky chrome before you book. The short square also suits women who type all day, handle small children, or work with their hands — there is almost no free edge to break, and a chip on a corner is a five-minute fix instead of a full redo.
Who should skip this version
Skip short square if you want your nails to look longer — the straight edge and short length make the nail look its true length, where an almond shape would add visual length. Skip it too if your nails are very wide: a short, wide square nail can look stubby, and a soft squoval or a slightly longer square suits a wide nail bed better. The fix in both cases is length — grow the nail to medium first, then go square.
Works best on: shapes and lengths
Short square suits narrow to medium nail beds best, because the straight edge makes the nail look neat rather than wide. It suits short to medium lengths — a free edge of 1 to 3 millimetres past the fingertip is the sweet spot. It suits every skin tone with milky colour, because the sheer base adapts to the hand underneath it, and it suits fair to medium skin especially well with a milky pink, which warms the hand without adding obvious colour.
Maintenance schedule
A gel short square set lasts two to three weeks. The corners are the weak point: refresh the glossy top coat at day seven, wrapped over the free edge, and the corners stay sealed. Short nails show regrowth sooner than long ones, because the cuticle line is closer to the tip — book the next set for two weeks out if you want the clean line to stay crisp, and keep cuticle oil on daily so the skin around the straight edge stays neat.
Square With Soft Corners (Squoval’s Sharper Sister)
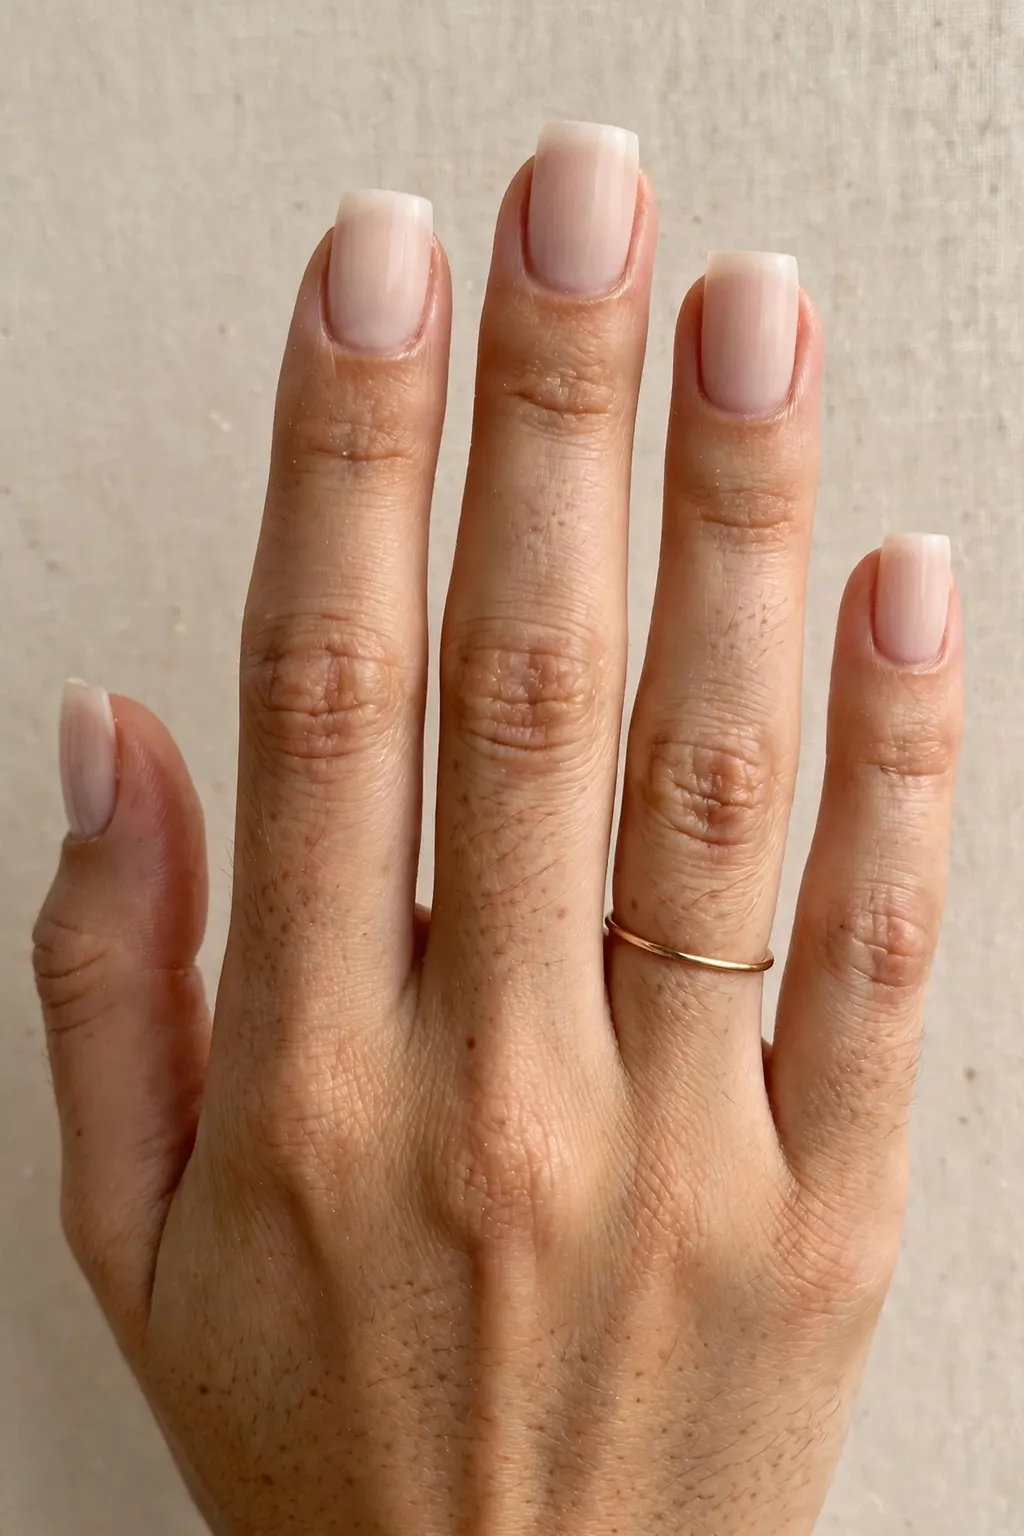
Square with soft corners is the compromise shape: the free edge is still straight across, but the corners are rounded just enough to take the sharpness off, without curving the way a squoval does. It is the shape to ask for if you love the square look but your corners keep chipping, or if you found a true square too severe on your hands. The difference from squoval is in the side walls: a squoval has curved side walls that taper towards the tip, while a soft-corner square keeps the side walls straight and only rounds the very corner. That straight side wall is what keeps the luxury look — the nail still reads as a clean rectangle from the front, just one that will not snag your knitwear. It suits women who want the square aesthetic for work: the shape looks polished in a meeting, it does not catch on fabric, and it survives a keyboard all day. It is also the best square version for first-timers, because the softened corners forgive a slightly imperfect filing in a way a razor-sharp corner never does.
Best for: nail shapes, lengths and skin tones
Soft-corner square suits every nail bed width, because the rounded corner takes the visual width off a wide nail while the straight edge keeps it looking deliberate. It suits short to medium lengths best — the shape needs a little free edge for the straight line to read. It suits every skin tone with any colour family, because the shape is neutral: milky for fair skin, deep cherry for medium skin, espresso for deep skin, all sit comfortably on a soft-corner square.
The exact wording to show your nail tech
Say: “Square, but with soft corners — straight across the tip, straight side walls, just take the sharp point off the corners.” The two phrases that matter are “straight across” and “soft corners”: if your tech hears only “square”, you may get razor corners that chip; if they hear only “soft”, you may get a squoval with curved walls. Showing a photo helps here, because the difference between a soft-corner square and a squoval is a matter of millimetres, and a photo settles it instantly.
How long it lasts and what it costs
A gel soft-corner square set lasts two to three weeks, and it lasts slightly longer than a true square, because the rounded corners do not catch and chip the way sharp ones do. Cost is a standard gel set; the shaping itself is not an add-on, because it is just filing. If your tech charges extra for shaping, ask what the shape work includes — a good shaping should be part of the manicure, not a separate line.
Square French: The Classic, Re-Cut
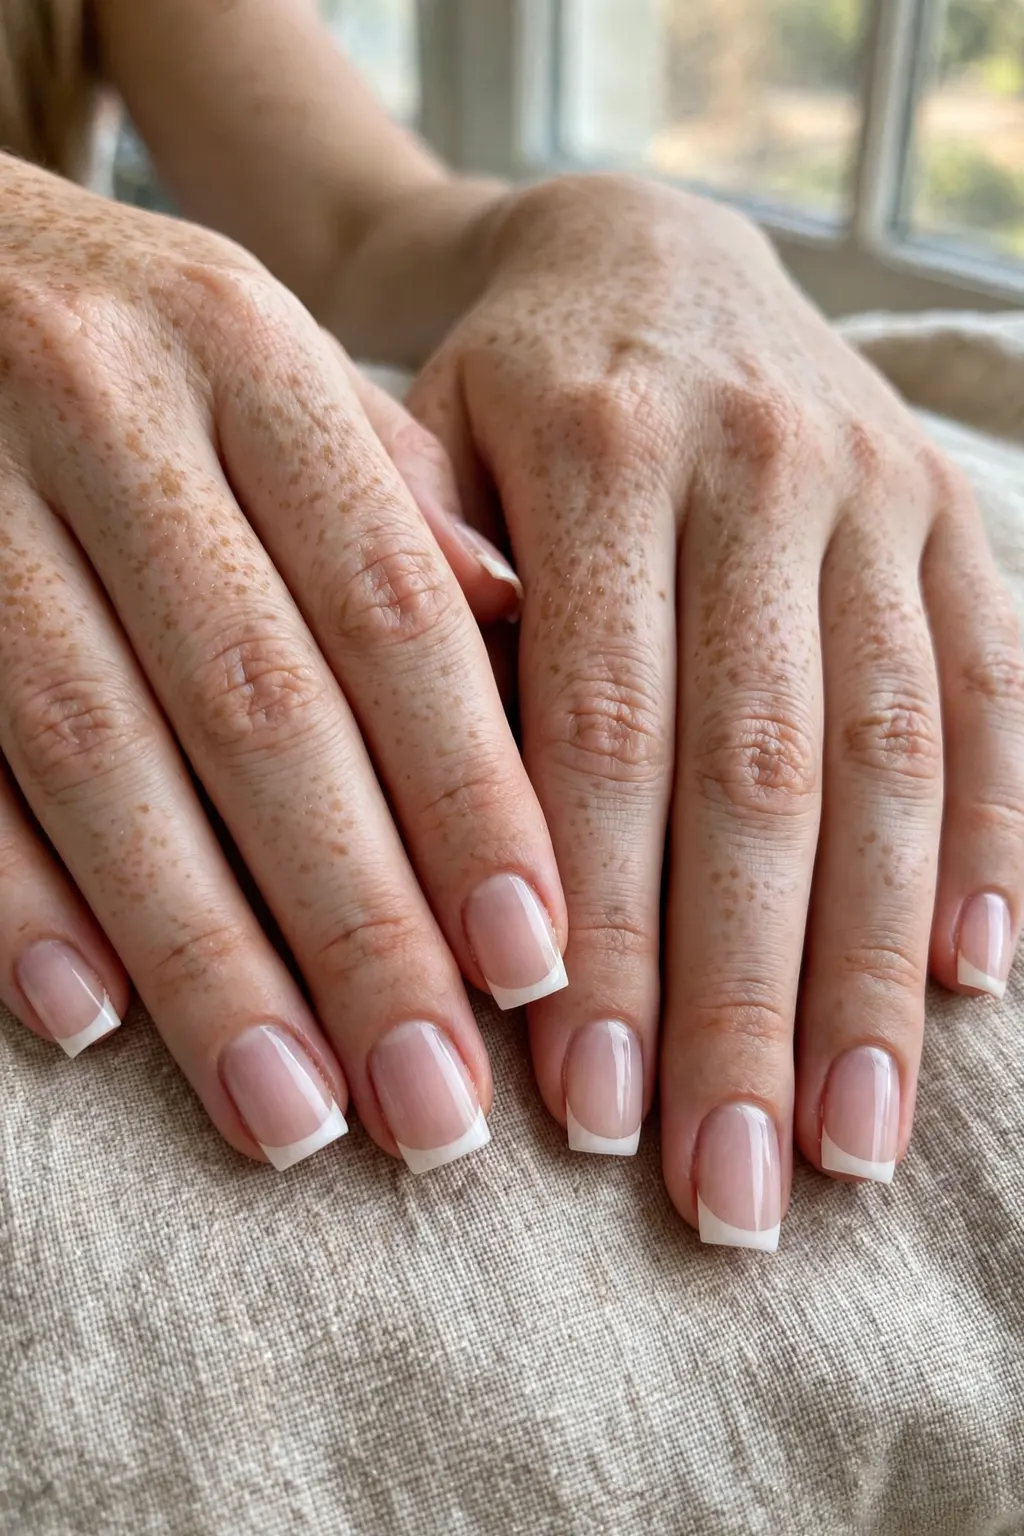
The square French is the French manicure the way it was originally drawn: a straight white tip on a straight edge, with the white line sitting exactly on the corner. On a round or almond nail, a French tip has to follow a curve, and the white line is never quite even. On a square nail, the tip is a ruler-straight line, and that is why the square French looks sharper and more modern than any other French — it is the classic, re-cut with geometry. The modern versions keep the straight edge and change the colours: a milky base with a white tip for the classic, a red or black tip for the party version, a chrome tip for the winter-glam version, or a micro tip — a hairline of white just on the very edge — for the quietest take of all. The square French suits weddings, work and formal events, because it reads as groomed from a distance, and it suits short nails too, as long as the tip is kept thin: a thick white tip on a short square nail eats the whole nail.
Step by step
Prep and base coat, then the sheer base — milky white, milky pink or a sheer nude, one or two thin coats, cured. Then the tip: a thin brush, a steady hand, and the white drawn straight across the free edge, corner to corner, in one pass. The tip should be 1 to 2 millimetres deep on a short nail, up to 3 millimetres on a medium one. Then a glossy top coat, wrapped over the free edge, so the white tip is sealed and the corners are protected. If you are doing it at home, a French guide sticker cut straight across works better than a curved one on square nails.
Common mistakes to avoid
The most common mistake is a tip that is too deep, which makes a short square nail look like it is all tip and no base. The second is a wobbly tip line — on a square nail the eye has a straight edge to compare against, so a wobble shows immediately. And the third is skipping the sealing top coat: an unsealed white tip yellows within days, and on a French that yellowing is the first thing anyone notices.
Products and tools that help
A sheer milky base polish, a crisp white tip polish (look for one labelled French white, not a regular white, because French whites are more opaque in one coat), a thin striping brush for the tip line, and a glossy non-yellowing top coat. A clean-up brush dipped in remover, run along the smile line after the tip is painted, is what makes a home French look salon-clean.
Dark & Glossy on Square: Cherry, Espresso, Black
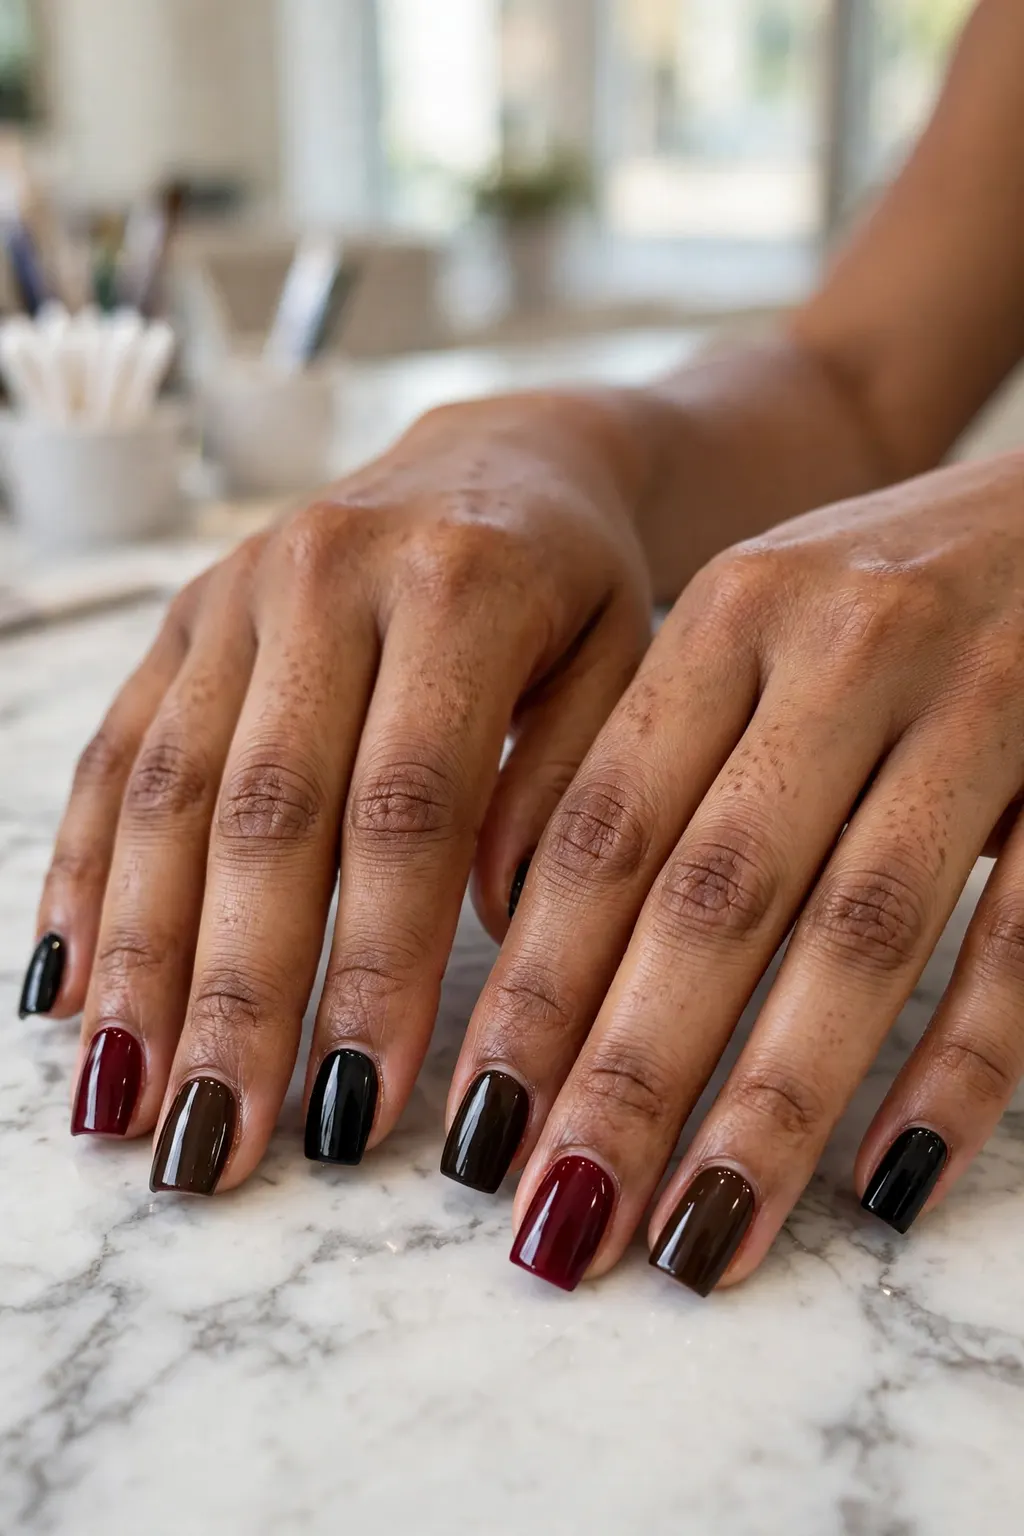
Dark and glossy is the version of square nails that looks most expensive, because a deep colour on a straight edge reads as a deliberate, high-shine object — like lacquer. Cherry is the winter favourite: a black cherry or wine red with a glossy top coat, deep enough to look almost black in low light and richly red in daylight. Espresso is the quieter dark: a deep coffee brown that reads as neutral from a distance and as a deliberate colour up close, and it is the dark that suits the most skin tones. Black is the boldest: a true black on a square nail is graphic and modern, and it suits medium to long square nails best, where the shape has room to carry the drama. The rule for all three is the same: the darker the colour, the more the shape matters — a dark polish shows every wobble in the filing, every uneven corner, and every slip at the cuticle, so the prep has to be exact. Done right, dark glossy square nails are the manicure that gets complimented in a lift.
Who should skip this version
Skip dark glossy square if your nails are very short and bitten, because a dark colour draws the eye to the shape, and a ragged shape shows more under a dark gloss than under a nude. Skip black if you want a quiet work manicure — black reads as a statement, not a neutral, and it does not hide in a conservative office. The fix in both cases is espresso, which gives you the dark glossy look in a colour that reads as neutral from a distance.
Works best on: shapes and lengths
Dark glossy suits medium square nails best — the length gives the deep colour room to show, and the straight edge frames it. Short square can wear cherry and espresso too, but keep the colour to two thin coats so it stays glossy rather than heavy. It suits medium to deep skin tones especially well with cherry, because the red glows against the skin; fair skin suits espresso best, because the brown is softer than black against pale hands; and black suits every skin tone when the shape is exact.
Maintenance schedule
A gel dark glossy square set lasts two to three weeks. Dark colours show chips sooner than pale ones, because the contrast against the bare nail is sharper — ask for wrapped tips, which adds days. Refresh the glossy top coat at day seven to keep the mirror shine, and keep cuticle oil on daily, because dark polish makes dry cuticles look worse by contrast. Remove dark polish with a soaked cotton pad held on the nail, not scrubbed, or the colour stains the skin around the nail.
Square Nail Art: Lines, Dots & Negative Space
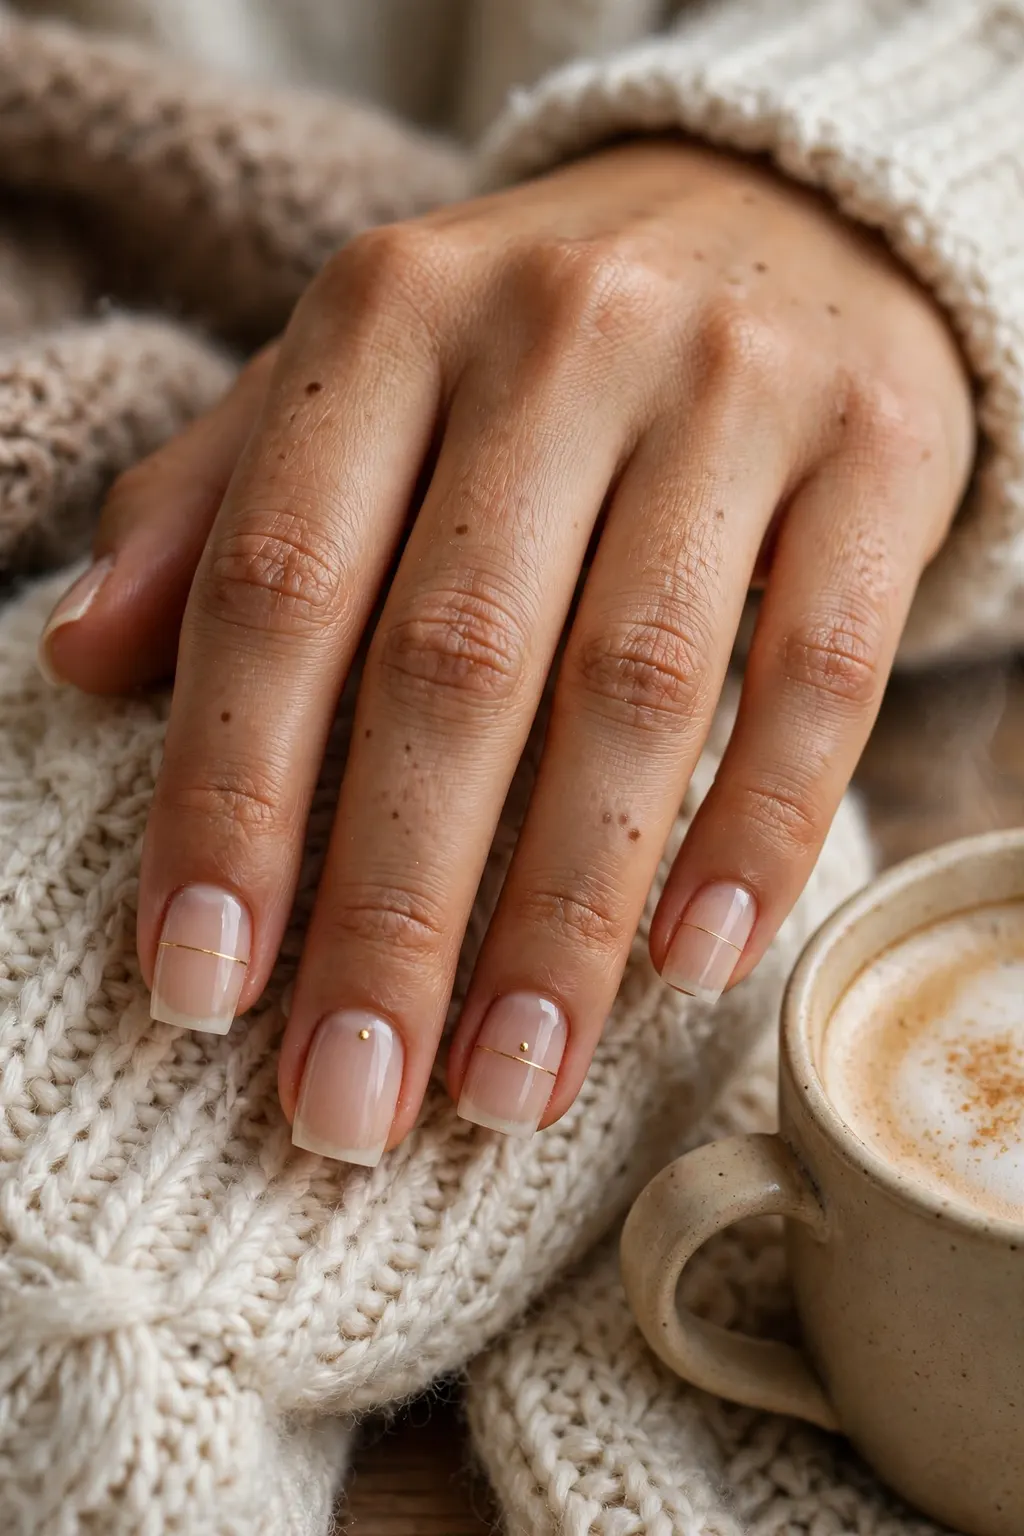
Square nails are the best canvas for nail art, because the straight edge gives the design a frame to work against. A single fine line drawn parallel to the free edge looks intentional on a square nail and accidental on a round one. A dot placed in the centre of a square nail sits exactly where the eye expects it. Negative space — leaving part of the nail bare while the design sits on the rest — works on square because the bare section is itself a clean rectangle. The designs that suit square best are the minimal ones: one gold line across the tip, a single dot at the cuticle, a thin diagonal, a small star on one accent nail. The designs that fight the shape are the busy ones: a full-nail pattern on every nail turns the clean geometry into noise, and a curved design across a straight edge looks like it was drawn on the wrong nail. The rule is one idea per manicure, repeated with discipline: the same line on every nail, or the same dot, or the same accent — not three different ideas fighting for attention.
Best for: nail shapes, lengths and skin tones
Minimal line and dot art suits short to medium square nails best, because the nail is big enough for the design to read and small enough for it to stay minimal. It suits every skin tone, because the art is usually gold, white or black, and those colours sit on any base. It suits women who want nail art without a themed manicure — the line-and-dot family reads as jewellery, not as decoration, and it works for work, weddings and everyday wear.
The exact wording to show your nail tech
Say: “One thin gold line, parallel to the tip, on every nail” — or whichever single idea you have chosen — and add “keep it minimal, one design only.” Showing a photo matters more with nail art than with a plain colour, because the thickness of the line and the size of the dot are the whole design. If your tech suggests adding a second design, ask to see it on one nail first — a one-nail test costs two minutes and saves a two-week regret.
How long it lasts and what it costs
A gel square nail-art set lasts two to three weeks, the same as any gel manicure. The art itself is the weak point: a line painted over the top coat can wear off at the tips, so ask for the art to be sealed under a top coat, not painted on top of it. Cost is a standard gel set; simple line and dot art is normally a small add-on per nail, so ask for the total before work starts.
Square by Hand Shape: Who It Flatters, Who to Warn
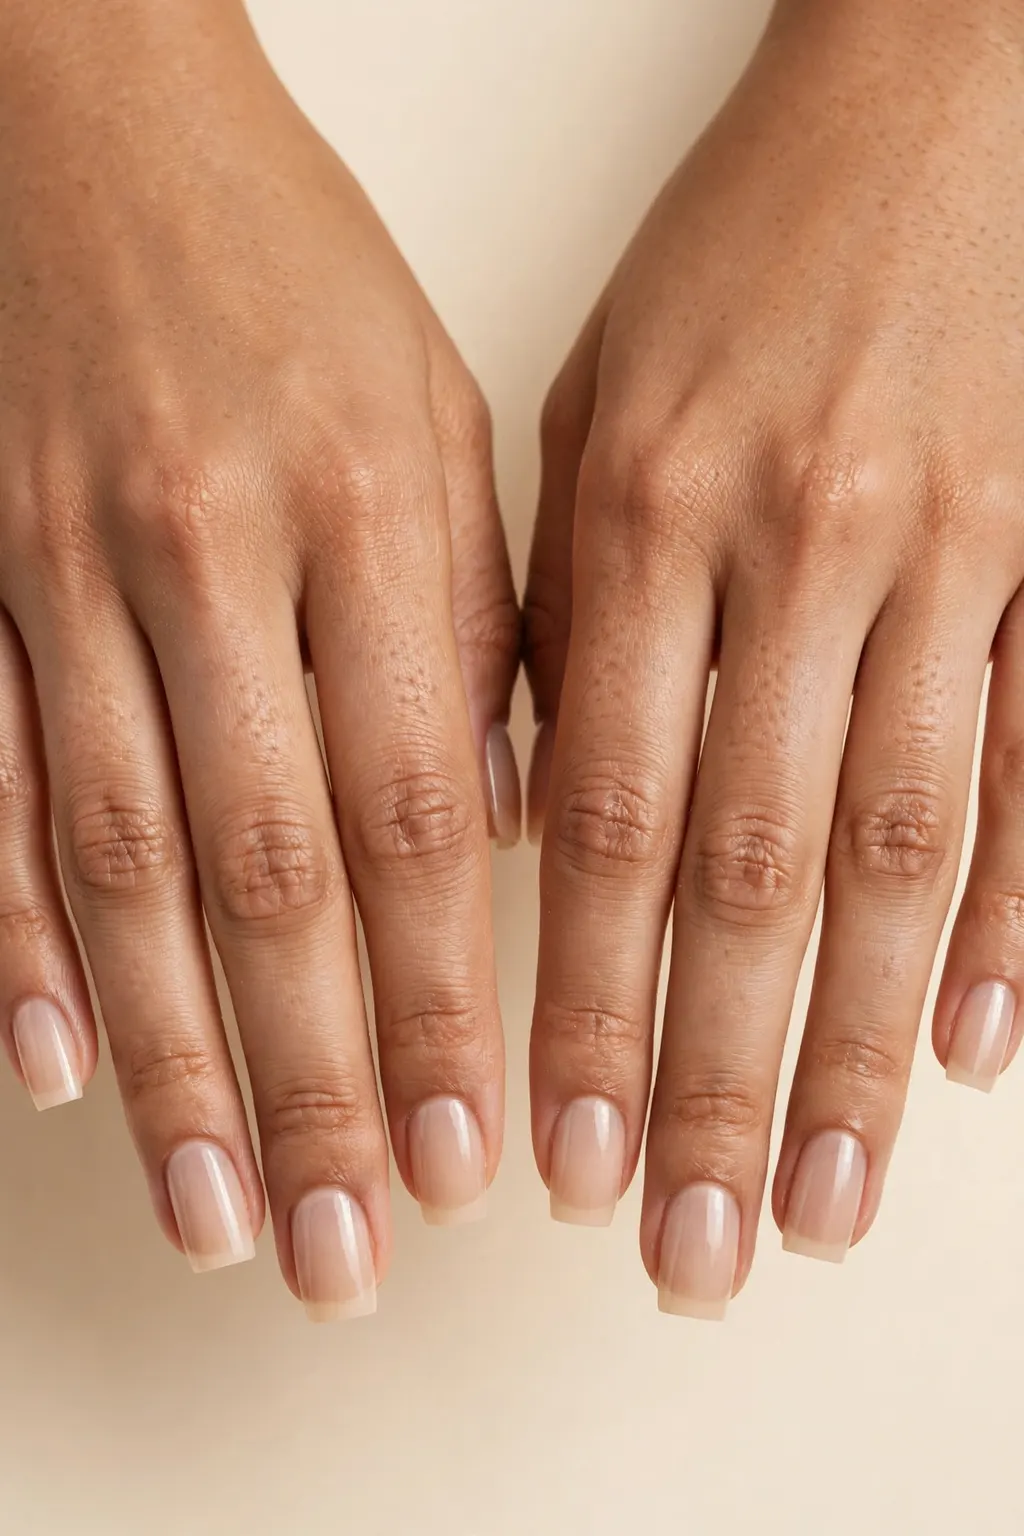
Square nails flatter some hands more than others, and knowing which is what stops you booking a shape that fights your hand. Long, slender fingers suit square best: the straight edge balances the length, and the nail looks elegant rather than long. Short fingers suit short square well, because the tidy edge makes the hand look groomed without adding length the finger does not have. Wide nail beds are the ones to warn about: a square nail on a wide bed can look broad and stubby, especially if the nail is short, and the fix is either a slightly longer square, which adds length to balance the width, or a soft-corner square, which takes the visual width off the corners. Knuckles matter too: prominent knuckles suit square, because the straight edge echoes the structure of the hand, while very slender hands with visible tendons suit a softer corner, because a razor-sharp square can look severe against a delicate hand. The honest test is a photo: take a picture of your hand with square nails from the front, and look at whether the nails look like they belong to the hand — if they do, the shape is right.
Step by step
Look at your nail beds first: narrow to medium beds suit true square, wide beds suit soft-corner square or a slightly longer square. Then look at your finger length: long fingers can carry medium square, short fingers suit short square. Then look at your knuckles and tendons: strong hands suit sharp square, delicate hands suit soft corners. Then choose the colour: milky for a first square, dark glossy once you know the shape suits you, French once you know the filing is exact.
Common mistakes to avoid
The most common mistake is choosing square because it is fashionable, without checking whether it suits your nail bed — a wide bed with a short square is the combination that disappoints most. The second is going too long too fast: a long square nail on a short finger looks out of proportion, and it breaks more easily. And the third is ignoring the corners: on a hand that works hard, sharp corners chip in days, and the manicure looks tired by week one — soft corners fix it without changing the look.
Products and tools that help
A nail file with a straight edge for checking your own filing — hold it against the free edge and look for gaps of light, which show where the edge is not straight. A hand cream with a matte finish, because glossy hand cream on the skin around a square nail makes the straight edge look less crisp in photos. And a phone camera: the front-facing photo test, taken in daylight, is the most reliable way to judge whether square suits your hand before you commit to a full set.
What to Ask Your Nail Tech: Corner Sharpness & Side Walls
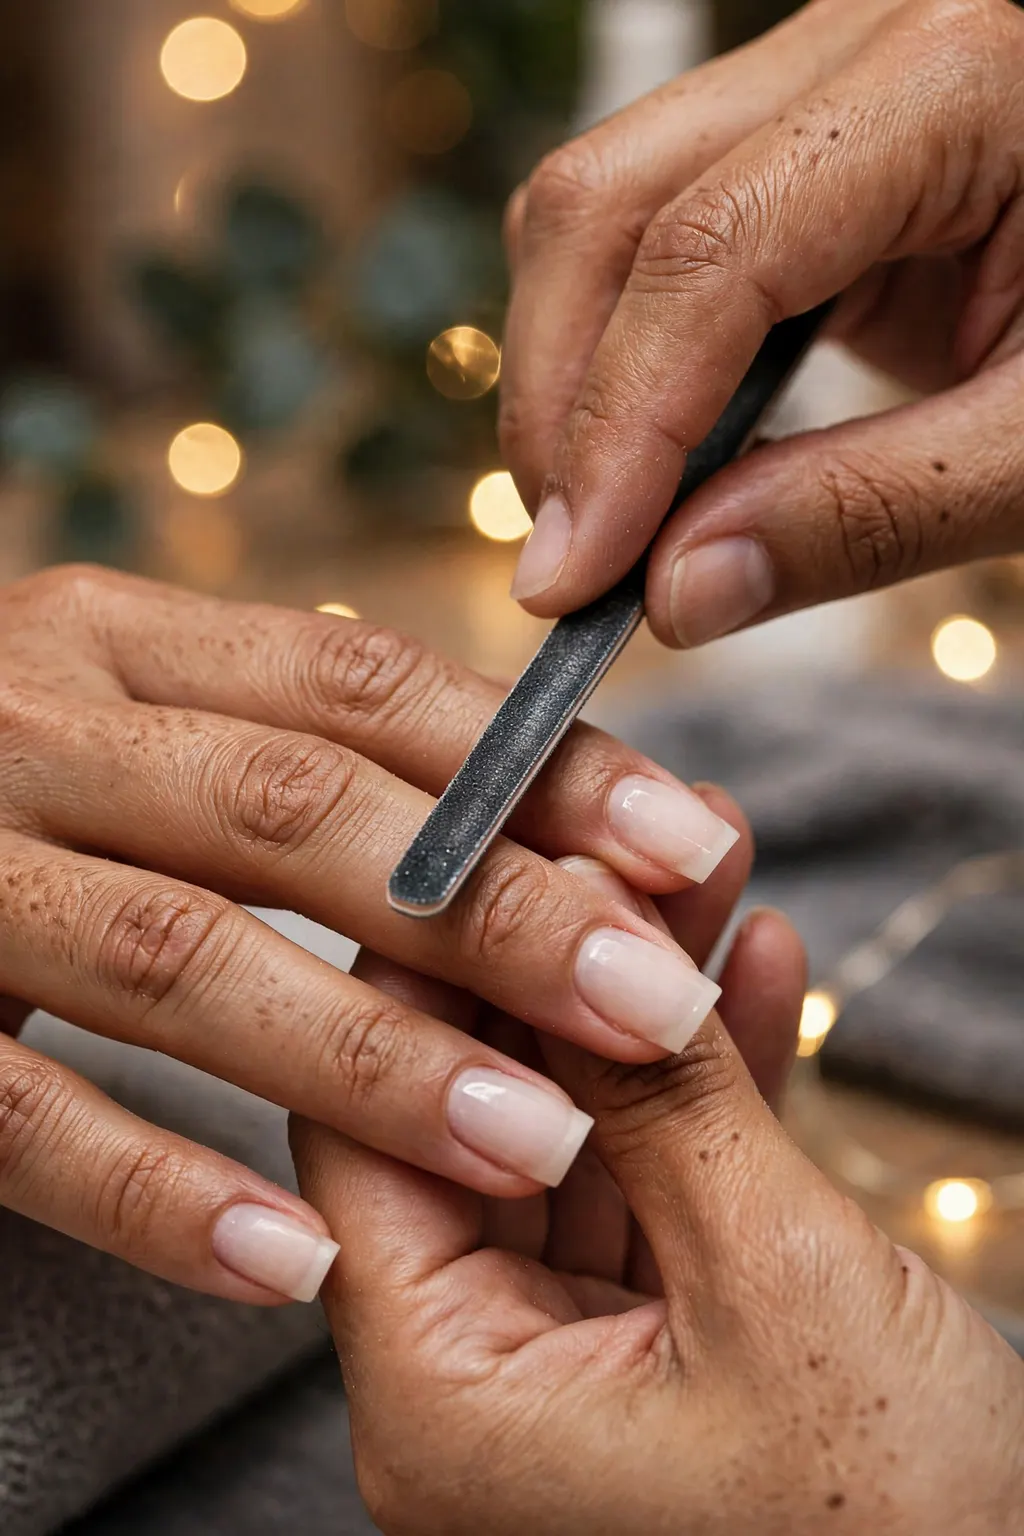
This is the section to screenshot before your appointment. The two words that decide a square manicure are corners and side walls, and saying both out loud is what separates a good set from a lucky one. Corners are the 90-degree points where the free edge meets the side wall — sharp enough to read as square, soft enough not to snag. Side walls are the straight lines running from the cuticle to the tip — they must stay straight and parallel, not taper inwards, or the nail stops being square. A tech who hears both knows exactly what to file, and a tech who hears only “square” may taper the walls into a coffin shape, which is a different manicure entirely.
Your square nail salon brief: “Square nails, straight across the tip, straight side walls, corners at 90 degrees with only the sharp point softened, on [short / medium] nails, in [milky / cherry / espresso / French]. Wrap the top coat over the free edge, and check the corners against each other before I leave.” Read it exactly like that, then show one photo of the shape you want. If the tech suggests a different corner, ask to see it on one nail first — a one-nail test costs two minutes and saves a two-week regret.
Who should skip this version
Skip a true sharp-corner square if you work with knitwear, children or anything that snags — the sharp corners catch, chip and feel scratchy, and you will be filing them yourself within days. Skip it too if your nails are thin and flexible, because a sharp corner on a flexible nail bends and breaks where a soft corner would flex. The fix in both cases is the soft-corner square in the earlier section, which keeps the straight edge and loses only the sharp point.
Works best on: shapes and lengths
The salon brief works on every shape and length, because it describes the filing, not the hand. It matters most on medium square nails, where the corners are most visible, and on dark glossy colours, where a crooked corner shows first. It matters least on short square nails with milky colour, where the sheer base forgives a small filing slip — but even there, saying the brief out loud is worth it, because it tells your tech you are looking at the shape.
Maintenance schedule
A gel square set lasts two to three weeks. The corners are the first thing to check at home: run a fingertip along each corner once a week, and if one feels rough, smooth it with a fine file in one direction only — never saw back and forth, or you will round the corner. Refresh the glossy top coat at day seven, wrapped over the free edge, and book the next set for two to three weeks out.
Square Nail Survival: Corners Chip First — Here’s the Fix
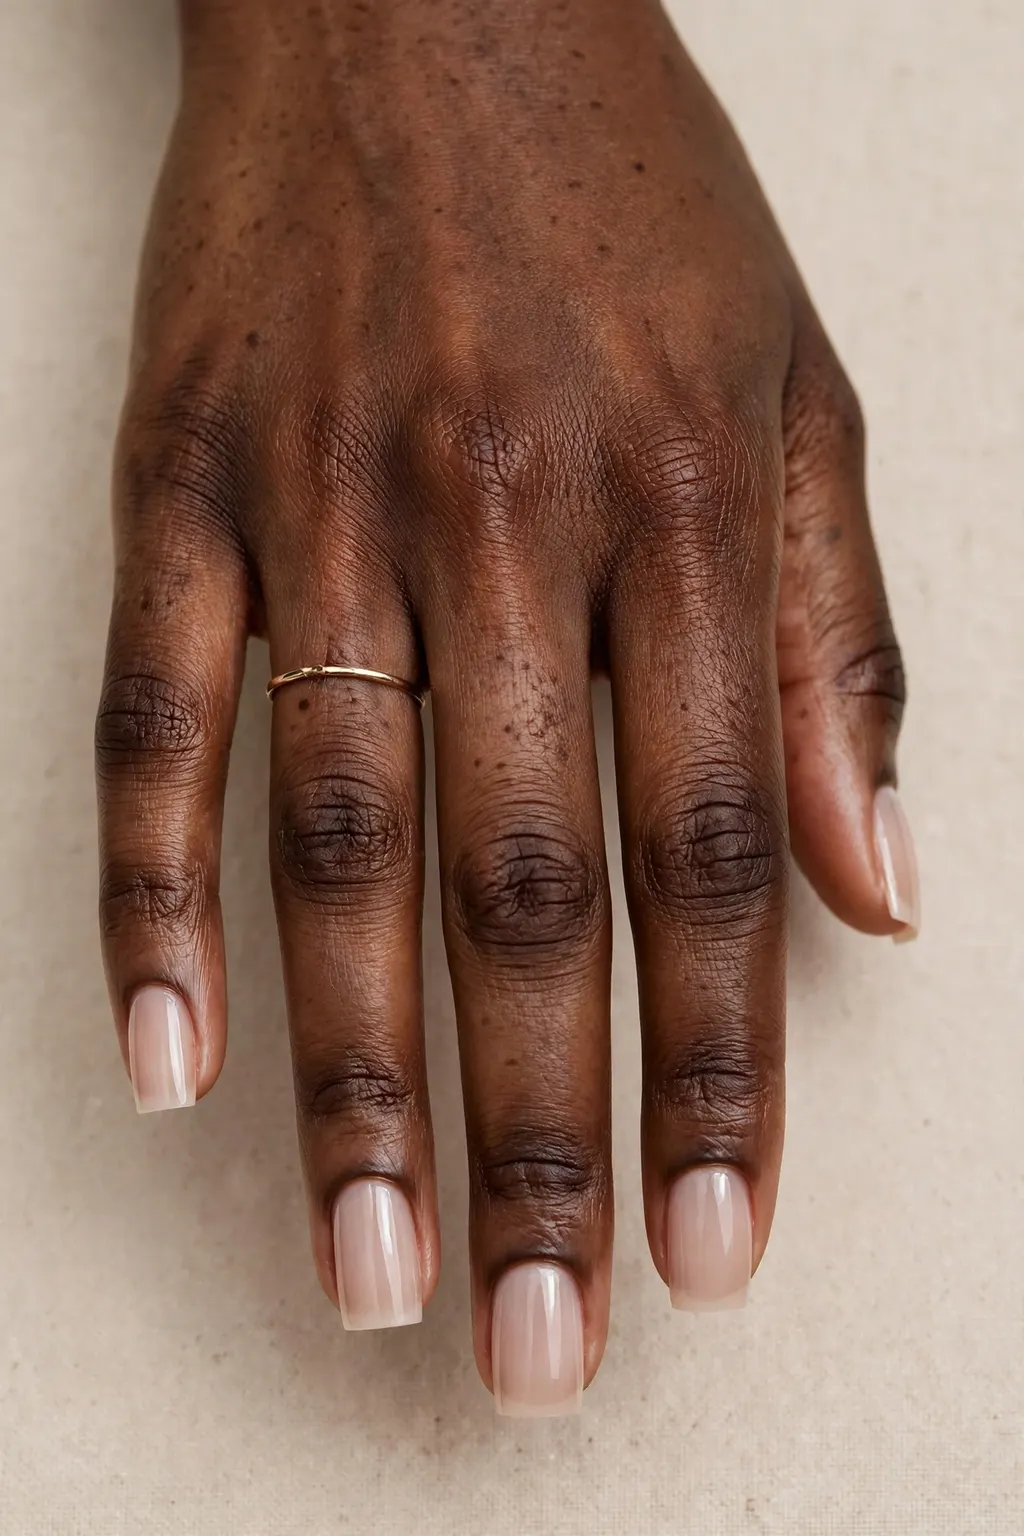
Corners chip first on square nails, and that is not a flaw in the shape — it is the physics of it. The corner is the point of the nail that sticks out furthest and takes the most knocks: it catches on pockets, taps on keyboards, and bumps into everything the hand touches. A round nail spreads that impact across a curve; a square nail concentrates it on two small points. So the survival rules for square nails are all about protecting the corners: wrap the top coat over the free edge so the corner is sealed on three sides, keep the corners slightly softened so they do not catch, wear gloves for cleaning and dishwashing, and do not use your nails as tools — no opening cans, no scraping labels, no prising lids. When a corner does chip, the fix is small and fast: file the chipped corner smooth in one direction, add a drop of top coat over it, and the manicure survives until the next appointment. A chip on one corner is not a reason to remove the whole set.
Best for: nail shapes, lengths and skin tones
The survival rules work on every square nail, because they describe the corner, not the hand. They matter most on medium to long square nails, where the corners stick out furthest, and on dark glossy colours, where a chip shows as a pale line against the dark polish. They matter least on short square nails with milky colour, where a small chip is barely visible — but even there, a top-coat refresh at day seven is worth it, because it reseals the corners before they start to lift.
The exact wording to show your nail tech
Say: “Wrap the top coat over the free edge, and seal the corners — I want the top coat on the tip, not just on top.” The two phrases that matter are “wrapped tips” and “sealed corners”: if your tech hears them, the top coat goes over the edge and the corners are protected on three sides. If the corners still chip, ask whether the top coat was wrapped — an unwrapped top coat is the most common reason a square manicure loses its corners in the first week.
How long it lasts and what it costs
A gel square set lasts two to three weeks with wrapped tips; without them, expect the corners to start chipping in the second week. A top-coat refresh at day seven costs nothing if you do it at home with your own top coat, and it adds days to the set. A corner repair at the salon is normally a quick fix, not a full set — ask for a corner file and a top-coat touch-up, not a removal and redo.
Frequently Asked Questions
Are square nails in style for 2026?
Yes — square nails are in style for 2026, and the searches prove it: “nail inspo square” is running at 857,000 searches a month on Pinterest (Pinsearch, Nov 2026), up 73% on last year. The shape is riding the quiet-luxury wave — clean lines, milky colours, minimal decoration — and it suits the winter palette of cherry, espresso and milky neutrals. Square is a classic shape rather than a fad, so it does not date the way a novelty shape does.
What is the difference between square and squoval nails?
Square nails have a straight free edge and straight side walls, with corners at 90 degrees — the nail is the same width at the tip as at the base. Squoval nails have a straight-ish free edge but curved side walls that taper towards the tip, and rounded corners — the nail is narrower at the tip than at the base. The difference is a matter of millimetres, and a photo settles it: if the side walls are straight, it is square; if they curve in, it is squoval.
Do square nails break more easily?
Square nails do not break more easily across the whole nail, but their corners chip more easily than a round nail’s edge, because the corner is a single point that takes the impact. The fix is to soften only the sharp point of each corner, wrap the top coat over the free edge, and avoid using the nails as tools. With those three rules, a square set lasts the same two to three weeks as any gel manicure.
Conclusion & Bottom Line
Square nails are the quiet-luxury shape of winter because they do nothing extra: a straight edge, straight side walls, and a colour that does the talking. Short square with milky colour for the most wearable version, soft corners if your corners chip, square French for the sharpest classic, dark glossy cherry or espresso for the most expensive look, and minimal line-and-dot art if you want decoration without noise. Check the shape against your hand — narrow beds and long fingers suit true square, wide beds suit soft corners — say the corners and side walls out loud at the salon, and protect the corners with wrapped tips and a day-seven top-coat refresh. Do that, and the straight edge stays crisp for the full two to three weeks.
Bottom line: straight across, straight walls, corners at 90 degrees with only the point softened — milky for everyday, dark glossy for drama, French for the classic, and wrapped tips so the corners survive.