Christmas Nail Designs: 25 Simple & Elegant Ideas for Short and Long Nails
Christmas nail designs work best when you pick one idea and commit to it — not when you try to fit a whole Pinterest board onto ten nails. Searches for “christmas nail designs” run to about 912,000 a month on Pinterest (Pinsearch, November 2026), and most of those searches come from women who want the same thing: a design that looks festive in photos, survives the party week, and does not need a professional artist to pull off. This guide gives you exactly 25 designs, numbered as you go, sorted by how simple they are, how long your nails are, and which colours carry them. Every design is one you can ask for at a salon or try at home, and every section tells you who it suits, what to say to your nail tech, and how long it lasts. For more festive beauty inspiration, start at AboutSuperstars.
Quick answer: The best Christmas nail designs are simple ones done well: one accent nail, a thin gold line, or a single hand-painted snowflake beats a busy pattern on every nail. Pick by nail length first — short nails suit dots and one accent, long nails suit stripes and scenes — then let one colour family repeat across all ten nails.
How to Use This List: By Length, Skill & Time
Use this list the way a menu works: pick one design family, not one design per nail. The 25 designs below are grouped so you can find yours in under a minute — simple designs first if you are doing them yourself, elegant designs if you want a salon finish, short-nail designs if your nails are natural and neat, long-nail designs if you have length to play with, hand-painted classics if you love detail, and a colour section if you already know your shade and just need the design to go with it. Each design is numbered, so you can screenshot one number and show it to your tech instead of describing a whole mood board. Time matters too: a simple dot or line design takes about 45 minutes at the salon, an elegant milky-and-gold set about an hour, and hand-painted classics 75 to 90 minutes — book accordingly, and always book two to three days before the event, never the morning of.
Best for: nail shapes, lengths and skin tones
This list suits every nail shape and every skin tone, because the designs are chosen by length and skill, not by skin. Short squoval and short almond nails get the most from the simple and short-nail sections; medium almond and long square nails get the most from the long-nail and hand-painted sections. Red, green and gold read beautifully on every skin tone; milky white and pale pink flatter fair skin most, while deep wine and emerald glow on deep skin.
The exact wording to show your nail tech
Say: “I want design number [X] from the Christmas list — [colour] base, [detail] on the accent nails only, glossy top coat.” Then show the photo. Naming the number removes the guesswork: your tech knows the base, the detail and the finish in one sentence.
How long it lasts and what it costs
A gel Christmas set lasts two to three weeks, the same as any gel manicure. Simple designs usually cost the same as a standard gel set; hand-painted art is normally priced per nail or as an add-on, so ask for the total before the first coat goes on.
Simple Christmas Designs: Dots, Lines & One Accent Nail
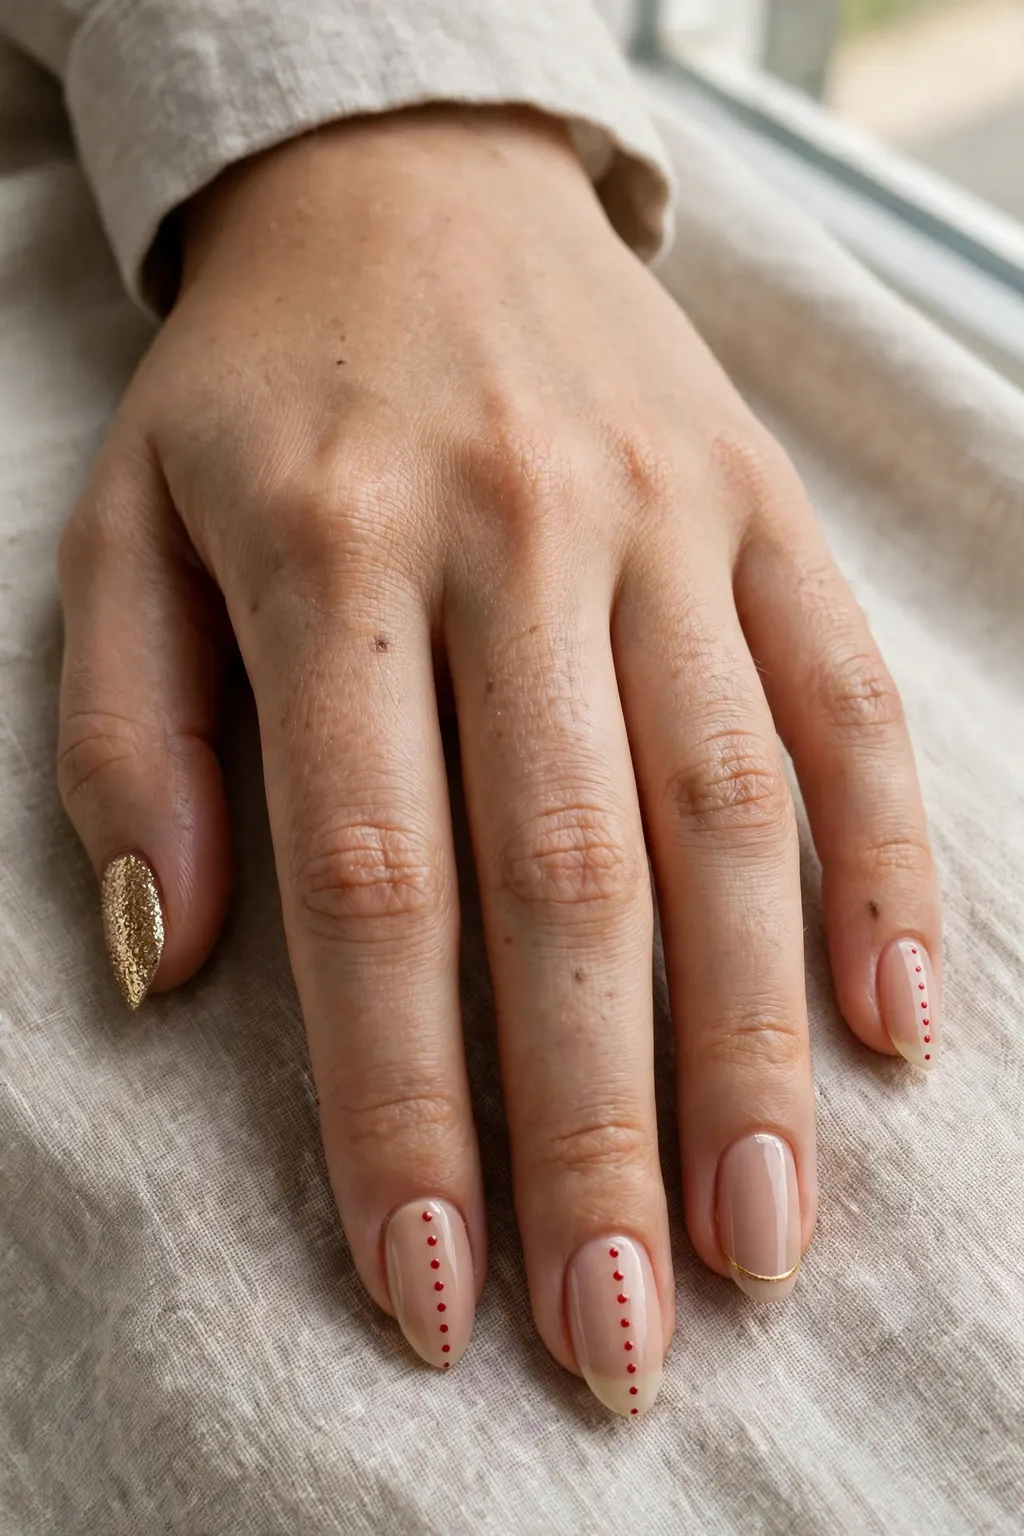
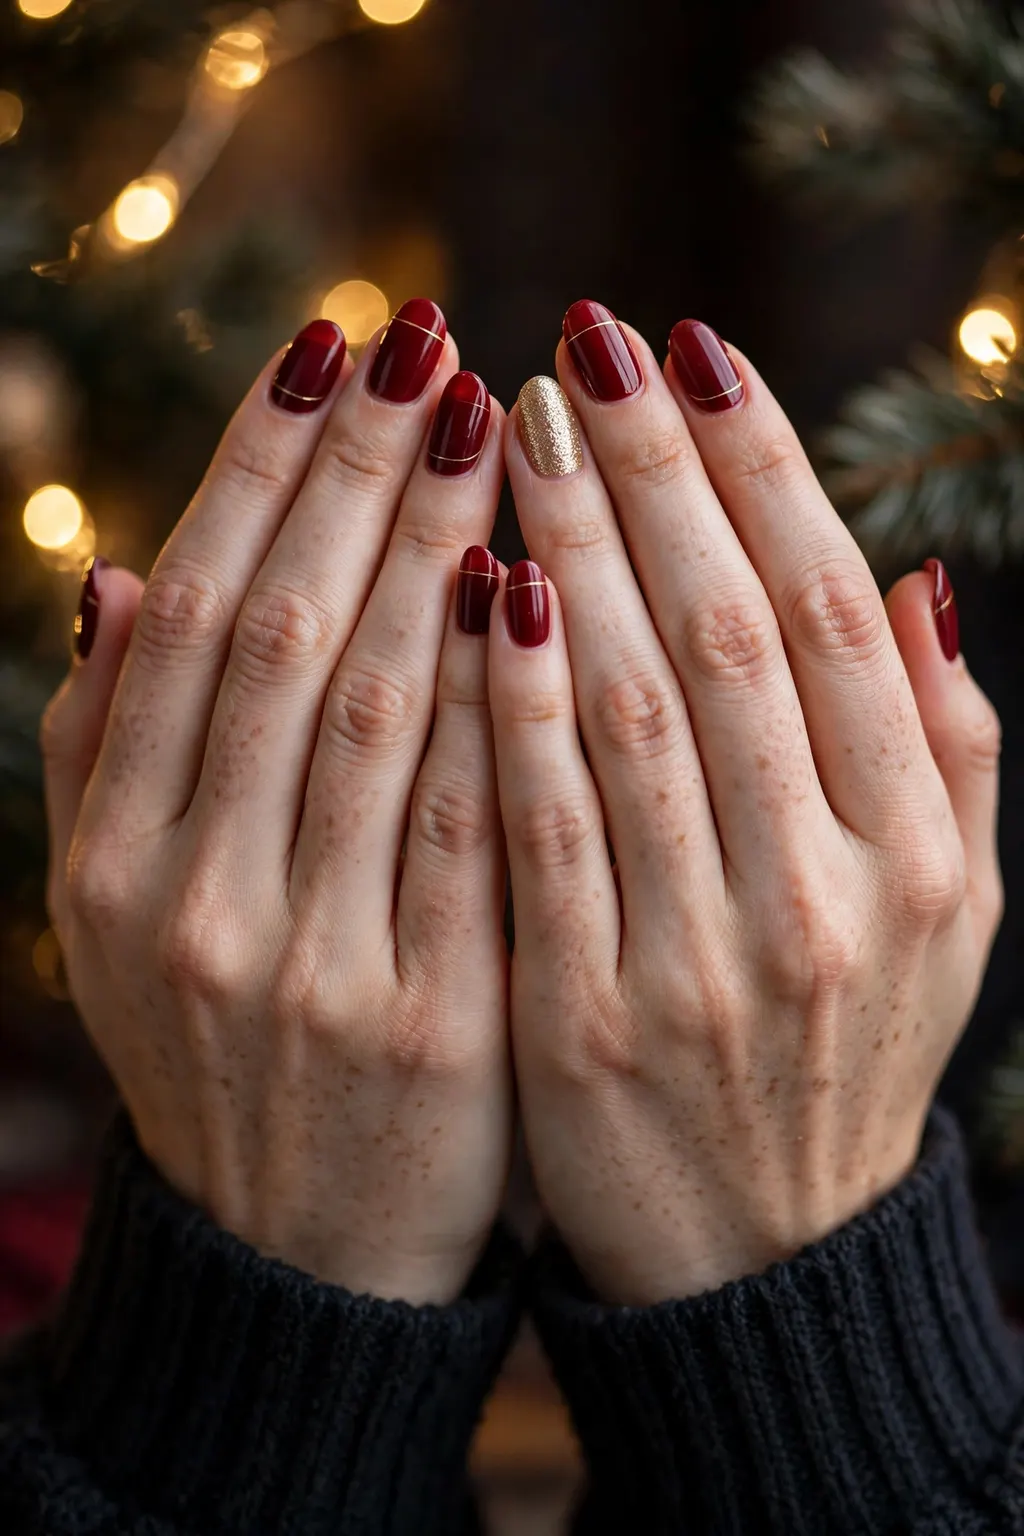
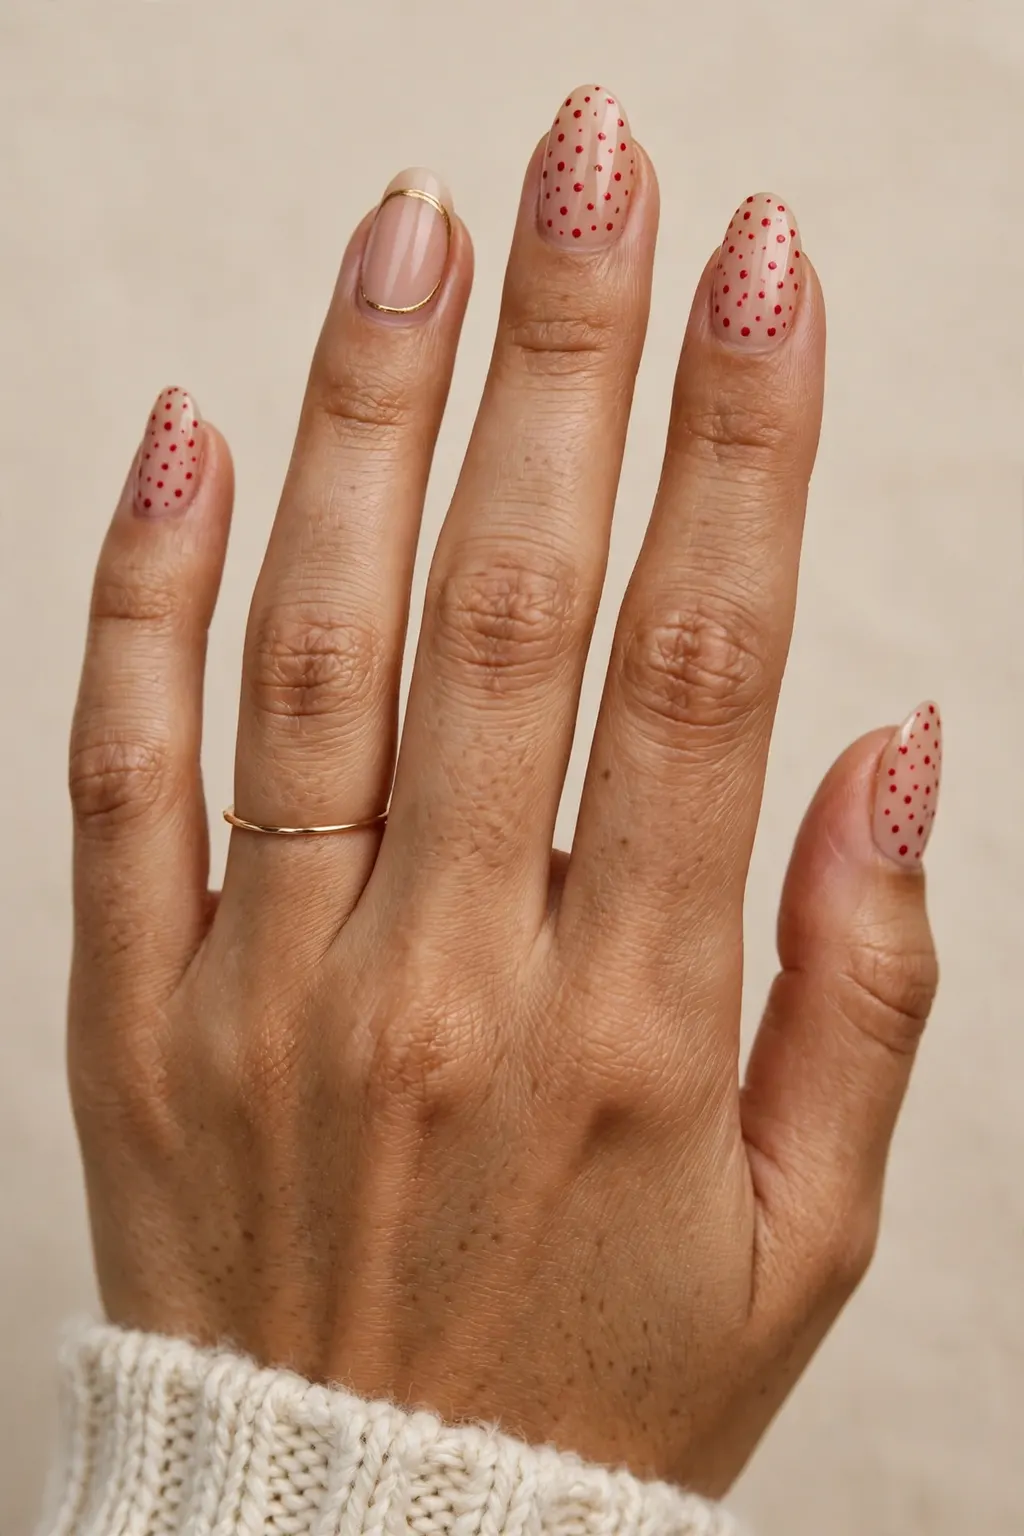
Simple Christmas designs are the backbone of this list, and they are the ones most women actually wear. The rule is one idea per manicure, repeated cleanly: dots in a row, a single gold line, or one accent nail while the rest stay plain. Design 1 — red dots on a nude base: tiny red dots down the centre of each nail, like berries on a branch. Design 2 — gold line French: a nude base with one thin gold line where the French smile line would sit. Design 3 — one glitter accent: nine plain deep-red nails and one gold glitter ring finger. Design 4 — tiny gold star accent: a cream base with one tiny gold star on each ring finger and nothing else. Design 5 — negative-space line: a bare nail with a single diagonal red line across the tip. Each of these takes under an hour, suits every length, and photographs cleanly because there is nothing to blur at arm’s length. If you can paint a straight line, you can do designs 1, 2 and 5 at home; designs 3 and 4 need only a glitter polish and a dotting tool.
Step by step
Base coat, two thin coats of your base colour, cured between coats. Add the detail — dots with a dotting tool, lines with a striping brush, glitter on one nail only — then seal with two glossy top coats. Let each layer cure fully before the next; rushing is what smudges a simple design.
Common mistakes to avoid
Putting the detail on every nail instead of one or two — that is what turns elegant into busy. Painting dots too large, so they read as blobs; and skipping the second top coat, which is what keeps a gold line from lifting at the tip.
Products and tools that help
A dotting tool, a fine striping brush, a gold glitter polish, and a no-wipe glossy top coat. At home, a toothpick works as a dotting tool in a pinch, and cuticle oil daily keeps the set looking fresh.
Elegant Christmas Designs: Milky Bases & Gold Detail
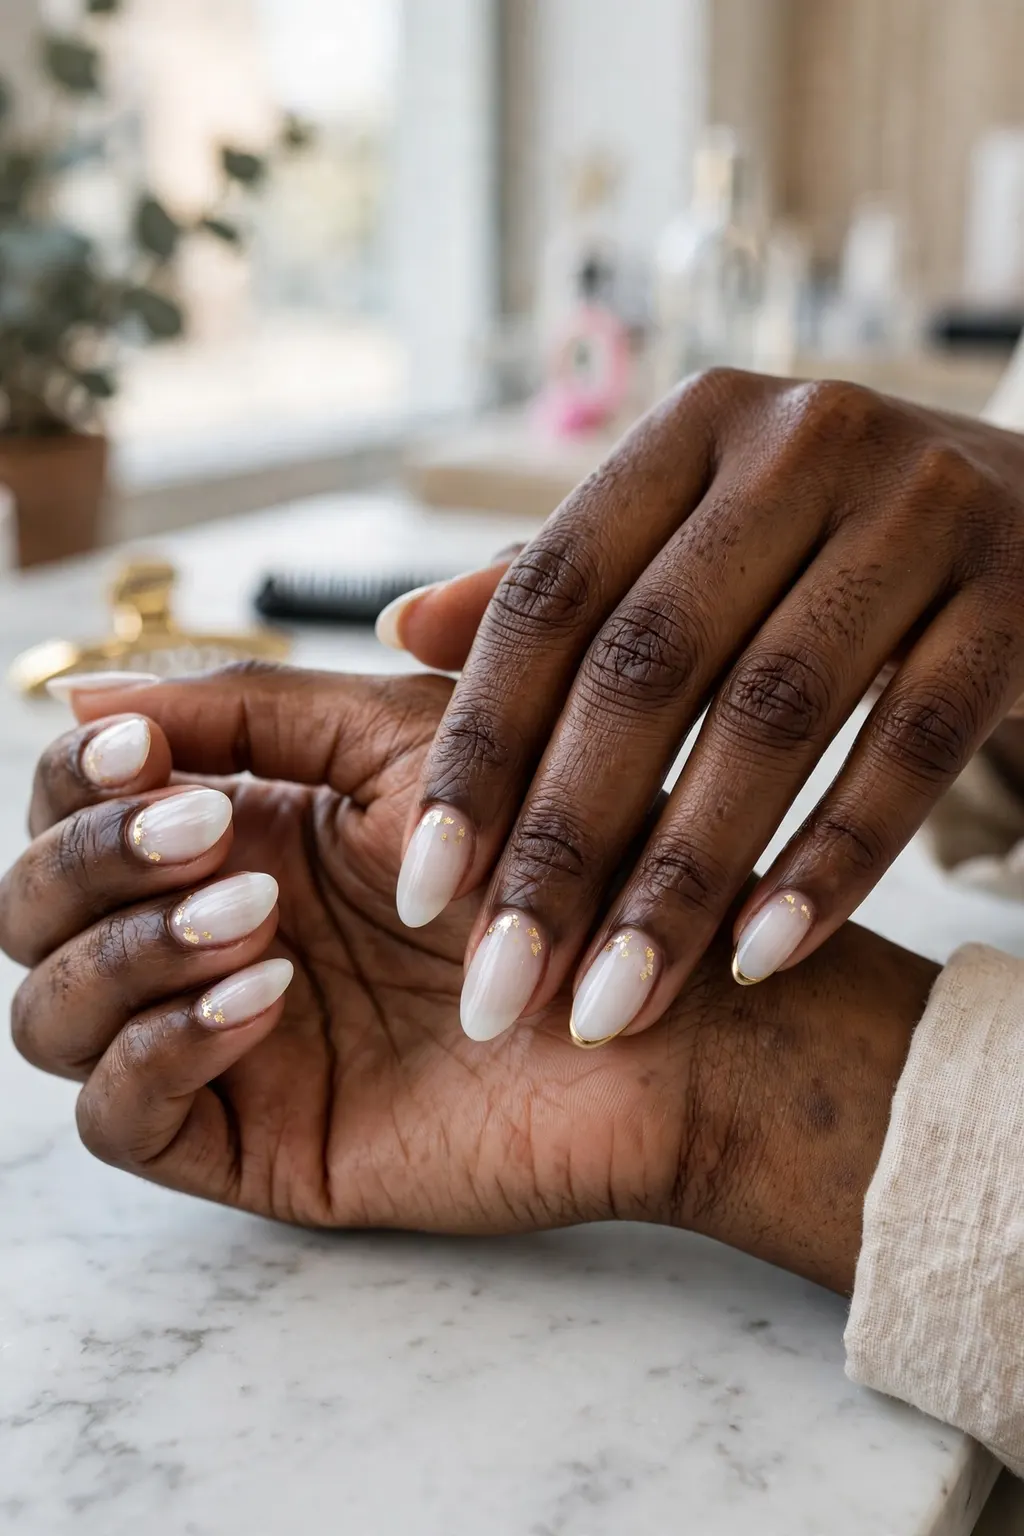
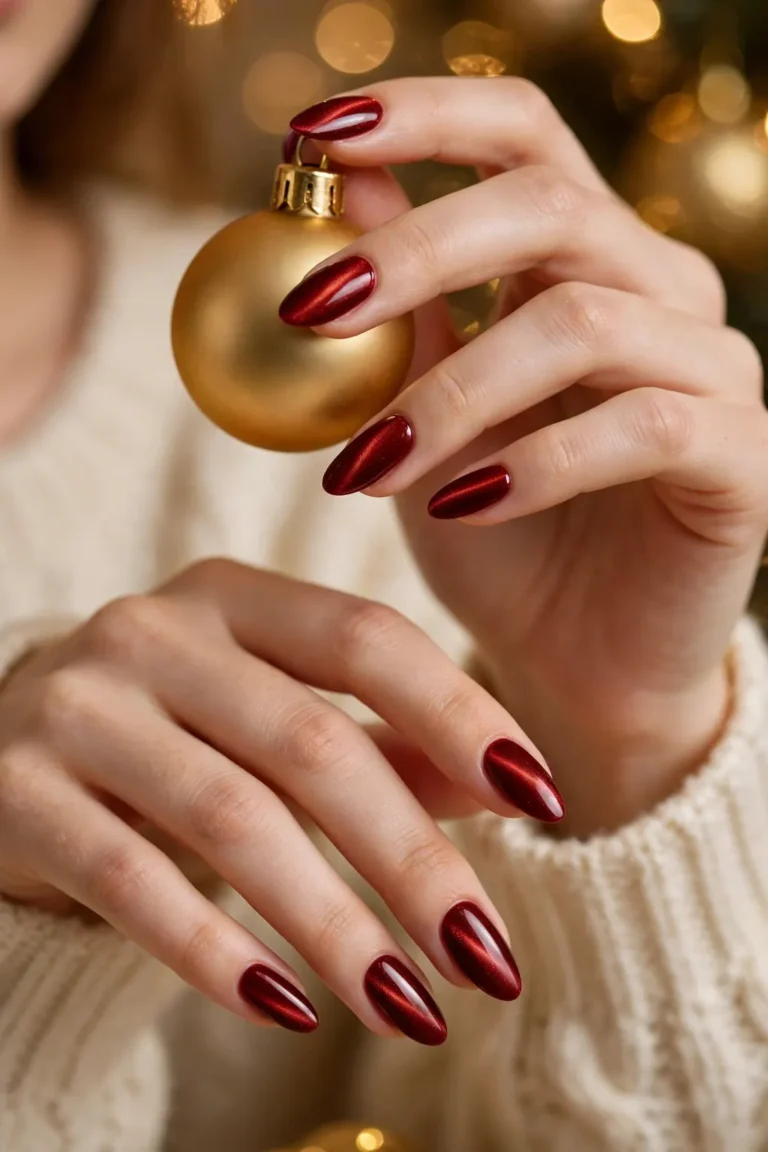
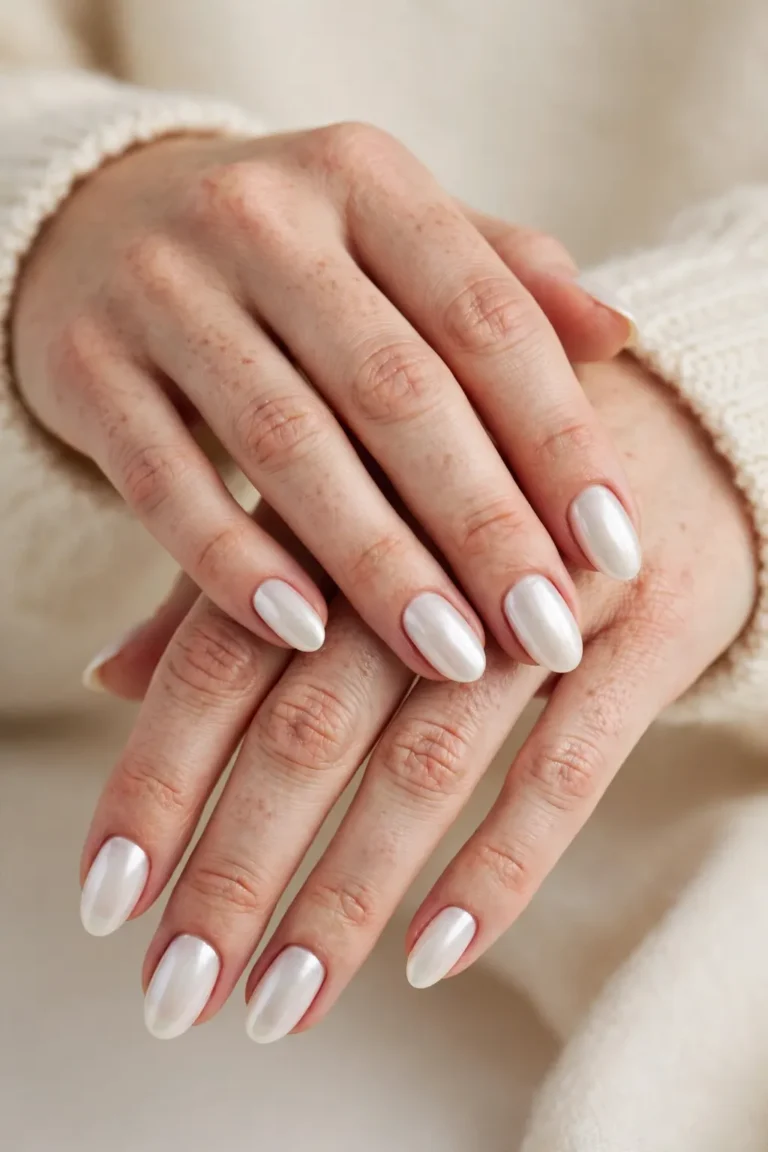
Elegant Christmas designs are quiet luxury: milky bases, thin gold detail, and nothing that shouts. They are the designs for the woman who wants her nails noticed in a close-up, not across the room. Design 6 — milky base with gold foil flakes: a sheer milky white base with tiny gold foil pieces pressed near the cuticle, like light catching snow. Design 7 — gold French on milky almond: the classic French tip redrawn in thin gold over a milky base. Design 8 — pearl shimmer over nude: a nude base with pearl powder buffed over the top, finished with one tiny gold dot on each ring finger. Design 9 — gold micro-detail on deep red: a deep red base with a single fine gold line arcing across each nail near the tip. These four are the most photographed designs in this guide, because milky bases and gold read as expensive in every light — daylight, candlelight and flash. They pair naturally with the soft-glam finish in our Christmas nails guide, where milky chrome and gold glitter sit in the same party-week wardrobe.
Who should skip this version
Skip the milky bases if your nails are very ridged or peeling: pale, sheer bases show every flaw the colour cannot hide. Get a smoothing builder base first, or choose a deeper red from the colour section below.
Works best on: shapes and lengths
Medium almond first — the tapered shape stretches the milky glow — then short squoval, where a milky base with one gold detail reads clean and deliberate. Long square nails suit design 7 best, because the straight tip line suits the French shape.
Maintenance schedule
Two to three weeks in gel. Milky bases show regrowth faster than dark colours, so book your fill when the cuticle line reaches about two millimetres, and oil daily to keep the top coat from lifting at the free edge.
Short-Nail Christmas Designs That Don’t Crowd the Nail
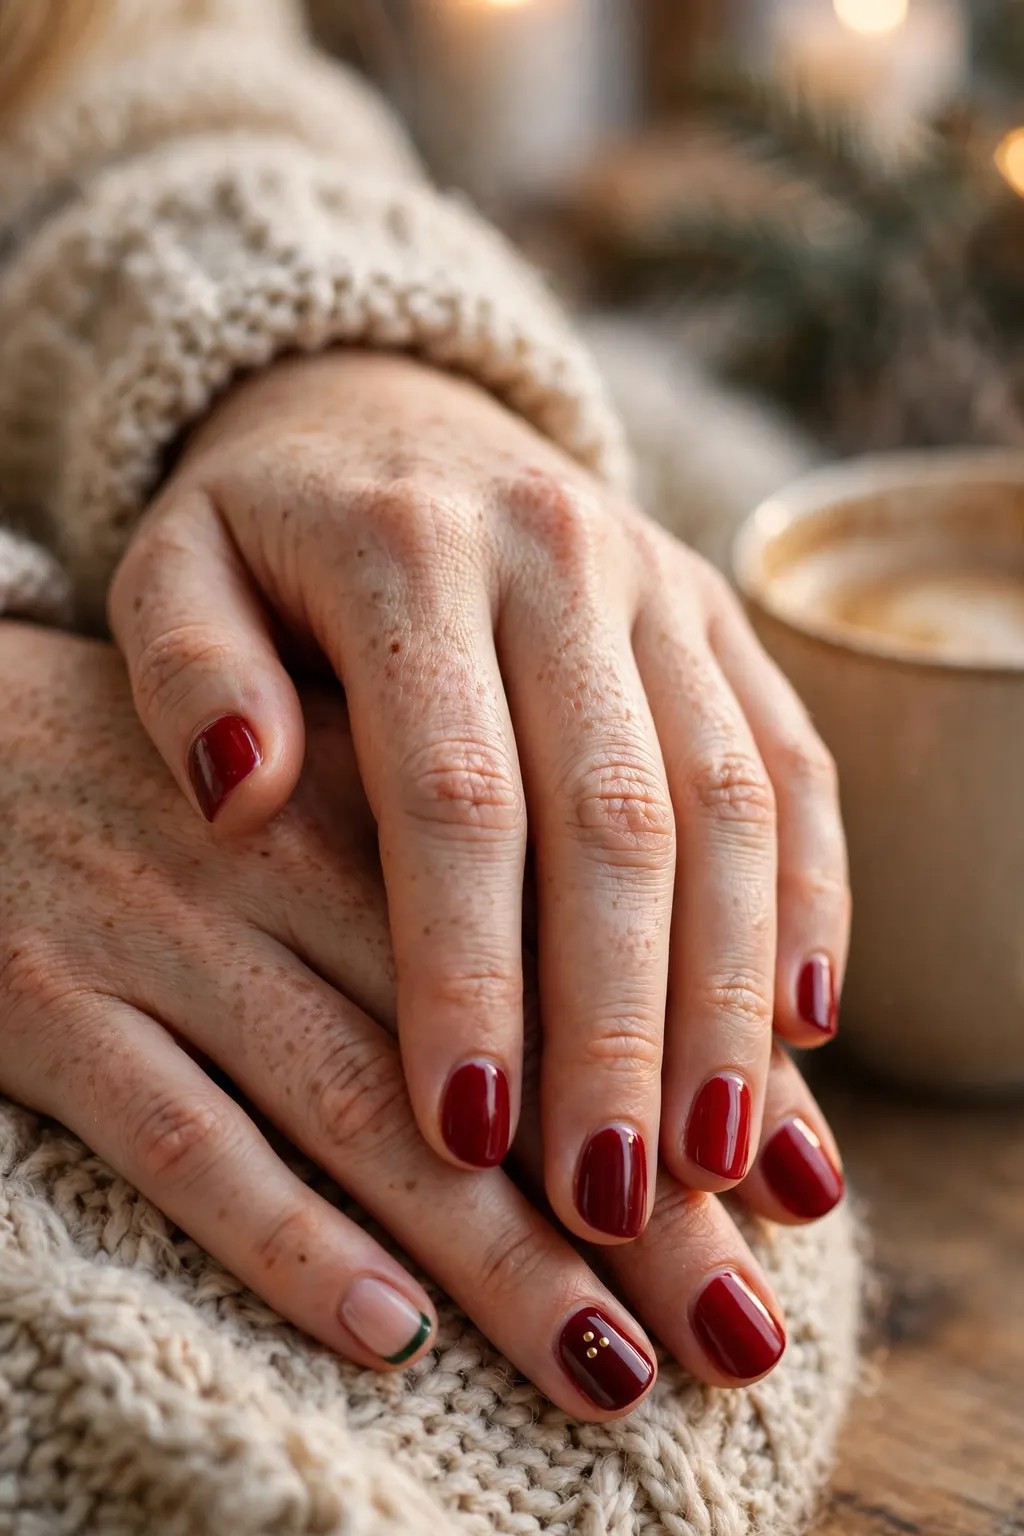
Short nails need designs with breathing room: one small detail per nail, placed where the eye lands once, not a pattern fighting for space. The mistake is shrinking a long-nail design onto a short nail — a full snowflake scene on a short nail looks crowded, while one snowflake on one nail looks intentional. Design 10 — short deep red, plain and glossy: no art at all, just a perfect deep red on short natural nails — the most worn Christmas design there is. Design 11 — short green French: a nude base with a slim dark-green tip, a Christmas French that suits an office as well as a party. Design 12 — short gold dots: a cream base with three tiny gold dots in a triangle on each nail. Design 13 — short snowflake accent: nine plain white or nude nails with one hand-painted snowflake on each ring finger. Designs 10 to 13 are the lowest-maintenance designs in this list: they grow out gracefully, they survive typing and cooking, and a tiny chip on a short nail is invisible at arm’s length.
Best for: nail shapes, lengths and skin tones
Short natural nails, short squoval and short almond — any length where the free edge is under about three millimetres. Every skin tone: deep red flatters fair and deep skin equally, green French suits olive skin beautifully, and gold dots warm up every tone.
The exact wording to show your nail tech
Say: “Short nails, design number [X] — keep the detail small and on the accent nails only, I don’t want the nail crowded.” That one sentence stops a tech from scaling a long-nail pattern down onto your nails.
How long it lasts and what it costs
Two to three weeks in gel, often the cheapest designs in the list — designs 10 and 12 are usually priced as a standard gel set with no art fee, and design 13 adds only a small per-nail art charge for the two accent snowflakes.
Long-Nail Christmas Designs With Room to Play
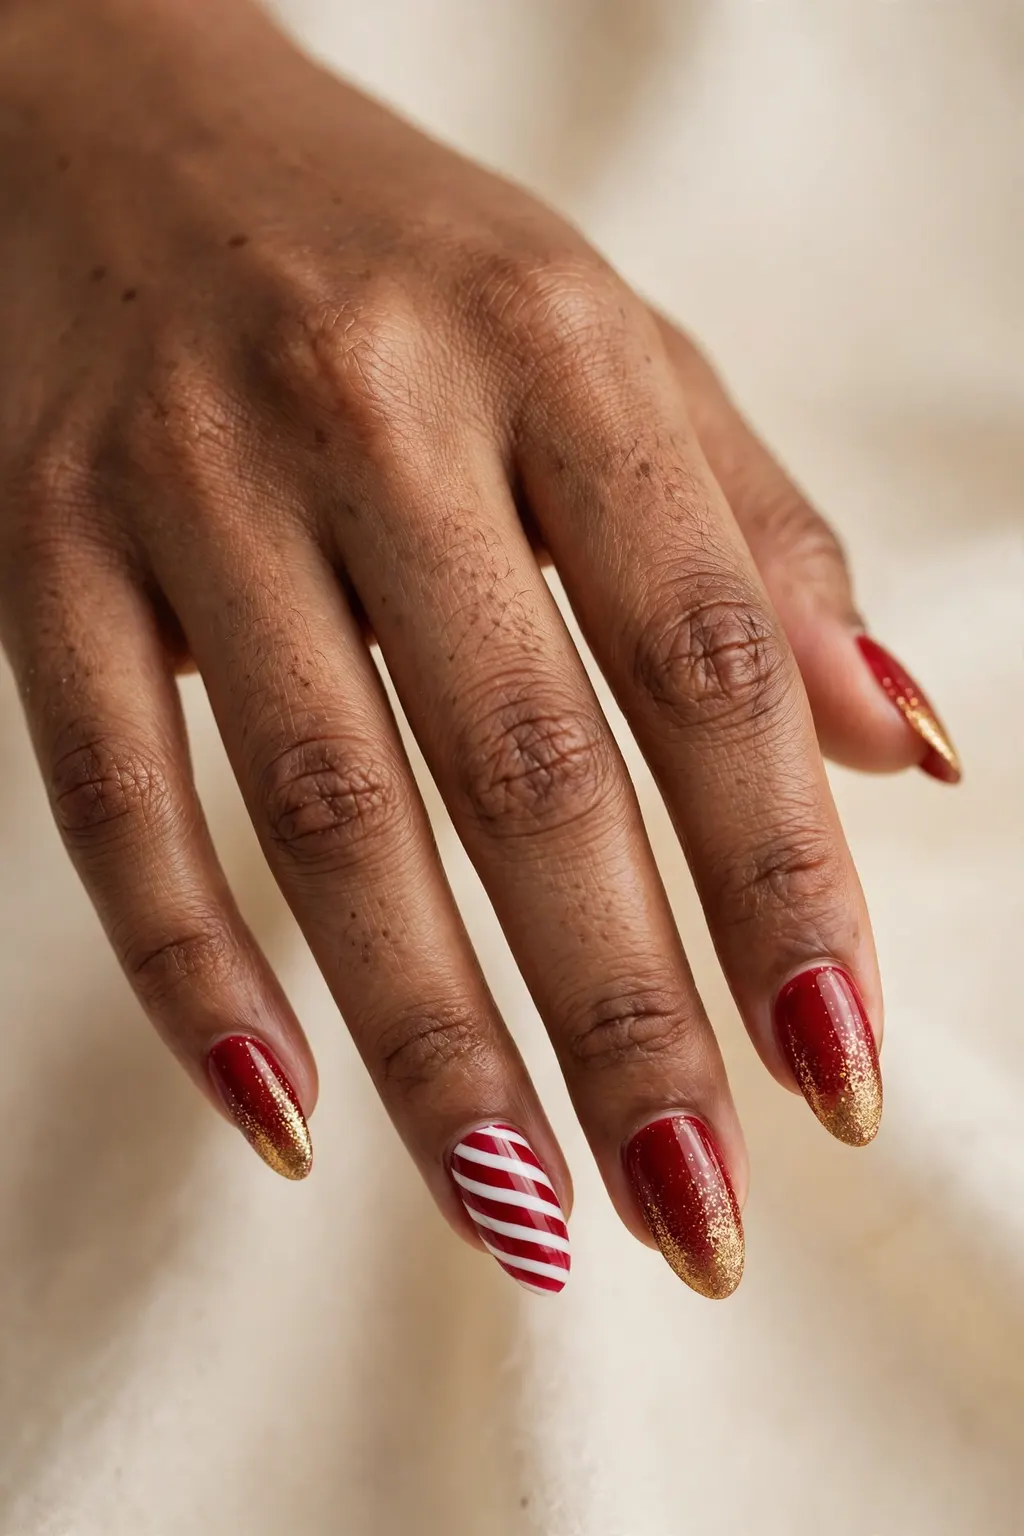
Long nails are where Christmas designs get to breathe: there is room for ombré, stripes and scenes without crowding, and the length itself does half the work. Design 14 — red-to-gold ombré: deep red at the cuticle fading to gold glitter at the tip, the party-week classic. Design 15 — long candy stripes: a cream base with diagonal red and white stripes on two accent nails, the rest plain red. Design 16 — long snowflake scene: a deep green base with hand-painted white snowflakes drifting down two accent nails. Design 17 — long chrome tips: a nude base with milky chrome tips, gold at the very edge — Christmas light, caught on the nail. These four are the most dramatic designs in the guide, and the ones that need the most care: long nails chip at the tip first, so the top coat matters more here than anywhere else. If your nails are extensions rather than natural length, ask for a builder overlay to protect them before the art goes on.
Step by step
Shape first, then base: file long nails into almond or coffin before any colour goes on, because the shape decides how the design sits. Paint the base in two thin coats, add the detail — ombré with a sponge, stripes with a striping brush, snowflakes with a fine liner — then seal with two top coats and cap the free edge.
Common mistakes to avoid
Ombré blended too far down the nail, so the whole nail turns muddy instead of fading; stripes of uneven width, which the eye catches instantly; and hand-painted scenes on every nail, which is how a long set turns from festive to frantic.
Products and tools that help
A makeup sponge for ombré, a fine liner brush for snowflakes and stripes, a gold glitter polish for the ombré tip, and a glass nail file for keeping the free edge smooth so the top coat seals cleanly.
Hand-Painted Classics: Snowflakes, Bows & Candy Stripes
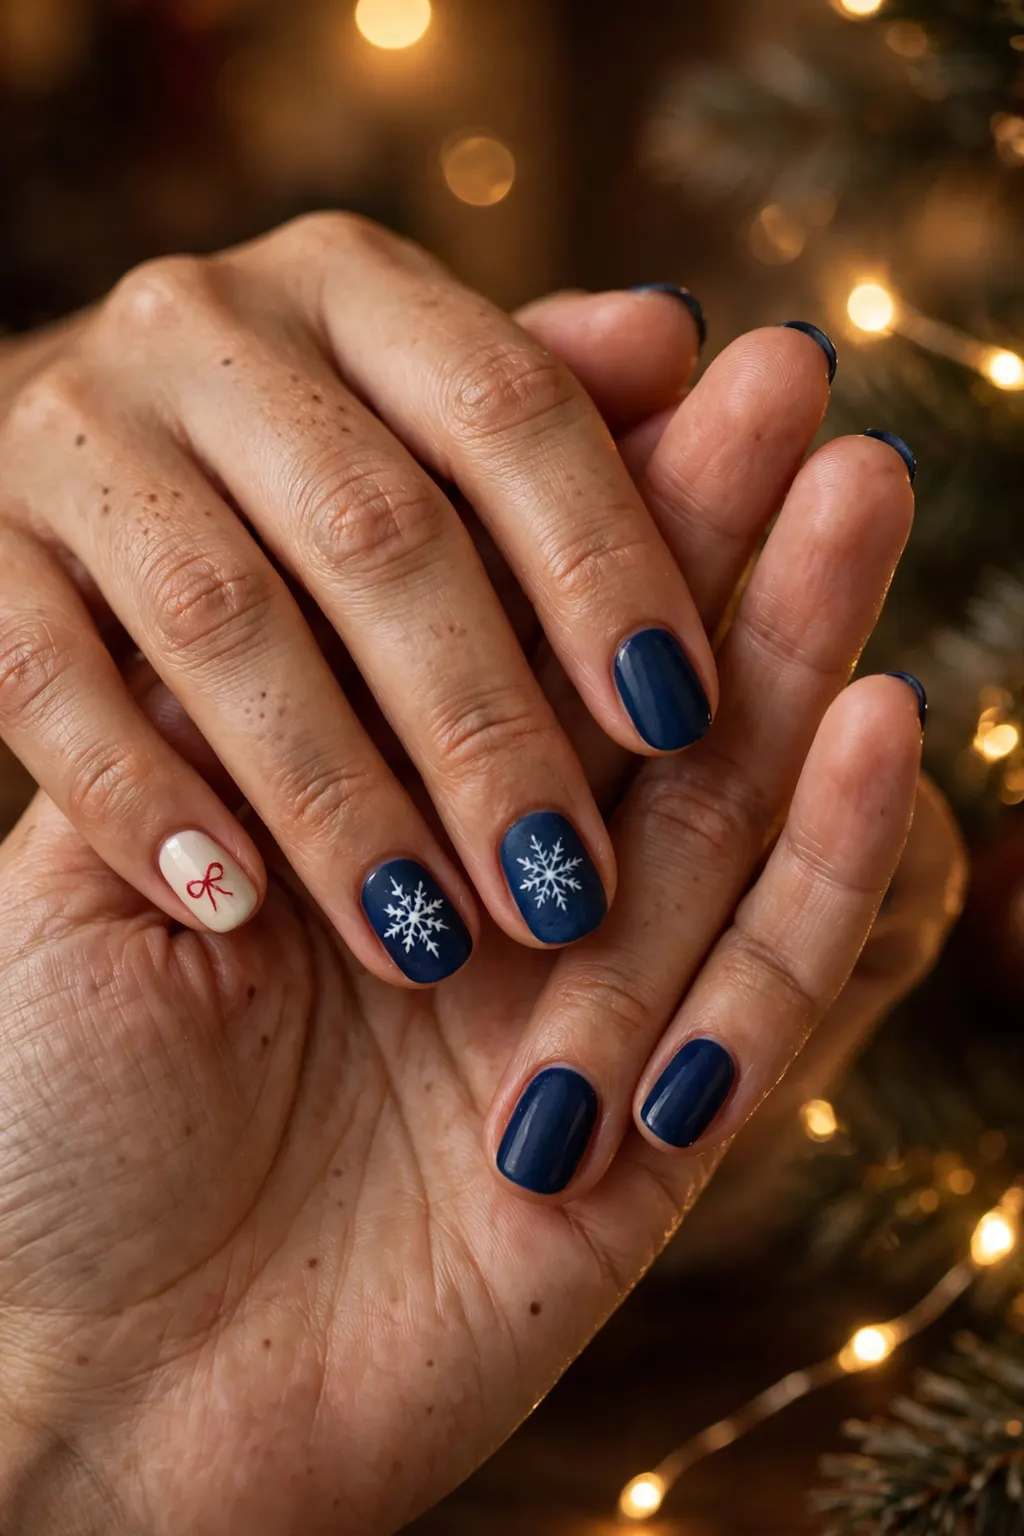
Hand-painted classics are the designs people photograph and ask about: snowflakes, bows and candy stripes, painted by hand, one nail at a time. They take the longest and cost the most, and they are worth it exactly once a year. Design 18 — painted snowflakes on navy: a deep navy base with white hand-painted snowflakes, one large flake per accent nail. Design 19 — red bows on cream: a cream base with tiny hand-painted red bows on the ring fingers, the rest plain cream. Design 20 — candy-cane stripes: alternating red and white diagonal stripes on two accent nails over a nude base. Design 21 — holly and berries: a deep green accent nail with hand-painted holly leaves and red berries, the rest of the set in plain deep red. The secret to hand-painted designs is restraint: two accent nails carry the art, eight nails carry the colour. A full set of painted snowflakes is a Christmas card; two snowflakes is a manicure.
Who should skip this version
Skip hand-painted art if you are short on time or budget — these designs need 75 to 90 minutes and a tech who paints regularly. If your salon does not show hand-painted work in its own photos, do not be its first test: choose a simpler design from this list instead.
Works best on: shapes and lengths
Medium to long almond and coffin shapes, which give the brush room to work. Short nails can carry design 19 (the bow) and design 20 (the stripe) on one accent nail each, but designs 18 and 21 need the length to read.
Maintenance schedule
Two to three weeks in gel, same as any set — but book the fill earlier if an accent nail chips, because a chipped snowflake is more visible than a chipped plain nail. Keep the set away from hot water on the first evening so the art seals properly.
Designs by Colour: Red, Green, White, Gold & Pink
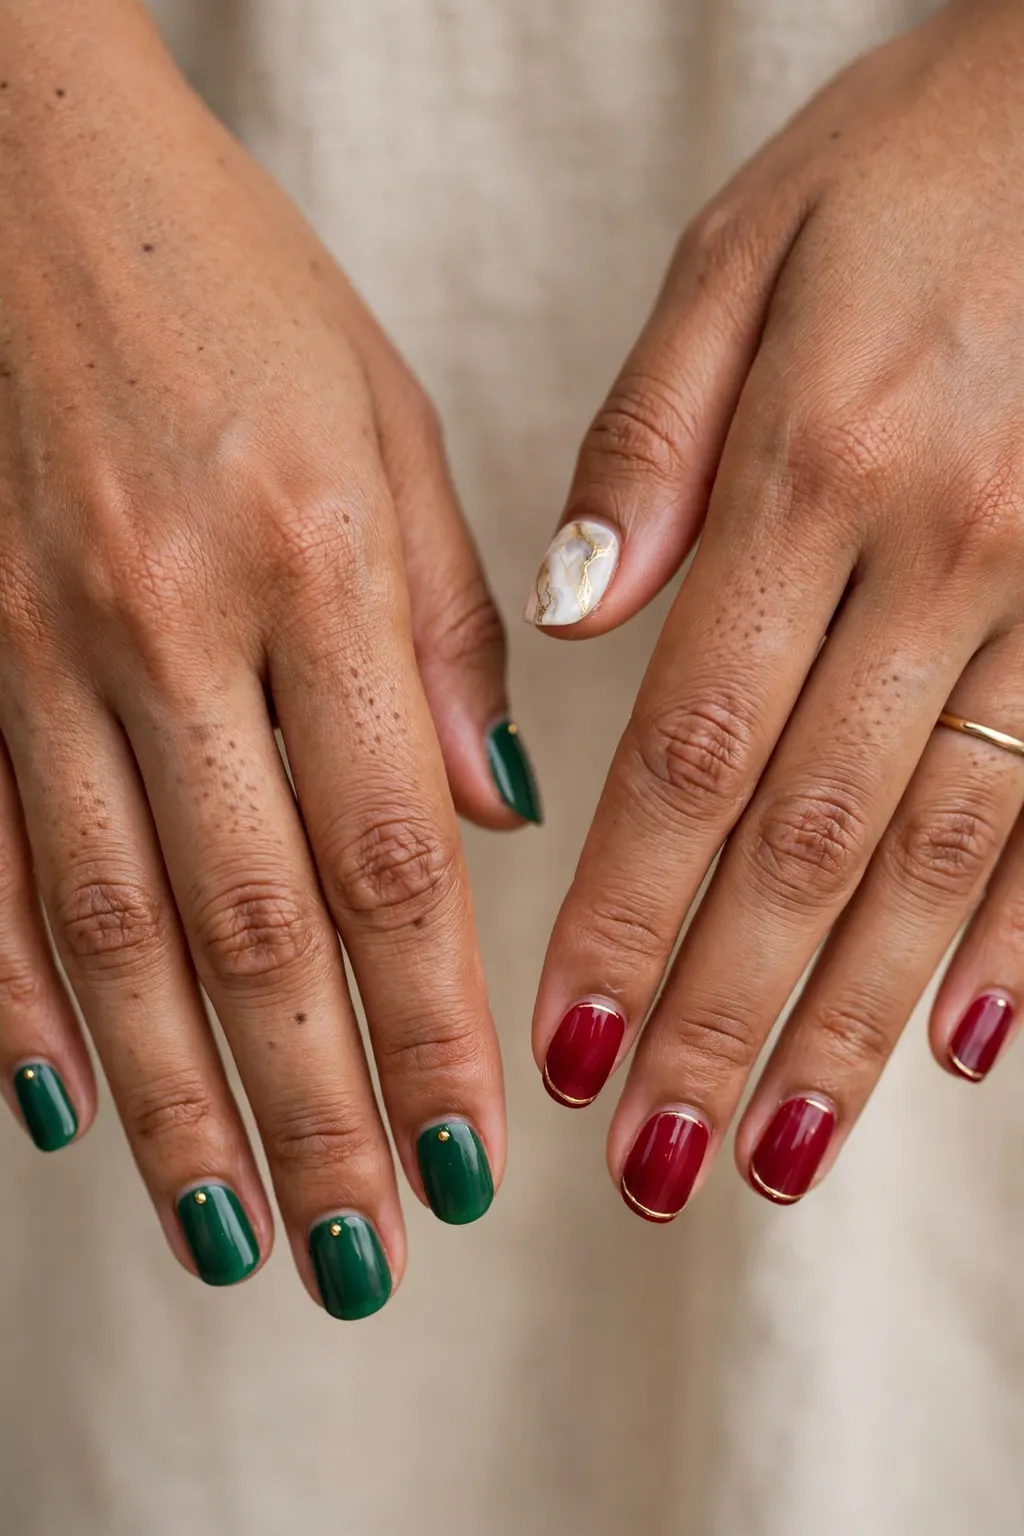
If you already know your colour, start here: pick the family, then pick the design inside it. Design 22 — emerald green with gold dots: a deep emerald base, one gold dot at the base of each nail, festive without being loud. Design 23 — cranberry with a gold French tip: a cranberry base with a thin gold smile line, the richest red in this guide. Design 24 — white and gold marble: a white base with fine gold veins, like gift wrap, on two accent nails and plain white elsewhere. Design 25 — blush pink with silver snowflakes: a soft blush base with tiny silver snowflakes on the ring fingers, the gentlest Christmas design here and the best one for anyone who finds red too bold. Colour is also the fastest way to match your outfit: emerald and cranberry suit black and cream evening wear, white and gold suit a pale winter coat, and blush pink suits anything you already own. If you are still choosing the rest of your party look, our guide to wedding guest hairstyles shows the soft, polished styles that sit best beside a glowing festive manicure.
Best for: nail shapes, lengths and skin tones
Every length and every skin tone — colour is the most forgiving way to choose. Emerald and cranberry glow on deep skin; white and gold flatter fair skin; blush pink suits everyone and is the safest first Christmas design for anyone new to nail art.
The exact wording to show your nail tech
Say: “Design number [X] — [colour] base, [detail] on the accent nails, glossy finish.” Naming the colour family first lets the tech pull the right polishes before the design conversation even starts.
How long it lasts and what it costs
Two to three weeks in gel. Colour-only designs (22 and 23) are usually standard gel prices; marble and snowflake accents (24 and 25) add a small art fee for the two accent nails.
What to Ask Your Nail Tech: Bringing a Design Photo That Works
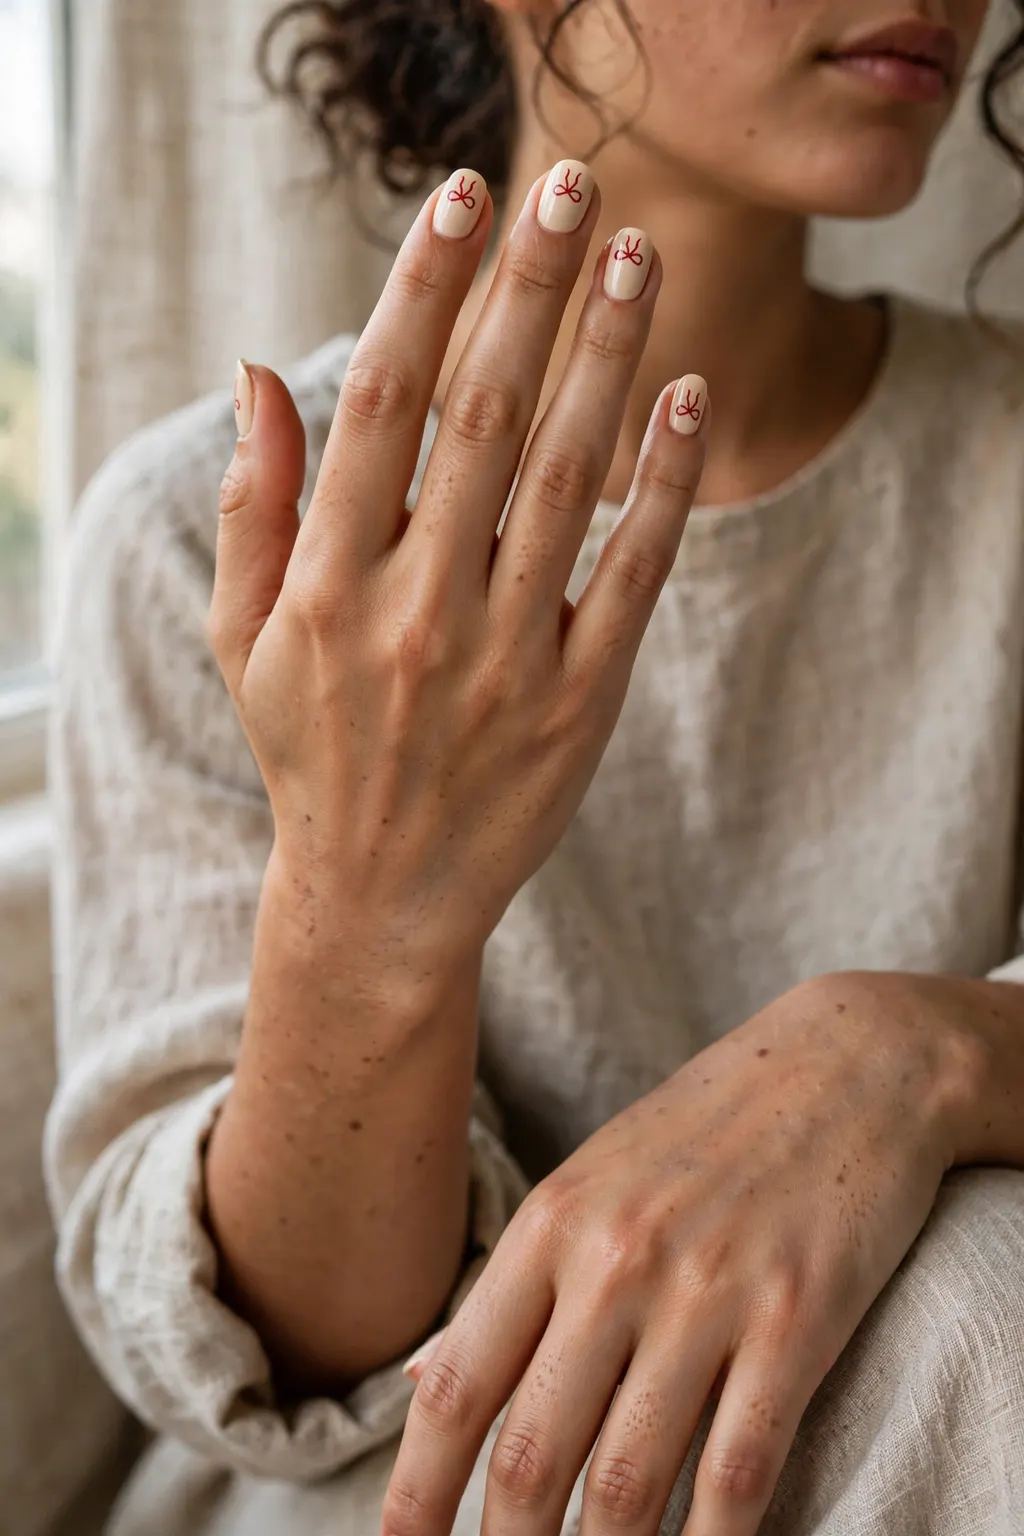
Bringing a design photo is the single best thing you can do for a Christmas manicure — and the single easiest thing to get wrong. A good photo shows one design, on nails about your length, in light you can actually see. A bad photo shows five designs at once, on stiletto extensions, under a ring light, and leaves your tech guessing which part you want. Screenshot the one design number from this guide, zoom in so the accent nail fills the screen, and show it before any polish is chosen. Ask two questions out loud: “Can you do this design on my nail length?” and “How long will it take?” If the answer to the first is no, ask which design from the same family works on your length instead of forcing it — a tech who tells you honestly is saving you from a crowded, disappointing set. The salon brief below is written to be read aloud or pasted into a booking message.
Your Christmas nail designs salon brief
- Design: “Design number [X] — [colour] base, [detail] on the accent nails only.”
- Length and shape: “My natural length, [short squoval / medium almond]” — with a builder overlay if your nails need strength.
- Finish: “Glossy top coat, two coats” — the second coat is what keeps dots, lines and gold detail from lifting at the tip.
- Timing: “Booked two to three days before the event” — never the morning of, so a smudge can be fixed.
- The exact sentence: “I want design number [X] from the Christmas list — [colour] base, detail on the accent nails only, glossy top coat, two to three days before my party.”
Two more things worth saying out loud: confirm the total price, including any per-nail art fee, before the first coat goes on — and ask the tech to show you the accent nail before finishing the rest, so a design you do not love can be changed while it is still one nail.
Step by step
Pick your design number first, then your colour family, then your shape. Show the photo, confirm the price and the time, and ask to see the accent nail before the set is finished. That order — design, colour, shape, price, preview — is what turns a screenshot into a manicure you actually wanted.
Common mistakes to avoid
Showing five inspiration photos instead of one; choosing a long-nail design for short nails and expecting it to shrink cleanly; and booking the morning of the event, when there is no time to fix a smudge or a design that does not sit right.
Products and tools that help
A screenshot of your single design number, saved to your phone before the appointment; a photo of your own nails at their current length, so the tech can judge what fits; and cuticle oil in your bag for after the appointment.
From Christmas to New Year: Refresh, Don’t Redo
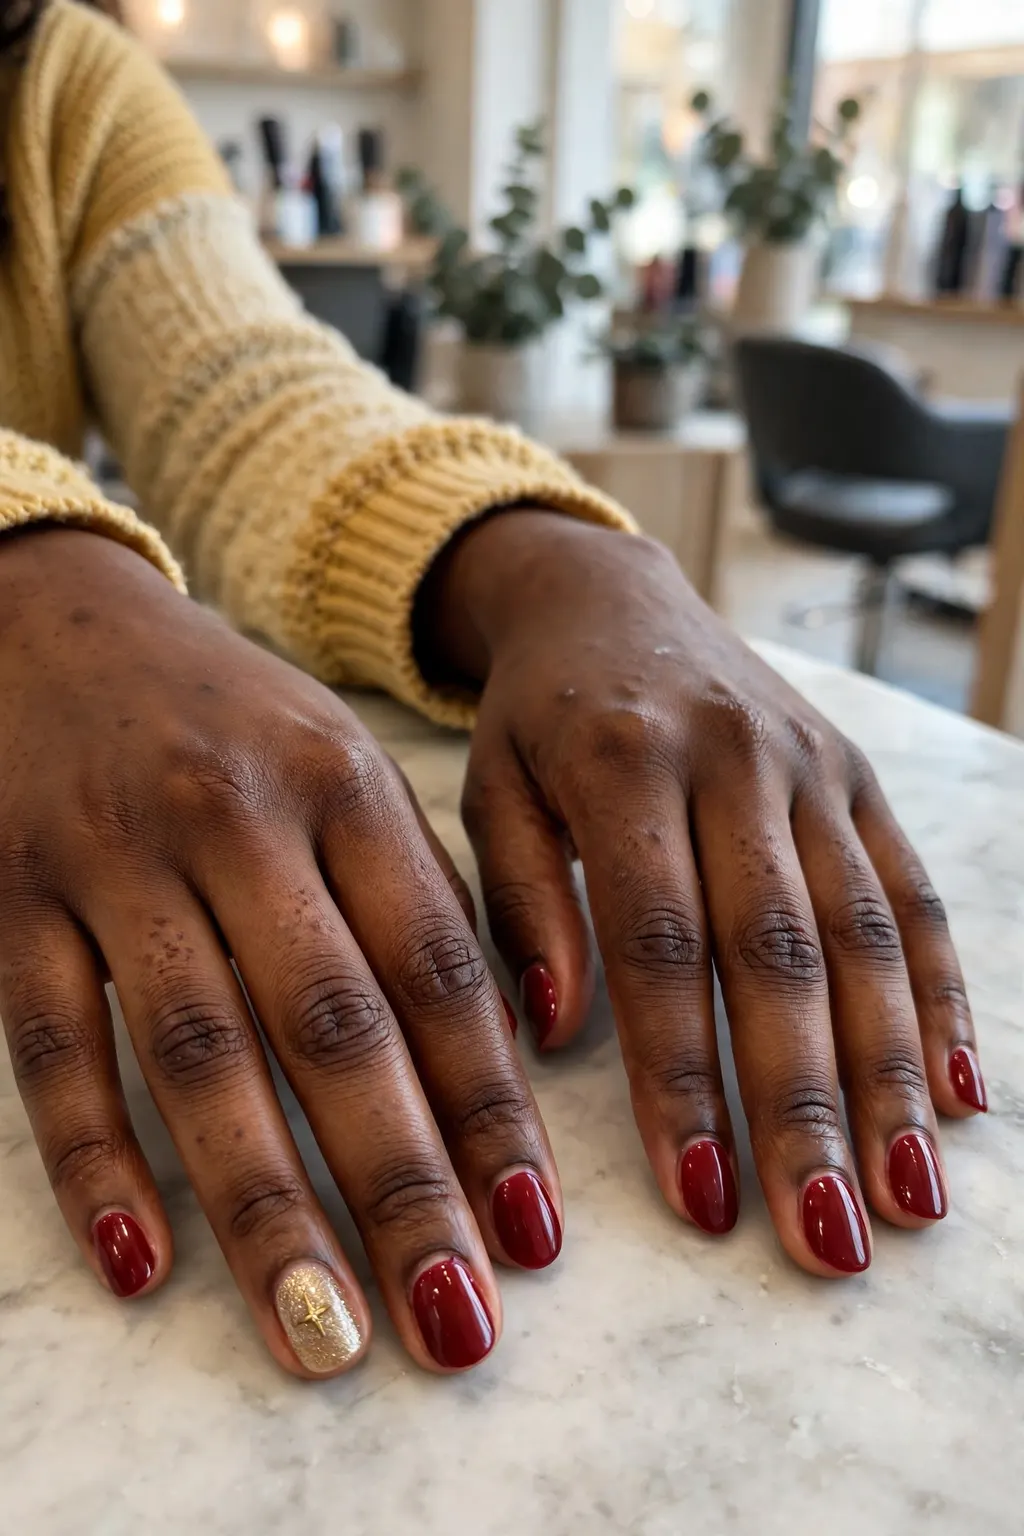
Christmas to New Year is one manicure’s lifetime, not two — and the designs in this guide are chosen to survive both. A Christmas set done on 20 December should still look good on 1 January, and the trick is a refresh, not a redo: change the accent, not the whole set. Keep your base colour and swap the detail — replace a snowflake accent with a gold glitter accent, add a gold line over a red base, or paint one New Year star onto the ring fingers. Designs 1 to 5 (dots, lines, one accent) refresh the easiest, because the base is plain enough to take a new detail. Designs 18 to 21 (hand-painted classics) refresh the hardest, because the art is the whole point — if you love a painted snowflake, wear it through New Year and book the next set for January instead. The practical move is to book the Christmas set for 20 to 22 December and a refresh appointment for 29 to 30 December: a 20-minute accent swap, not a full hour-long set, and your nails go into the new year looking intentional instead of grown out.
Who should skip this version
Skip the refresh plan if your set is already lifting or chipped by 27 December — a refresh cannot save a failing base. Book a full new set instead, and choose a plain colour from the colour section for the New Year week.
Works best on: shapes and lengths
Every length, but short nails refresh best: a short set hides regrowth, and a new accent on a short nail reads as a deliberate change rather than a cover-up. Long nails refresh well too, as long as the free edge is still sealed.
Maintenance schedule
Oil morning and night from day one, gloves for every wet job, and no nails-as-tools over the party week. At the first tiny chip, file it smooth and seal it with clear top coat the same day — a one-minute fix that carries the set from Christmas to New Year.
Frequently Asked Questions
What is the easiest Christmas nail design for beginners?
Design 1 in this guide — red dots on a nude base — is the easiest Christmas nail design for beginners. You need only a nude polish, a red polish and a dotting tool (or a toothpick): two thin coats of nude, then tiny red dots down the centre of each nail, sealed with two top coats. Design 3, one glitter accent nail on plain red, is the second-easiest — it needs no drawing at all, just one glitter polish on one nail.
How many designs should a Christmas manicure have?
One design per manicure. A Christmas manicure should carry one design family — dots, or gold detail, or hand-painted snowflakes — repeated cleanly across the set, with the art on one or two accent nails and the rest of the nails in a plain matching colour. Mixing two or three designs on different nails is the most common reason a festive manicure looks busy instead of elegant, even when each design on its own is beautiful.
Can Christmas nail designs work on very short nails?
Yes — Christmas nail designs work on very short nails, and designs 10 to 13 in this guide are made for them: plain deep red, a slim green French tip, three tiny gold dots, or one snowflake accent. The rule is one small detail per nail, placed once, with breathing room around it — a single dot reads as intentional, while a full pattern crowds the nail. Short nails also grow out the most gracefully, so a Christmas set on short nails carries into the New Year best.
Conclusion & Bottom Line
Twenty-five designs, one rule: pick a single idea, match it to your nail length, and let one colour family carry the whole set. Short nails get dots, lines and one accent; long nails get ombré, stripes and hand-painted scenes; everyone gets gold detail, because gold is the one Christmas finish that flatters every colour, every shape and every skin tone. Screenshot your design number, book two to three days before the party, and let the refresh — not a redo — carry you into the New Year.
Bottom line: One design, one colour family, accent nails only — pick your number from the 25, book it early, and your Christmas nails will still be shining on New Year’s Day. — AboutSuperstars