Velvet Espresso Brunette: The Rich Winter Brown That Isn’t Almost-Black
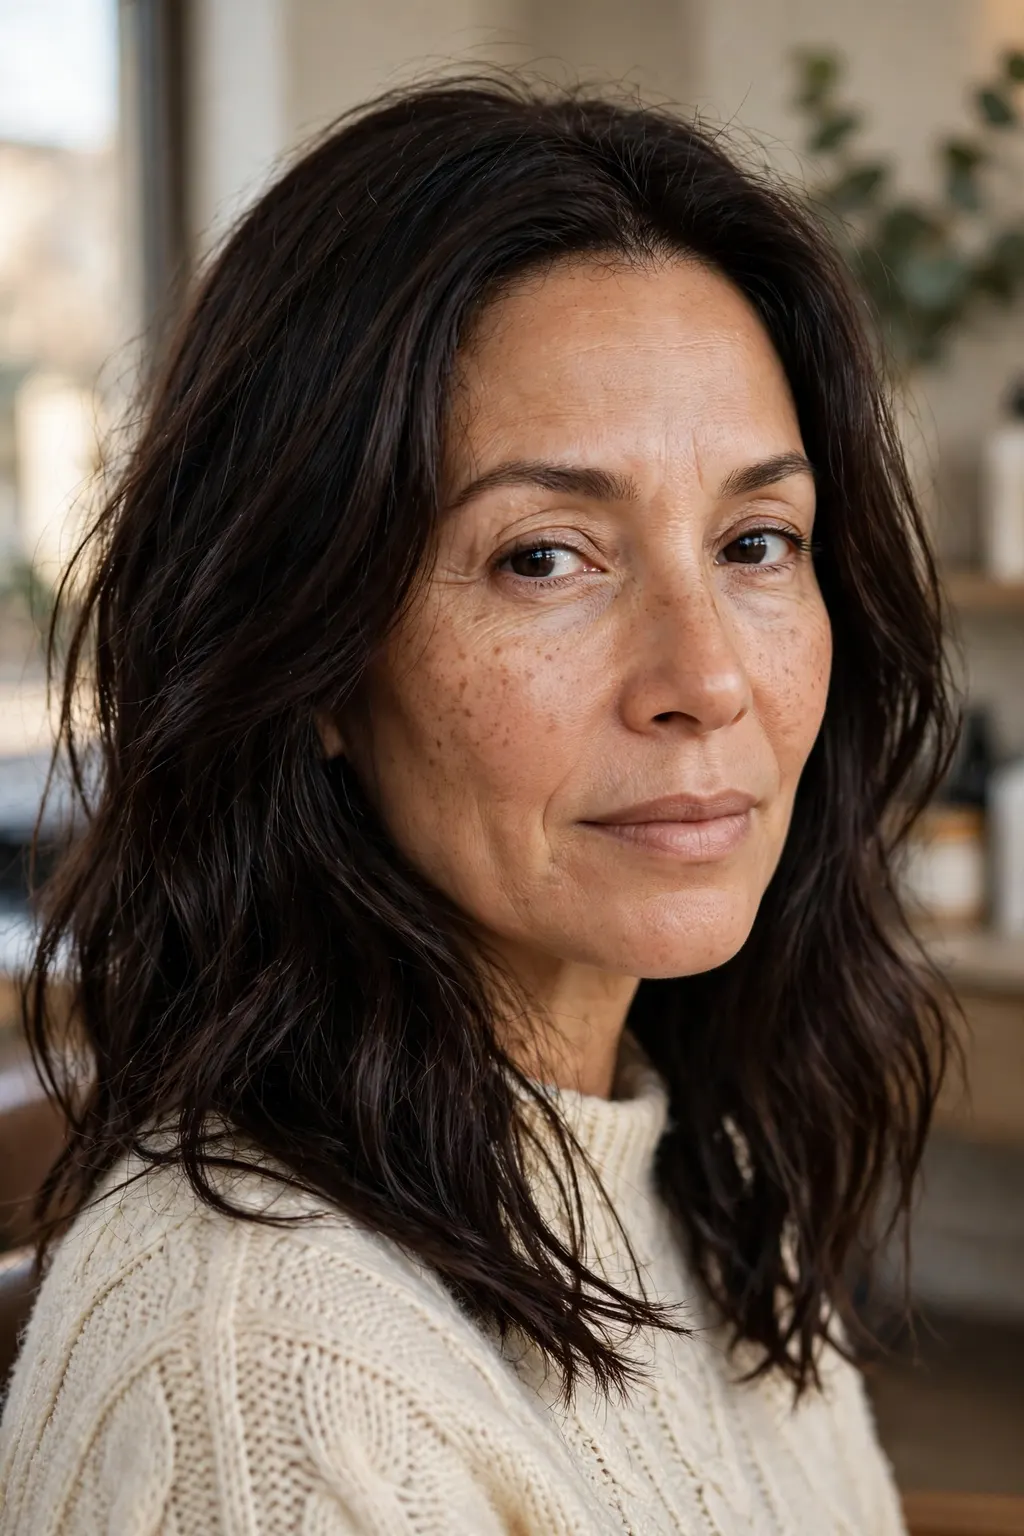
Every winter, brunettes face the same quiet dilemma: go darker for the season and risk looking almost black, or stay where you are and miss the richness winter hair is supposed to have. Velvet espresso is the answer to that dilemma — a deep, glossy brown with warmth you can see in daylight and depth that holds in a dim room, but never so dark that it swallows your features. It reads as expensive, not severe; warm, not brassy; dark, not black. This article shows how to tell it apart from the shades it gets confused with, how to ask for it in the chair, and how to keep it looking velvet rather than flat for the whole season.
Quick answer: Ask for a deep espresso base at about a level 4, with a warm, velvety tone — not ash, not red — finished with a clear or espresso gloss for shine. On previously lightened hair, the colour must be filled first or it will fade green-grey within two weeks. Then wash cool, wash less, and refresh with a gloss every 6–8 weeks.
Velvet vs Glossy vs Almost-Black: Reading the Shade
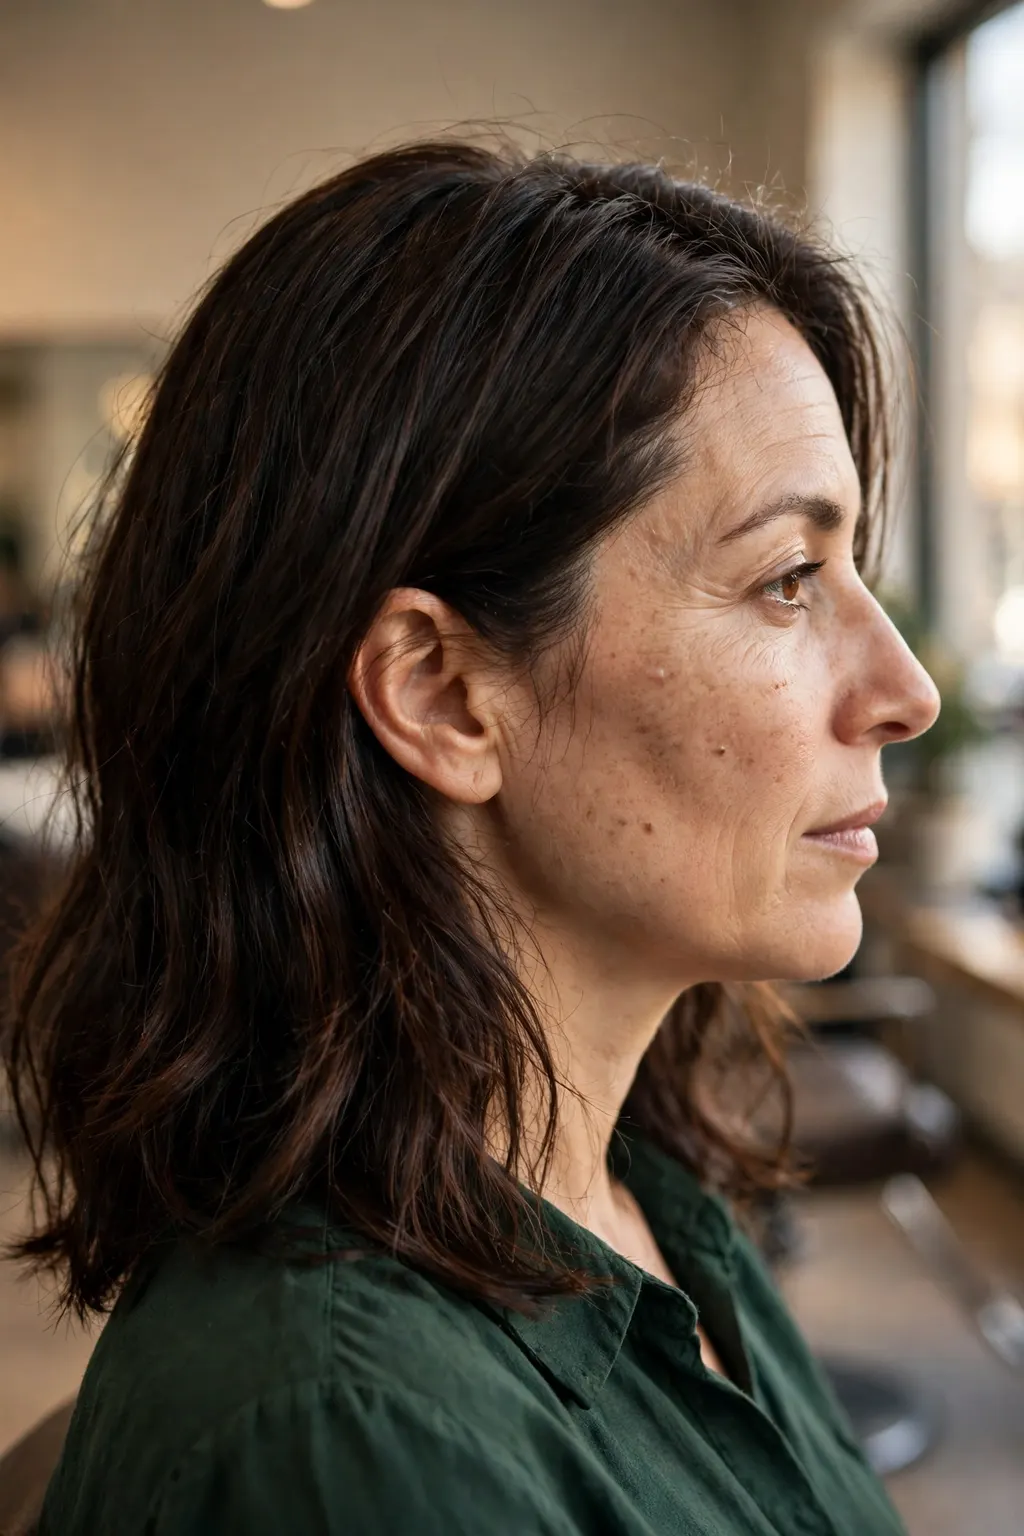
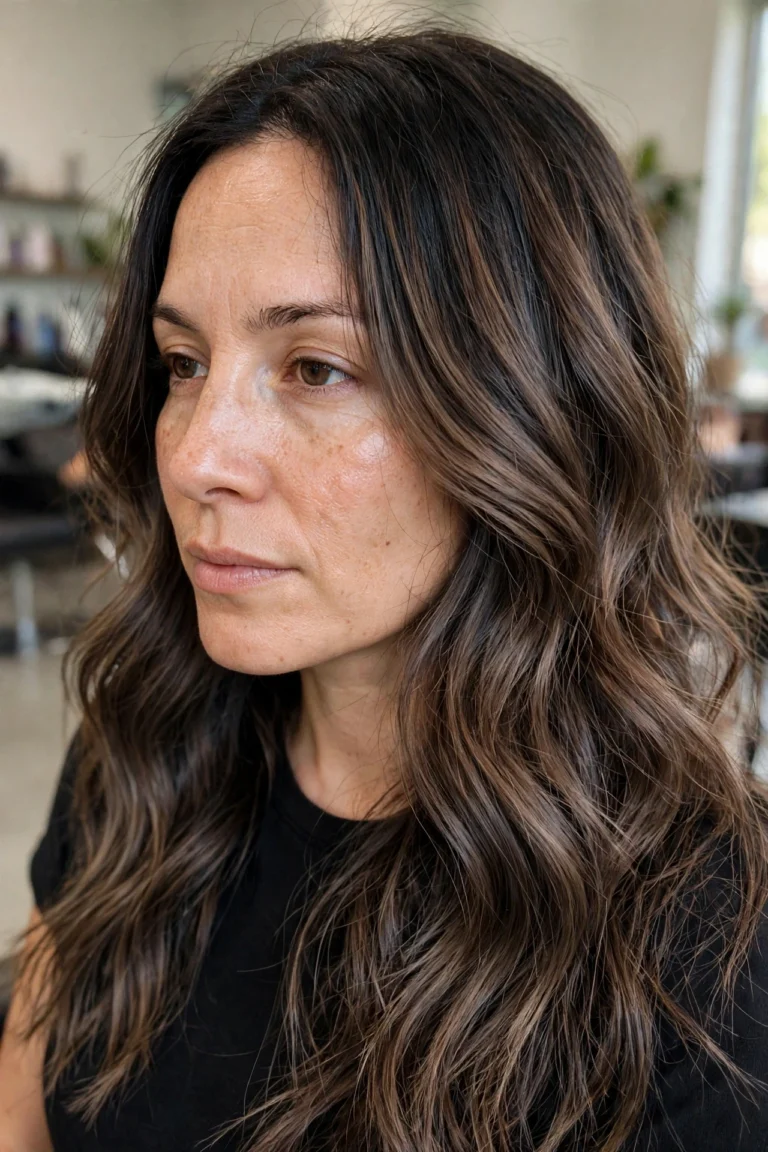
Velvet espresso is three qualities at once, and that is why it is so often mislabelled. “Velvet” is the finish — a soft, low-sheen depth, like fabric, rather than a mirror shine or a matte flatness. “Espresso” is the depth — a rich, dark brown, about a level 4, darker than milk chocolate and lighter than black. And the warmth is the character: a warm, roasted undertone that reads brown in every light, never blue-black in shade or orange in sunlight. A glossy brown can be any depth with shine on top; an almost-black is a level 2 or 3 that absorbs light instead of reflecting it. Velvet espresso sits between them, and the difference is visible the moment you step outside: the velvet shade glows warm brown, the almost-black stays black.
The easiest test is the daylight test. In direct sun, a true velvet espresso shows warm brown through the lengths, with the ends a touch lighter where the light catches them. In a dim room, it still reads as brown, not black — you can see the shape of the hair, the layers, the movement. If a shade goes flat black indoors and orange outdoors, it is not velvet espresso; it is a too-dark base with too much warmth, and the fix is a level lighter with a cooler, more neutral tone.
What it looks like in real life
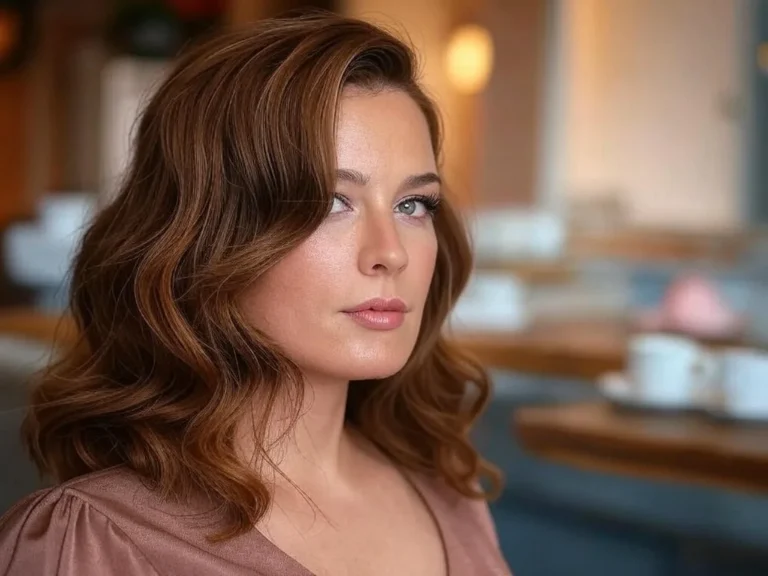
On straight hair, velvet espresso reads as one deep, continuous colour with a soft sheen running down the lengths — the kind of shade that makes healthy hair look healthier. On wavy and curly hair it shows more dimension, because each curl catches the light differently, and the warm undertone appears as a glow rather than a stripe. It suits long hair especially well, where the depth has room to build, but it is just as convincing on a bob, where the blunt edge makes the richness look deliberate.
Variations worth trying
A velvet espresso with a single, slightly lighter face-framing ribbon, for a softer grow-out and a little light around the face. A deeper version at level 3 for very dark natural hair, kept warm so it never goes blue. And a softer, milkier version at level 5 for anyone who finds level 4 too dramatic — the same velvet finish, one step lighter, with the same warm undertone.
When to skip it
Skip velvet espresso if your natural hair is very light blonde and you are not prepared for the upkeep — going from blonde to level 4 is a commitment, and the grow-out is a visible line, not a soft blend. Skip it too if you want a cool, ashy brown: the warmth is the point of this shade, and an ash version of it is a different colour entirely. And skip it if you wash daily with hot water and clarifying shampoo, because the gloss that makes it velvet will be gone in a fortnight.
Single-Process Espresso for Full, Even Richness

A single-process espresso is the simplest route to velvet: one colour, roots to ends, no lightener, no balayage, no melt. It works best on natural hair between levels 4 and 6, where the colourist can take you to a level 4 in one step and the result is even, saturated and rich all the way through. The advantage is the evenness — no bands, no lighter ends, no patchiness — and the disadvantage is the grow-out, which is a clean line at the root after four to six weeks. That line is the price of a single process, and it is why the gloss refresh matters as much as the colour itself.
The formulation is what separates a velvet result from a flat one. A good espresso formula carries warmth — a touch of gold and a touch of copper in the base — so the finished colour reads brown, not black. An ash-based formula on the same depth reads dull and grey in winter light, and a formula with too much red reads cherry in sunlight. The colourist should show you the swatch in daylight, not under salon fluorescents, because the undertone that looks right under salon lights is the one that surprises you at home.
Who it suits best
Single-process espresso suits anyone with natural brown hair who wants a deeper, richer version of what they already have, and anyone with virgin hair who has never coloured before — one process, one result, no lightening damage. It suits thick hair well, because the even colour makes the density look intentional, and it suits straight and wavy hair best, where the evenness shows. Very curly hair can wear it too, but the evenness is less visible in curls, so the dimension of a melt may be the better spend.
How to ask for it (or do it at home)
At the salon, say “I want a single-process velvet espresso, about a level 4, warm but not red — deep brown, not almost-black, with a gloss finish. Can you show me the swatch in daylight before we start?” At home, a single process is the one version of this shade that is genuinely doable in a box, provided your hair is virgin and within two levels of the target: choose a level-4 warm brown, apply roots first and lengths last, and do a strand test on the underneath layers before committing the whole head.
Styling and upkeep
A single-process espresso needs the least styling of any version in this article — the colour does the work, so the cut and the finish can be simple. A blow-dry with a round brush, or a straight finish with one pass of a flat iron, shows the depth best. Between appointments, the enemy is the root line: a root touch-up at four to six weeks, not eight, keeps the grow-out invisible, and a gloss at the same visit restores the velvet finish the colour had on day one.
Espresso With a Brunette Melt for Dimension
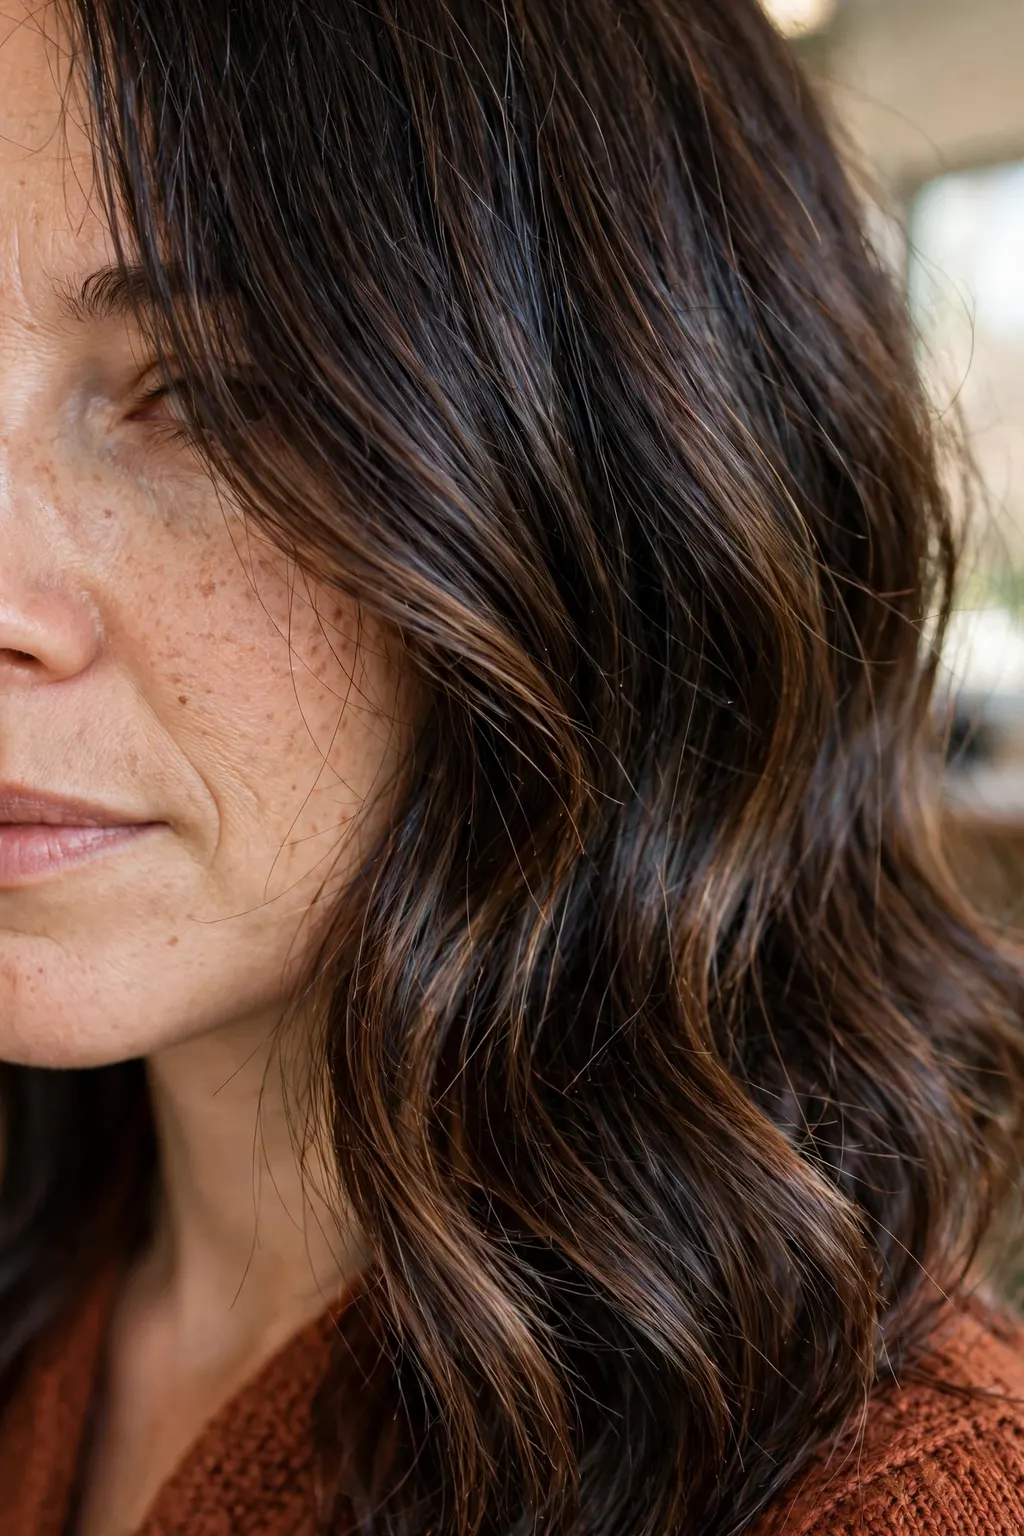
A brunette melt takes the same velvet espresso base and adds dimension: the roots stay deep, the mid-lengths warm up by half a level, and the ends carry a soft, caramel-brown glow that never reads as blonde. The transitions are blended, not striped, so the colour looks like it grew that way. It is the version to choose when a single process feels too flat, or when your hair is long enough that one flat colour would look heavy. The melt gives the hair movement even when it is still, and it makes the grow-out softer, because the root is already the darkest part of the colour.
The technique matters more than the formula here. A melt is painted, not foiled in stripes: the colourist blends the espresso base down through the mid-lengths and softens the ends with a warmer, lighter brown, feathering each transition so there is no line. Done well, you cannot see where one shade ends and the next begins — you just see depth. Done badly, it is a balayage with a dark root, and the stripes show in sunlight. Ask to see photos of the colourist’s own melts in daylight before you book.
The technique, step by step
The base goes on first, roots to mid-lengths, and processes while the melt shades are prepared. The mid-length shade — a level 5 warm brown — is feathered downward from the mid-lengths, and the end shade — a level 6 caramel brown — is painted on the last few inches only, blended upward so the transition is a gradient. The whole head is then glossed, which is what melts the three shades into one continuous colour instead of three bands.
Common mistakes to avoid
Lifting the ends too light: the moment the ends read blonde, the colour stops being a brunette melt and becomes a balayage, and the grow-out gets harder. Leaving a hard line where the base meets the melt — the feathering is the whole skill, and a visible line means the blend was rushed. And skipping the gloss: without it, the three shades sit side by side instead of melting together, and the colour looks striped within a week.
Products and tools that help
A colour-safe, sulfate-free shampoo, a weekly mask with a warm brown tint to keep the ends from going ashy, and a heat protectant every time you use a flat iron — heat is what strips the warm tone from the ends first. For styling, a large round brush and a blow-dryer show the melt best; a flat iron used too hot flattens the dimension the melt was built to create. A melt with the lightest shade kept only on the underneath layers shows dimension when the hair moves and hides it when tied up, and a melt on a shoulder-length cut reads softer still — see the cuts that show this placement best in our shoulder-length hairstyles guide.
The Gloss Appointment: Shine Without a Full Recolour
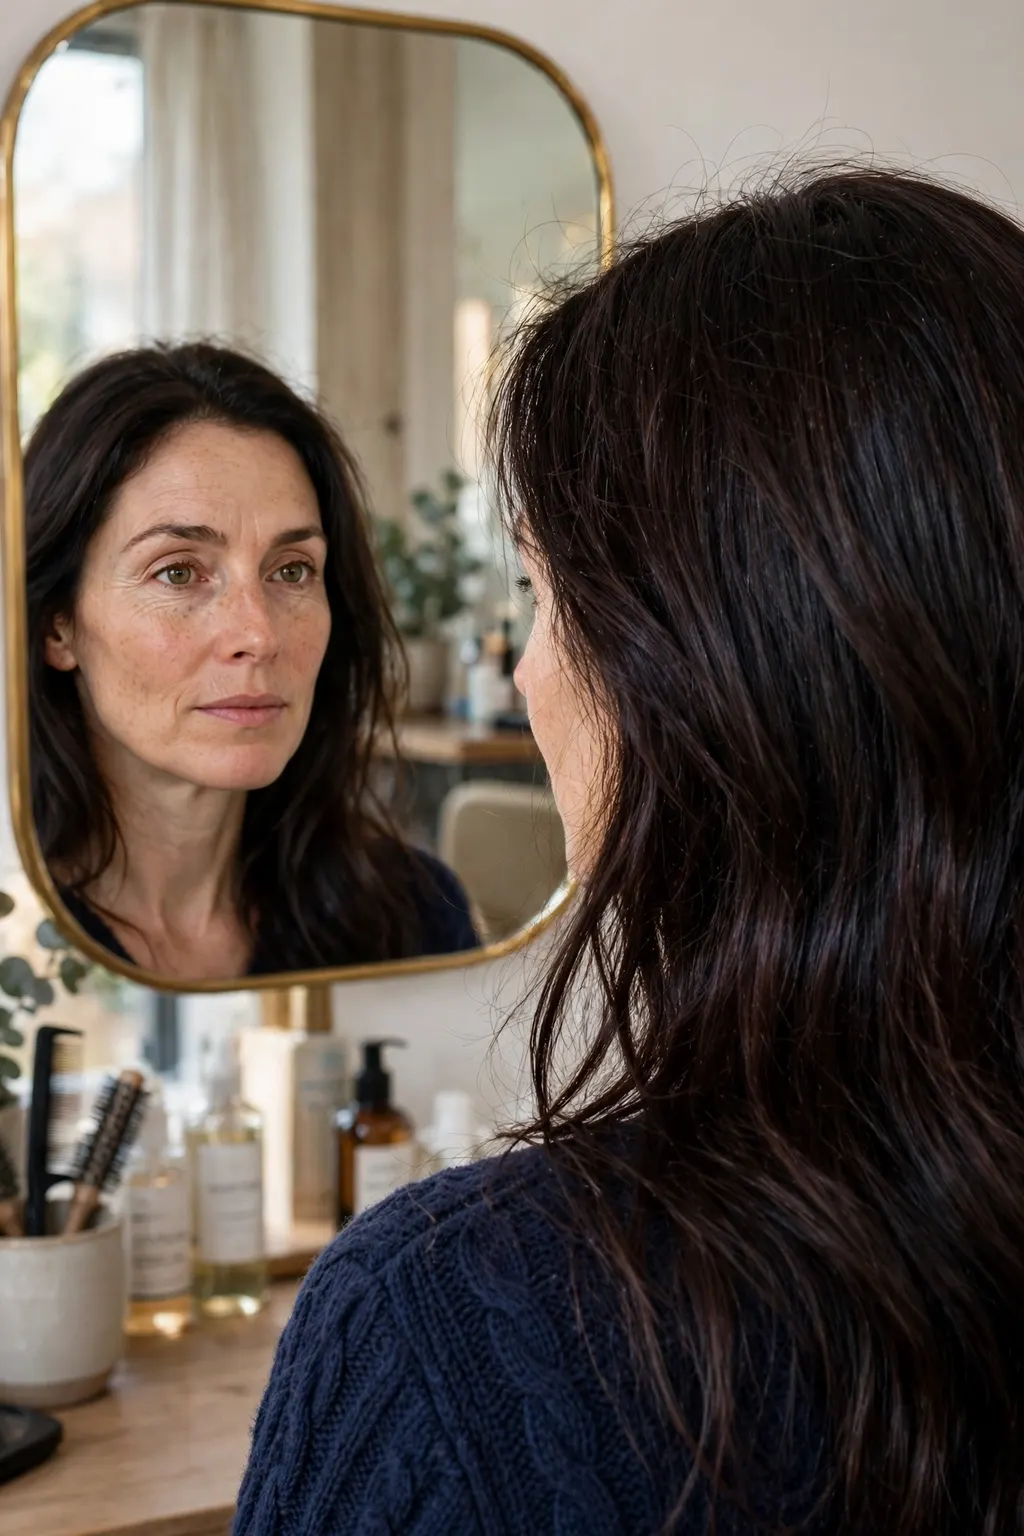
A gloss appointment is the quiet hero of this shade: a semi-permanent colour, no lift, applied over the existing espresso, that restores shine, deepens the tone and seals the cuticle in about twenty minutes. It is not a recolour — it cannot lighten hair or cover a root line — but it is what keeps velvet espresso looking velvet between full colour appointments. Most wearers need one every 6–8 weeks, timed with a trim, and it costs a fraction of a full colour while doing most of the visible work.
The gloss shade matters. A clear gloss adds shine only, and is the right choice when the colour is still true and only the shine has gone. An espresso gloss adds a little depth and warmth back, and is the right choice when the colour has faded a half-level lighter or gone slightly ashy at the ends. A warm brown gloss sits between the two. The colourist should choose based on the hair in front of them, in daylight, not on a fixed recipe — and the gloss should always be followed by a cool rinse, which seals the cuticle and locks the shine in.
Best for: hair types and face shapes
A gloss suits every hair type, because it works on the surface rather than inside the hair shaft — there is no damage, no lift, and no commitment beyond a few washes. It suits fine hair especially well, because the shine makes fine hair look thicker, and it suits long hair well, because the ends are where the shine goes first and where a gloss shows most. It is the lowest-risk appointment in this article, and the one most worth booking on its own between colours.
The exact salon wording
“I’d like an espresso gloss, not a full recolour — my colour is still true, I just want the velvet shine back. Can we do a clear gloss if the tone is still right, or an espresso gloss if the ends have gone a little ashy? And a cool rinse at the end, please.” If the salon offers a gloss as an add-on to a cut, take it: the twenty minutes it adds to the appointment is the best value in the whole colour menu.
Maintenance schedule
A gloss lasts 6–8 weeks, or about 12–15 washes, whichever comes first. Book it with your trim so the two never drift apart: the trim keeps the ends healthy, the gloss keeps them shiny, and together they are what makes the colour look freshly done when it is actually two months old. Between glosses, a colour-depositing mask once a fortnight — warm brown, not red — extends the shine by a week or two.
What to ask your stylist: “I want a velvet espresso — a level 4, warm but not red, deep brown and definitely not almost-black. Can you show me the swatch in daylight, and tell me whether my hair needs a fill first? I want the gloss finish included, and I want to know the refresh cycle — when do I come back for a gloss, and when for a full recolour?”
Espresso on Previously Lightened Hair: Filling First
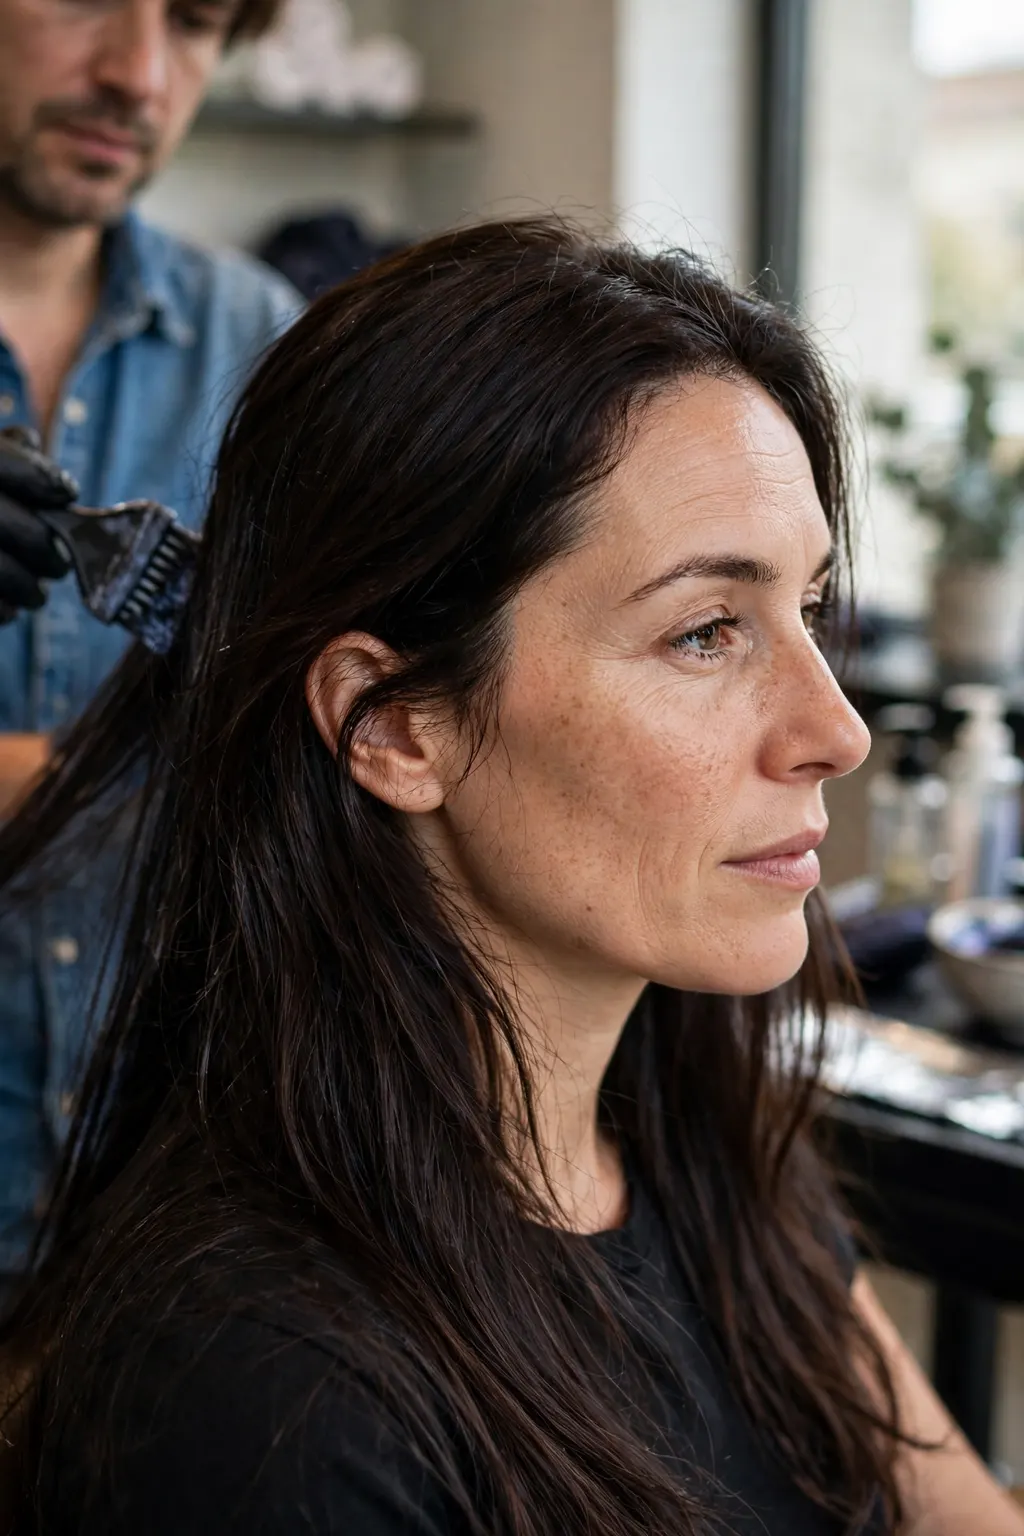
Going from lightened hair to velvet espresso is the one version of this shade where the colourist’s first step is not the espresso at all — it is the fill. Lightened hair has had its warm pigment stripped out, and if you put a level-4 brown directly onto it, the colour grabs unevenly, fades within two weeks, and often turns a muddy green-grey at the ends, where the hair is most porous. A fill puts the missing warm pigment back first — usually a copper-gold shade, applied and processed, sometimes rinsed, sometimes left as a base — so the espresso on top has something to hold onto.
The fill is not a shortcut and it is not optional. It adds thirty minutes to the appointment and it is the reason the colour lasts eight weeks instead of two. The colourist should explain it before starting, show you the fill shade, and warn you that the hair will look coppery after the fill alone — that is correct, and it is temporary. The espresso goes on top, and the finished result is the velvet brown you asked for, not the copper underneath it.
What it looks like in real life
Properly filled espresso on previously lightened hair looks identical to espresso on virgin hair — deep, even, warm brown, with the same velvet finish. The difference is only in the first fortnight: a filled colour holds its tone, while an unfilled one fades patchily, lighter at the ends and greener where the hair was most damaged. If your last dark colour faded green, the fill was skipped, and the fix is to fill properly next time, not to go darker.
Variations worth trying
A fill followed by a melt rather than a single process, so the dimension of the lightened hair is not entirely lost — the ends keep a little of their old lightness as the melt’s lightest shade. A fill in two stages for very porous ends, with the fill applied to the ends first and the roots second. And a gloss a week after the fill-and-colour, once the colour has settled, to seal the cuticle and lock the tone in.
When to skip it
Skip the darkening entirely if your lightened hair is very damaged and porous — the fill will grab unevenly, the colour will fade fast, and the money is better spent on three months of repair first. Skip a DIY box dye for this transition: the fill shade, the timing and the porosity of the ends are all judgement calls, and a box cannot make them. This is a salon transition, and the fill is the part you are paying the salon for.
Keeping Espresso Rich: Wash Rules for Warm Homes
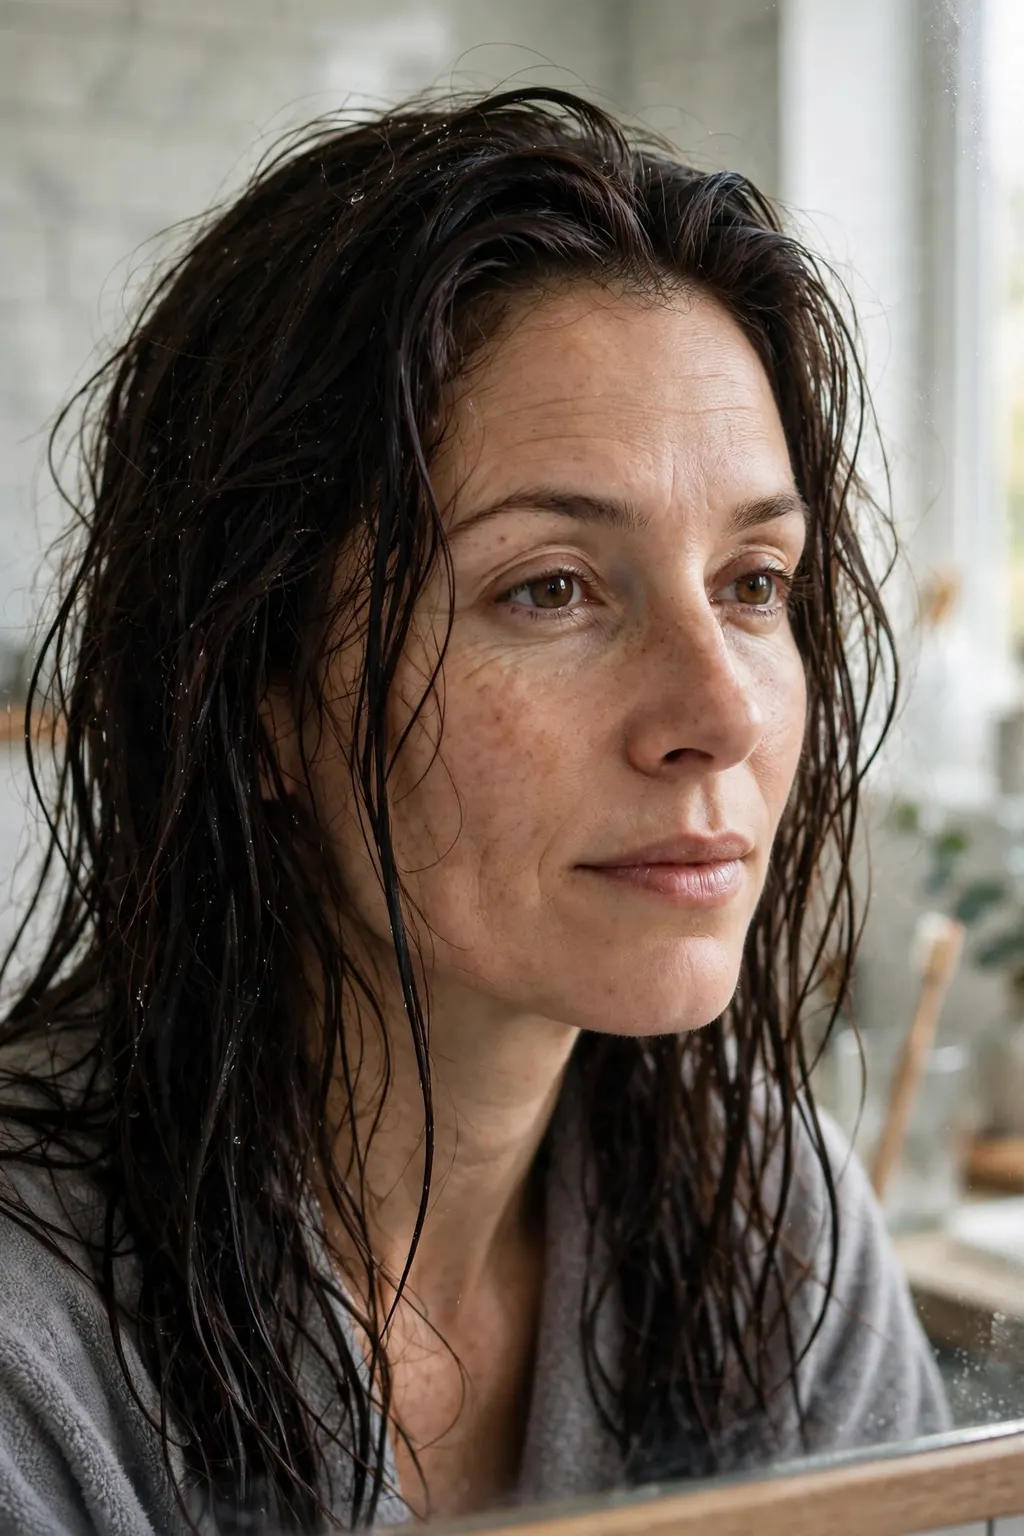
Velvet espresso fades the way all dark warm colours fade: hot water opens the cuticle and lets the tone out, frequent washing strips the gloss, and clarifying shampoo takes the warmth with it. The wash rules for this shade are simple and they work — wash in lukewarm water, never hot; wash two or three times a week, not daily; and use a colour-safe, sulfate-free shampoo, with a cool rinse at the end of every wash. The cool rinse is the single most effective habit in this article: thirty seconds of cool water seals the cuticle and keeps the gloss on the hair instead of in the drain.
Warm homes make the rules harder in winter, because the shower is hotter and the hair is washed more often to feel clean. The compromise is to wash the lengths less and the scalp more: apply shampoo to the roots only, let the lather run down the lengths as you rinse, and never scrub the ends. Dry shampoo on the second day, a silk pillowcase at night, and a weekly mask keep the colour looking fresh between washes without adding a single wash day — and the full cold-weather routine in our winter hair care routine for dry hair pairs with these wash rules when the air itself is drying the ends out.
Who it suits best
These rules suit anyone with a dark warm colour, but they suit velvet espresso wearers most, because the gloss is the whole finish — lose the gloss and you lose the velvet. They suit long hair well, where the ends are oldest and fade fastest, and they suit anyone who washes daily out of habit rather than need: the first week of washing less is the hardest, and by the second week the scalp has adjusted and the colour is visibly richer.
How to ask for it (or do it at home)
At home, the routine is: lukewarm water, sulfate-free colour shampoo on the roots only, conditioner on the mid-lengths and ends, and a cool rinse for thirty seconds before you step out. Once a week, swap the conditioner for a warm-brown tinted mask, left on for ten minutes. Once a fortnight, clarify — and only then, with a gentle clarifying shampoo, followed immediately by the mask, because clarifying without conditioning strips the tone.
Styling and upkeep
Heat is the second fade factor after water. A flat iron above 180°C strips the warm tone from the ends within a few uses, so keep the iron at 160–180°C, use a heat protectant every time, and never iron the same section twice. A blow-dry on medium heat with a round brush is gentler than a flat iron and shows the velvet finish better. Between washes, a shine spray on the lengths — not the roots — restores the gloss without adding weight.
📌 Save this one before your next wash — the lukewarm wash, roots-only shampoo and cool rinse are the three habits that keep the velvet finish on the hair instead of in the drain.
Espresso by Skin Tone: Cool, Neutral and Warm Pairings

Velvet espresso is a warm shade, but it is not a one-tone shade — the warmth can be tuned to the wearer, and the tuning is what makes it flattering rather than merely dark. Cool skin tones, with pink or blue undertones, need the warmth kept restrained: a neutral espresso with a touch of gold, not copper, so the colour warms the face without clashing with it. Neutral skin tones can wear the full velvet warmth, gold and a little copper, because nothing in the skin fights it. Warm skin tones, with golden or olive undertones, need the espresso kept deep and the warmth kept rich rather than bright — a roasted, coffee warmth, not a coppery one.
The test is the jawline test. Hold the swatch against your jaw in daylight: if the skin looks brighter and the eyes look clearer, the tone is right; if the skin looks sallow or the redness in the cheeks looks stronger, the warmth is wrong for you. The depth is a separate question from the tone — a cool-toned wearer can still go to a level 4, provided the warmth is neutral — and the two should never be confused in the chair.
The technique, step by step
The colourist chooses the base depth first — level 4 for most wearers, level 3 for very dark natural hair, level 5 for a softer version — and then the tone: neutral-gold for cool skin, warm gold-copper for neutral skin, deep roasted warmth for warm skin. The tone is mixed into the formula, not painted on afterwards, so it runs through the whole head evenly. A gloss in the matching tone finishes it, and the result is checked in daylight, against the jaw, before the client leaves.
Common mistakes to avoid
Choosing the tone from a photo of someone with different skin: the same velvet espresso looks coppery on warm skin and ashy on cool skin, and the photo never shows the wearer’s undertone. Going too warm on cool skin, which makes the face look flushed, and too cool on warm skin, which makes the face look grey. And forgetting the eyebrows: brows that are three levels lighter than a level-4 espresso make the colour look like a wig — a brow tint one level lighter than the hair ties the whole look together.
Products and tools that help
A tinted mask in the matching tone — neutral brown for cool skin, warm brown for neutral and warm skin — used once a fortnight to keep the tone true as it fades. A colour-safe shampoo, as always, and a gloss in the matching tone at each refresh. For makeup, the pairing that works with velvet espresso is a warm blush and a neutral lip — the hair is doing the warming, so the makeup does not need to compete with it.
When to Refresh: The 6–8 Week Gloss Cycle
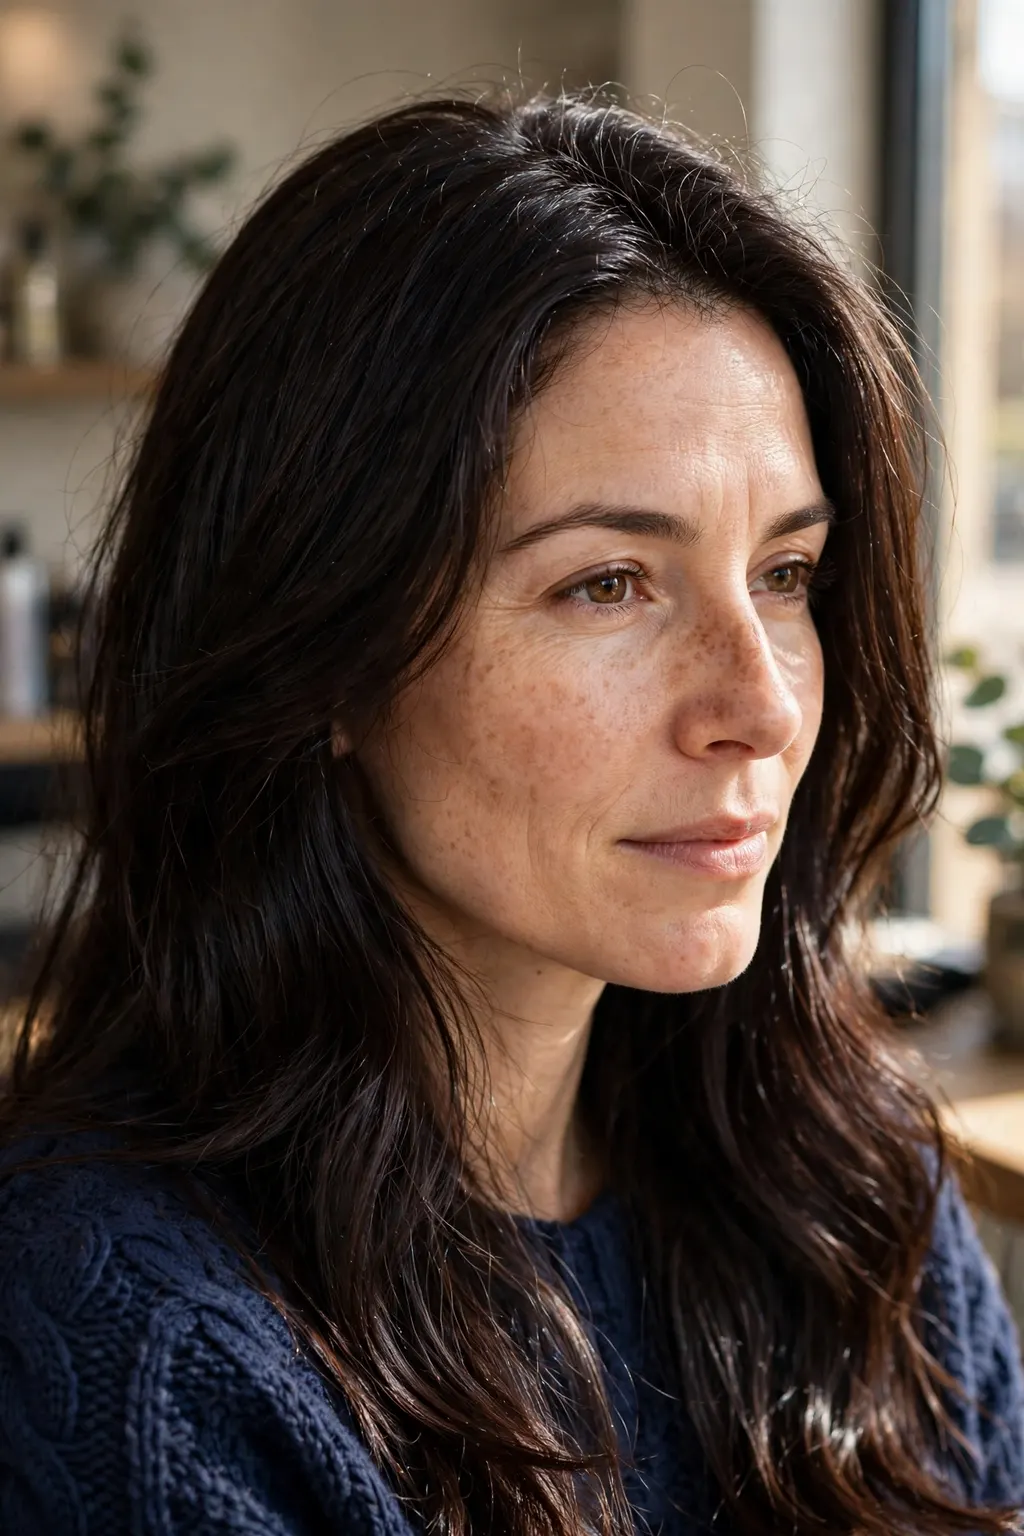
A velvet espresso does not need a full recolour every time it fades — it needs a cycle. The cycle is: full colour or root touch-up every 8–12 weeks, and a gloss refresh in between, every 6–8 weeks, timed so the gloss lands just as the shine starts to go. The gloss is what keeps the colour looking freshly done between recolours, and the recolour is what keeps the roots and the depth true. Wearers who follow the cycle spend less on colour over a year than wearers who wait until the colour looks bad and then need a full correction.
The signs that a gloss is due are easy to read: the ends look a little lighter than the roots in daylight, the shine has gone from the lengths even after a good wash, and the colour photographs flat instead of deep. The signs that a full recolour is due are different: a visible root line more than a centimetre wide, patchy fading at the ends, or a tone that has shifted — ashy, green or brassy — in a way a gloss cannot correct. A gloss cannot fix a root line or a tone shift; it can only restore shine and a little depth to a colour that is still fundamentally true.
Best for: hair types and face shapes
The gloss cycle suits every hair type, because it is a schedule rather than a technique — the only variable is the timing, and the timing is set by how fast your hair fades, not by your texture. Fast faders, usually fine hair and frequently washed hair, need the gloss at six weeks; slow faders, usually thick hair washed twice a week, can stretch to eight. The cycle suits long hair especially well, because the ends are the first to fade and the gloss is the cheapest way to bring them back.
The exact salon wording
“I want to set up a gloss cycle — a gloss every 6–8 weeks, and a root touch-up or full colour every 8–12 weeks. Can we book the next gloss today, so the cycle doesn’t drift? And can you note the gloss shade on my record, so the tone stays the same every visit?” Booking the next gloss before you leave is the step most wearers skip, and it is the step that keeps the cycle working.
Maintenance schedule
Mark the cycle on a calendar: full colour on day one, gloss at week 6–8, root touch-up at week 8–12, gloss again at week 14–16. Between appointments, the wash rules in this article and a tinted mask once a fortnight hold the tone. Over a year, that is four glosses and four to six colour appointments — fewer than a wearer who recolours every six weeks without ever glossing, and a better-looking result for the same money.
Frequently Asked Questions
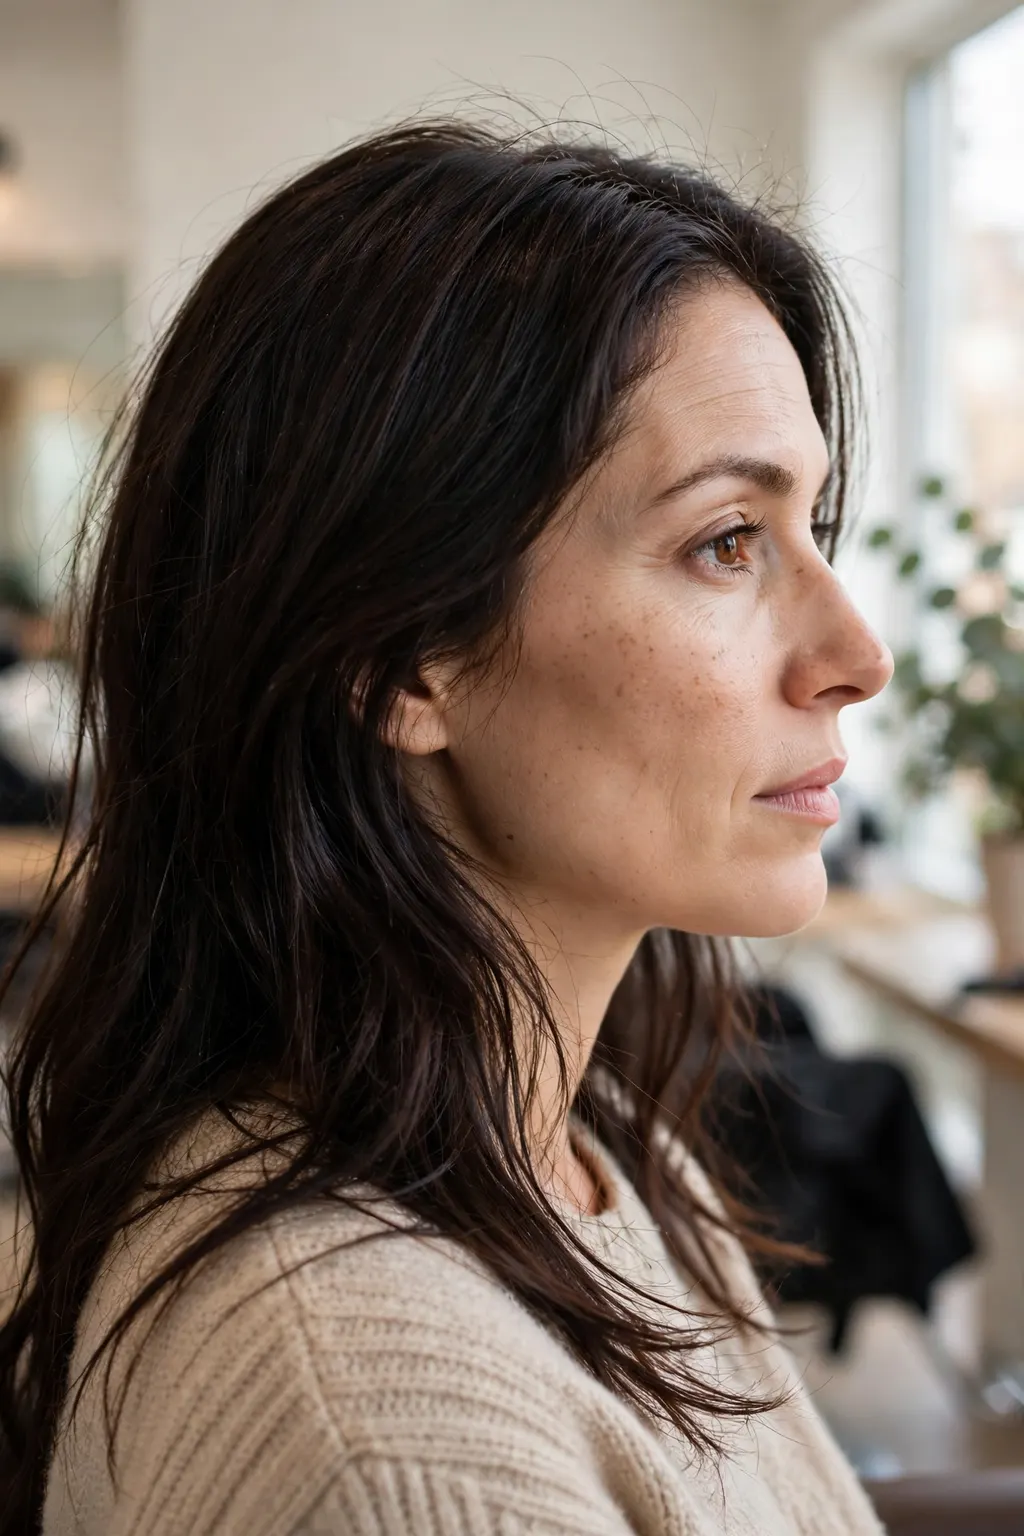
What is velvet espresso hair colour?
A deep, warm brown at about a level 4, with a soft, low-sheen velvet finish and a roasted warm undertone — rich and glossy in daylight, still visibly brown (not black) in a dim room. It is darker than milk chocolate, lighter than black, warm but not red, and finished with a gloss for shine.
Is espresso brunette high maintenance?
A single-process espresso needs a root touch-up every 4–6 weeks and a gloss every 6–8 weeks to keep the velvet finish — moderate maintenance, not high. A melt version is lower maintenance, because the softer grow-out stretches the recolour to 8–12 weeks. The wash rules (lukewarm water, roots-only shampoo, cool rinse) matter more than the salon schedule.
What skin tones suit velvet espresso?
All three, with the warmth tuned: cool skin needs a neutral-gold espresso with restrained warmth, neutral skin can wear the full warm velvet tone, and warm skin needs a deep roasted warmth rather than a bright coppery one. The jawline test in daylight — swatch against the jaw, check whether the skin looks brighter — settles the tone before the colour goes on.
Conclusion: Velvet Espresso Brunette — Your Next Step

Velvet espresso is not the darkest brown you can wear — it is the richest brown you can wear without going black. The depth is a level 4, the finish is a soft velvet gloss, and the warmth is roasted, not red, so the colour glows in daylight and still reads brown indoors. The route there depends on your starting point: a single process if your hair is virgin, a melt if you want dimension, a fill first if your hair is lightened. And the way it stays velvet is not a product — it is a cycle: lukewarm washes, a gloss every 6–8 weeks, and a recolour before the roots tell the story.
Your next step is the salon conversation, not a purchase. Take the wording from this article, ask for the swatch in daylight, and ask whether your hair needs a fill before the espresso goes on. If the shade glows warm brown in the sun and still reads brown in the shade, you have it — and the next eight weeks will be the easiest colour you have ever worn.
📌 Save this before your appointment — the level-4 ask, the daylight swatch test, the fill question and the 6–8 week gloss cycle are the parts you will want in the chair, not in your memory.