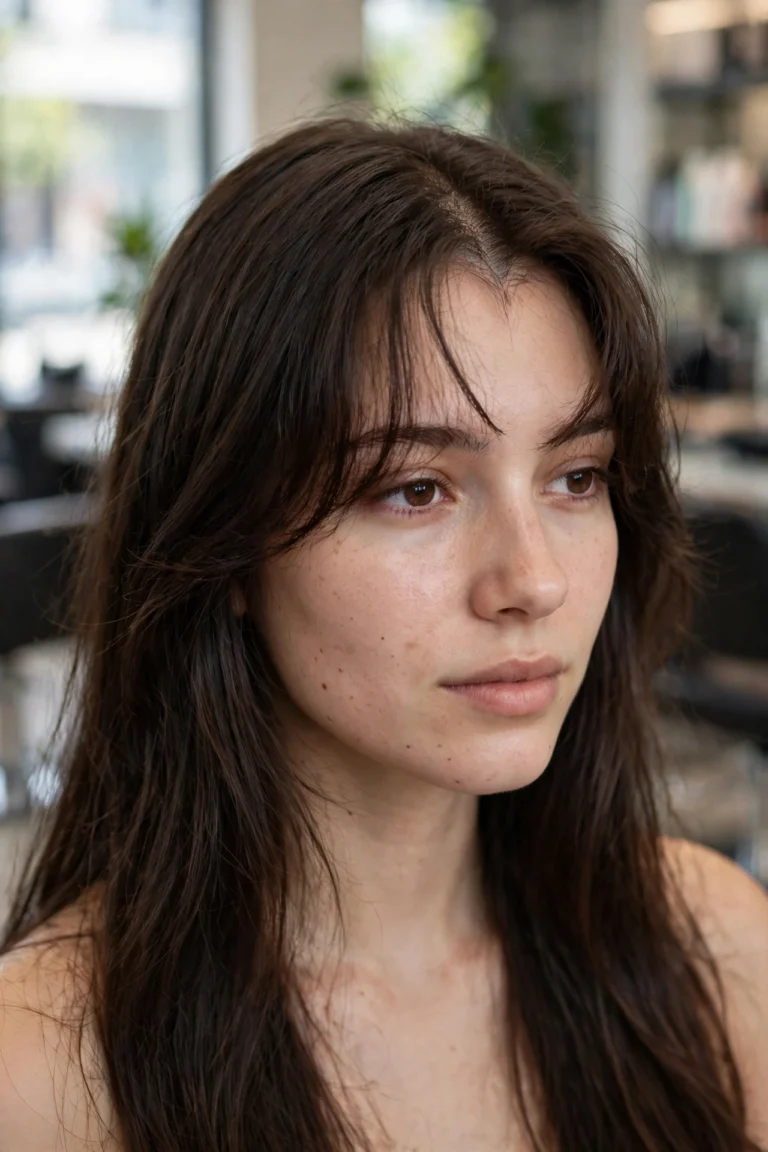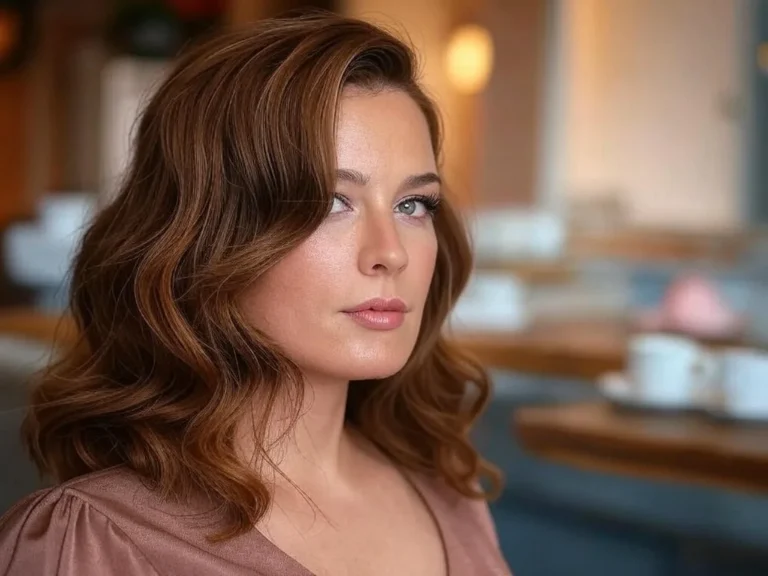
Hair Thinning on GLP-1 Medication? 9 Cuts That Make Diffuse Shedding Look Fuller — and When to See a Doctor
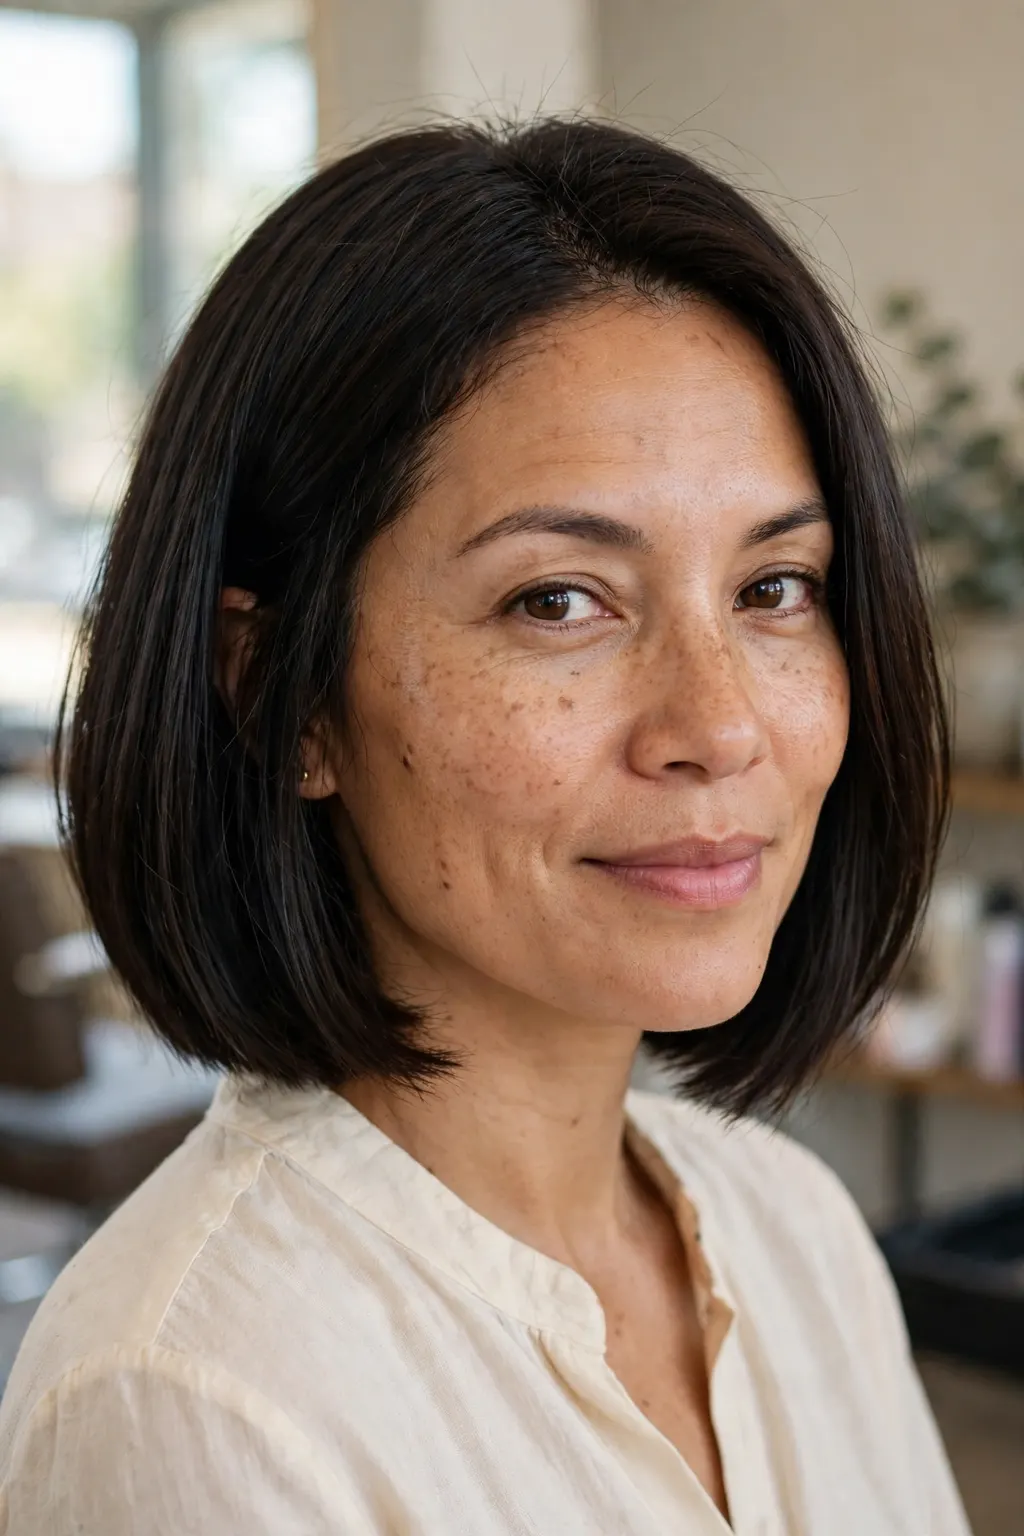
You started the medication, the weight started coming off — and then the hairbrush started telling a different story. More hair in the shower drain, a parting that looks a little wider in photos, a ponytail that feels thinner when you wrap the band around it. If that sounds familiar, you are not imagining it, and you are not alone: many people notice diffuse shedding in the months after starting a GLP-1 medication, usually while their weight is dropping fastest. The good news is that the hair itself is rarely the problem to solve first — the cut is. The right shape can make shedding look dramatically fuller while the hair recovers, and the wrong one (long, wispy, heavily layered) can make the same amount of hair look half as thick. This article gives you nine cuts in three groups, plus the colour and styling rules that support them, and a clear line for when the answer is a doctor’s appointment, not a haircut.
Quick answer: Diffuse shedding after starting a GLP-1 usually thins hair all over, not in patches. The cuts that fake density are blunt one-length shapes, short crops that lift the crown, and fringe or part changes that disguise a widening part. Keep length above the shoulders, avoid wispy layers, go gentle on heat and tension, and see a doctor for patchy loss.
Please read this first: this article is about hairstyles, not medicine. Shedding can have many causes — rapid weight loss, low iron or other deficiencies, thyroid changes, stress, and the medication itself — and only a clinician can tell which ones apply to you. Nothing here is a diagnosis, and nothing here is a reason to change a prescribed medication. If anything in the red-flag section sounds like you, book the appointment first and the haircut second.
What GLP-1 Shedding Actually Looks Like (Diffuse, Not Patchy)
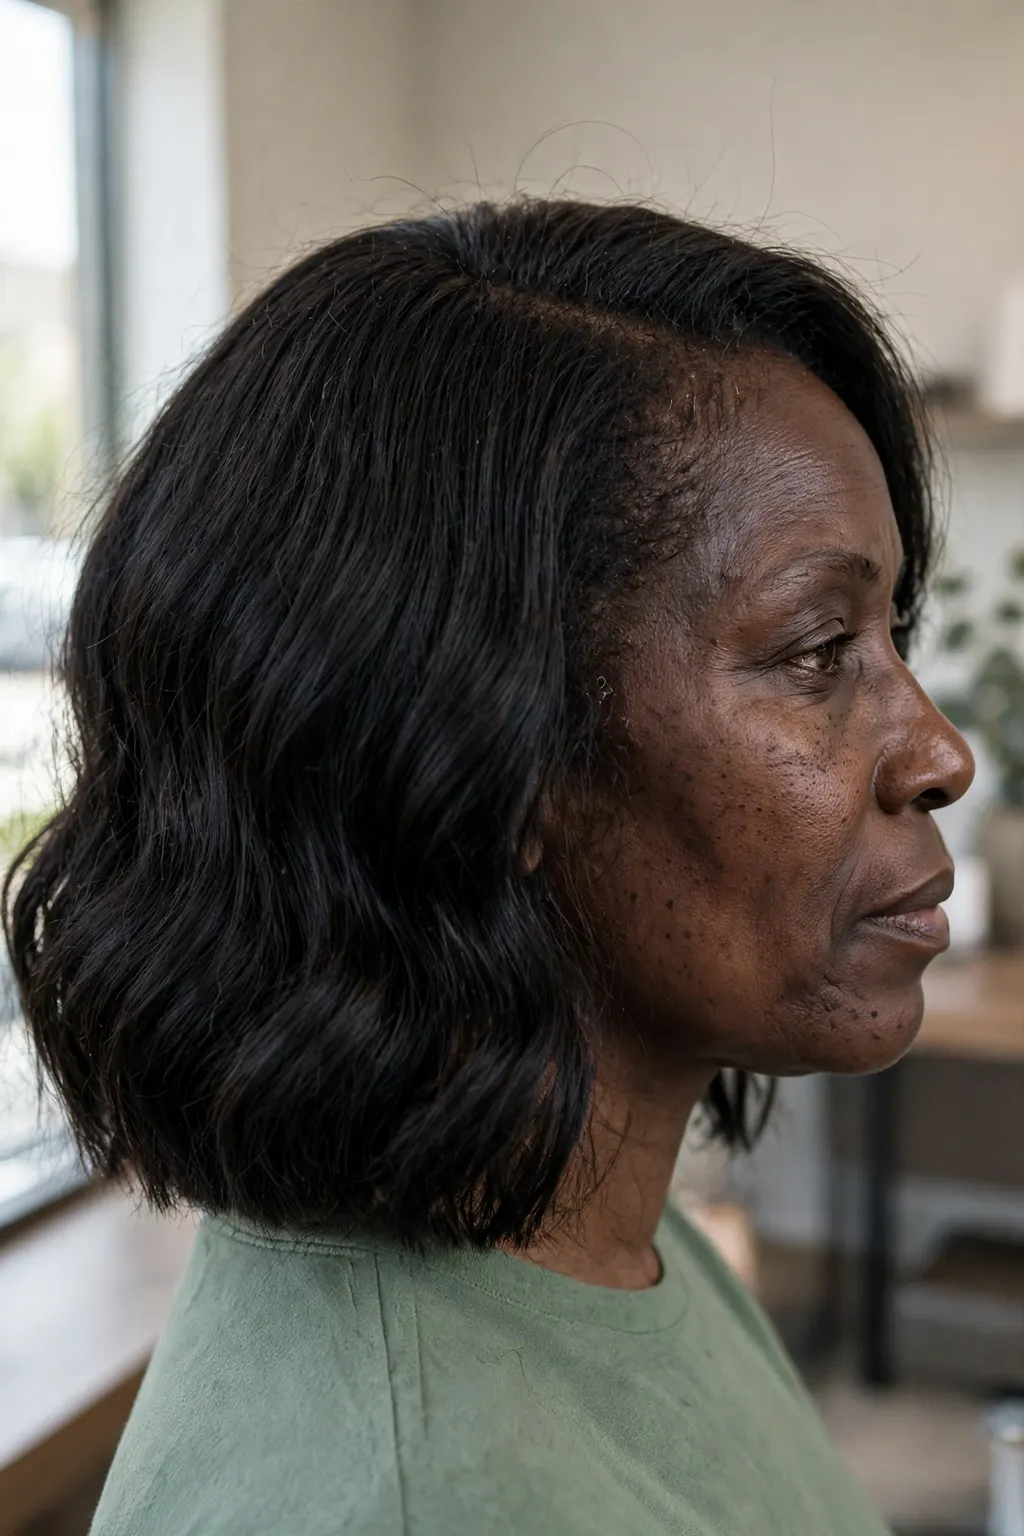
The word that matters here is diffuse: the shedding is spread evenly across the whole head, rather than coming out in patches. That is the pattern most often described after GLP-1 treatment, and it is also the pattern most often linked to telogen effluvium — the name for shedding that follows a shock to the body, such as rapid weight loss, illness, surgery or major stress, usually two to four months after the trigger. The hair does not usually fall out in clumps. Instead, more hairs than usual shift into the resting phase at once, so a few months later more of them shed at once — in the shower, on the pillow, in the brush. The ponytail test is the one most people notice first: the band wraps around one more time than it used to. The parting test is second: the line down the middle looks wider, especially in bright overhead light or in photographs taken from above.
Why does it happen? The honest answer is that the mechanism is not fully settled, and this article will not pretend otherwise. A study published in the BMJ in July 2026 reported a higher risk of hair loss among GLP-1 users — a relative increase in the range of roughly 37–68% against the comparison group — but that is a population-level figure, not a prediction for any one person, and it does not by itself prove what causes the shedding in a given case. Rapid weight loss alone is a well-known shedding trigger, and many people on these medications are also eating far less, which can mean less protein, iron and other nutrients reaching the hair. The practical point for a reader is simpler: whatever the cause, diffuse shedding is the pattern a haircut can help most with, because the hair is still there — it is just thinner all over, and a good cut redistributes the eye’s attention across it.
Best for: hair types and face shapes
This article is for anyone noticing diffuse thinning — on GLP-1 medication or after any rapid weight loss — who still has coverage all over the head and wants the hair they have to read as fuller. It suits straight, wavy and curly hair alike, because every group below has a version for each texture. The cuts work on most face shapes: blunt shapes suit longer faces by adding width at the jaw, short crops suit round faces by adding height at the crown, and fringe changes suit almost everyone because the part is where the thinning shows first. If the loss is patchy, in one spot, or the scalp itself is sore, red or scarred, this article is not the right starting point — that is the red-flag section, and the appointment comes first.
The exact salon wording
Say: “I’m shedding diffusely — it’s thinner all over, not patchy — and I want a cut that makes what I have look as full as possible. Please keep the perimeter blunt and avoid thinning the ends out. I’m not looking for layers that remove weight.” That one sentence does three things: it tells the stylist the pattern, it rules out the most common mistake (thinning shears on already-thin hair), and it sets the goal as fullness rather than length. If the stylist suggests heavy layers or a razor cut, ask them to explain how that adds fullness — if the answer is about movement rather than density, it is the wrong cut for this problem.
Maintenance schedule
Treat shedding as something to watch on a calendar, not something to check in the mirror every morning — daily checking makes normal variation feel like a crisis. Take one photo a month, in the same light, same parting, same angle, and compare month to month. Note when the shedding started, when your weight loss was fastest, and whether the shed hairs have a small white bulb at the root (normal shed hairs do). Bring that little timeline to any doctor’s appointment: it is far more useful than “my hair is falling out”. And set a review point: if the shedding is still heavy three to six months after your weight has stabilised, or it is getting worse rather than easing, that is a prompt to seek advice rather than to keep waiting.
Cut 1–3: Blunt, One-Length Shapes That Fake Density
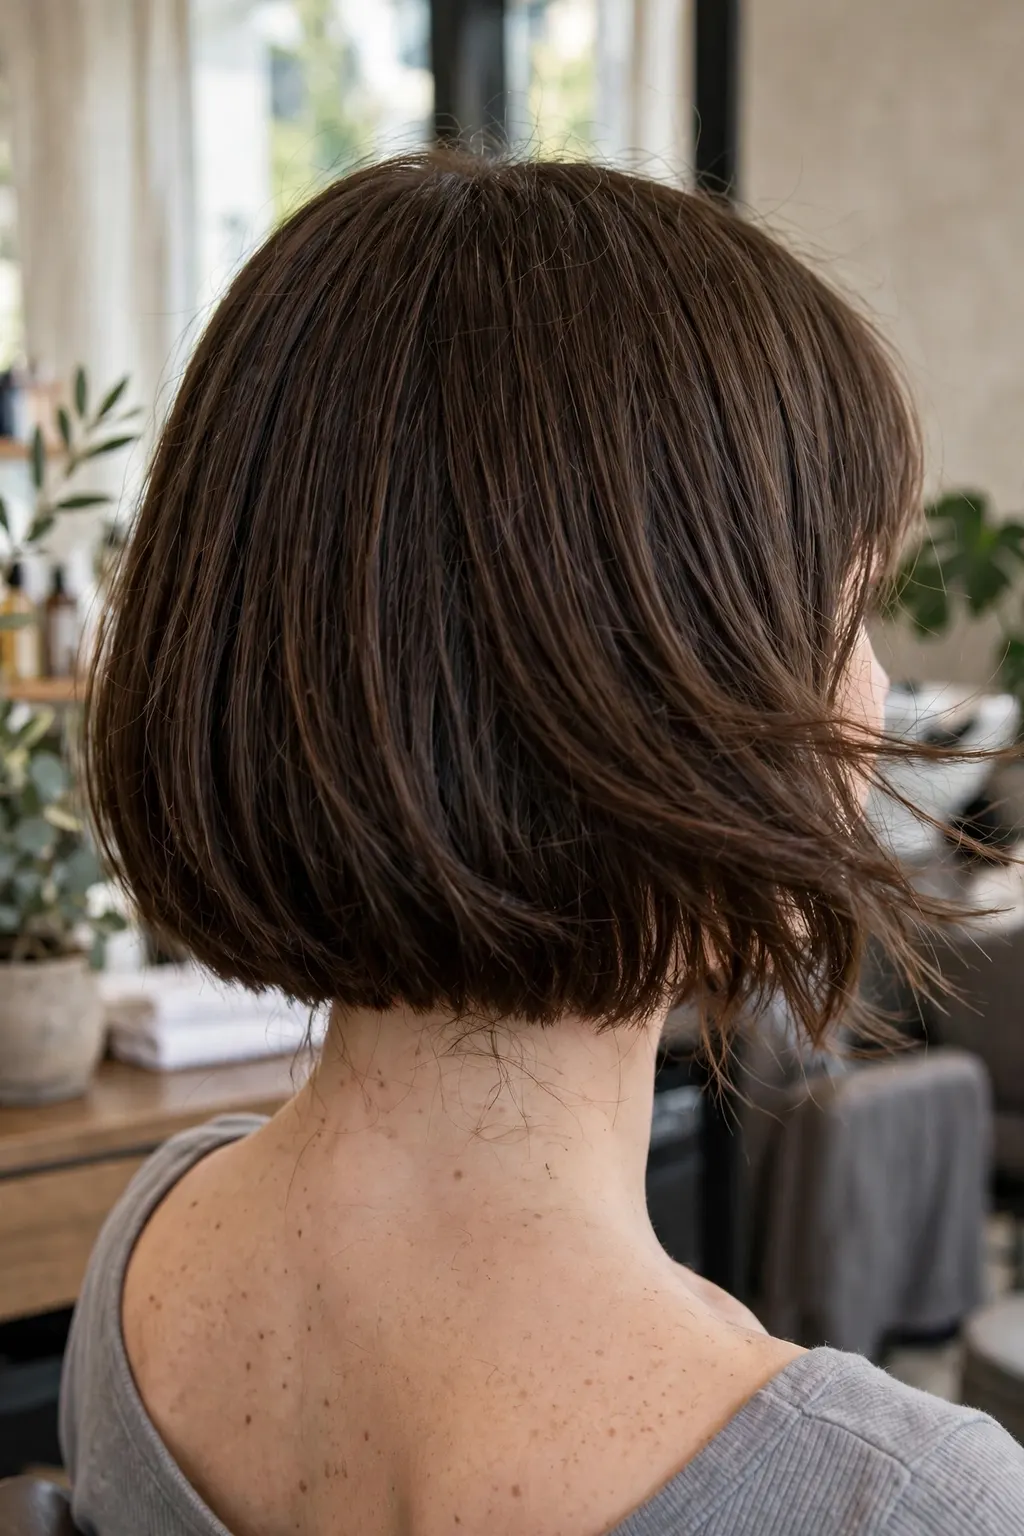
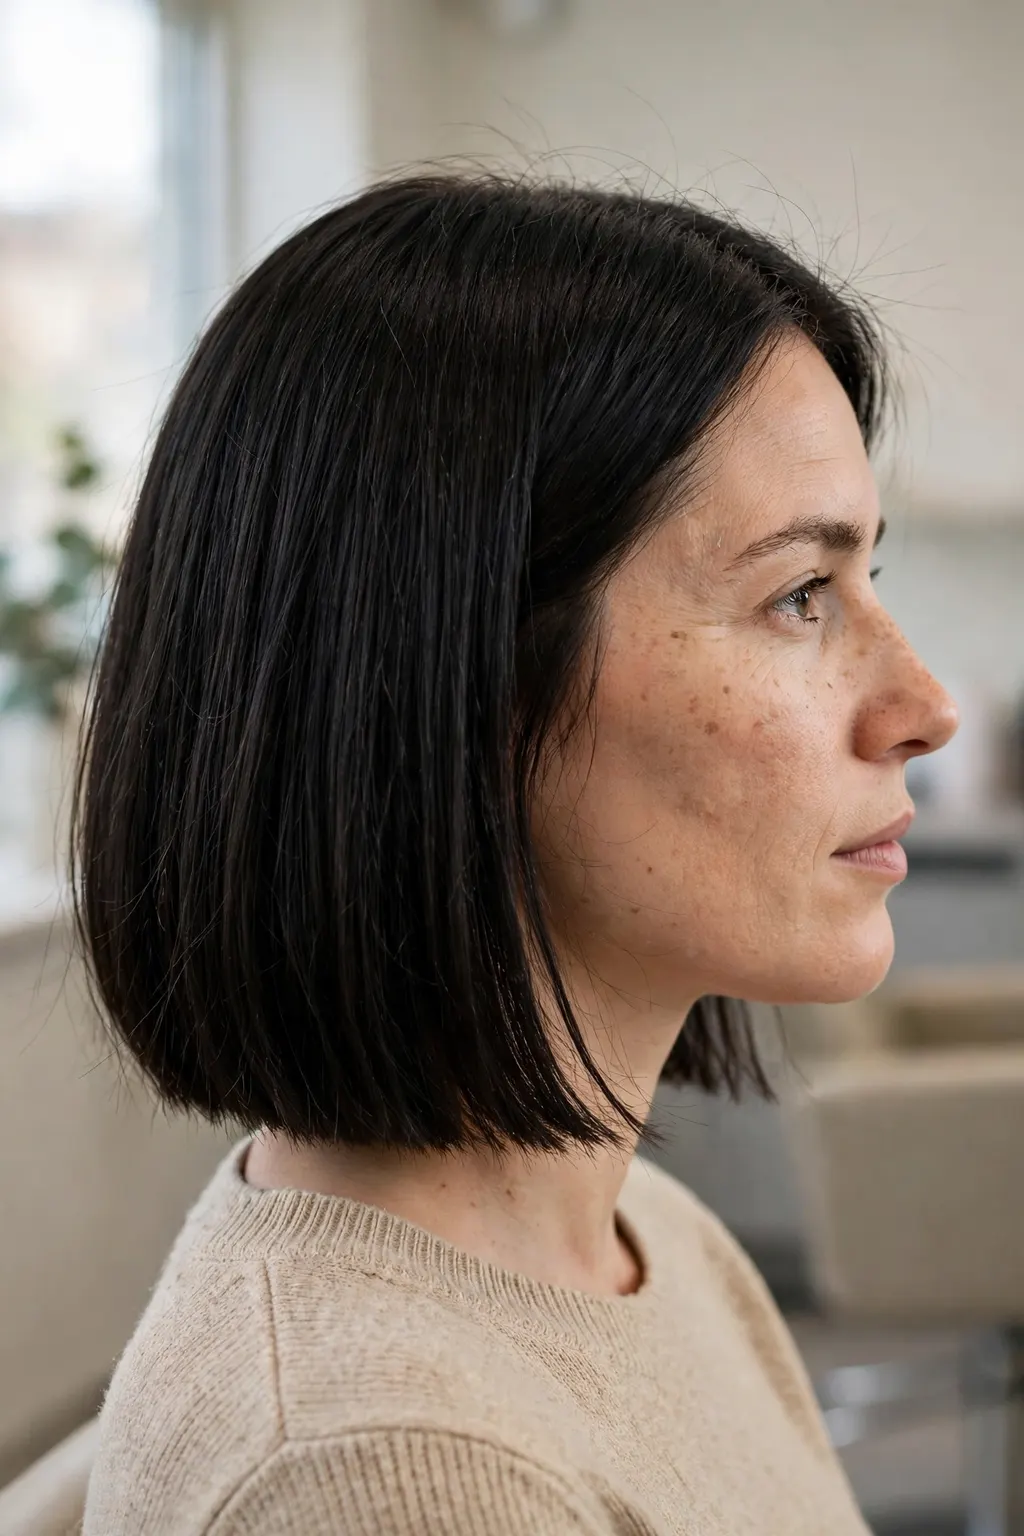
The first three cuts are one idea in three lengths, and it is the single most effective density trick in this whole article: a blunt, one-length perimeter. When every hair ends at the same line, the bottom edge of the hair reads as a solid block, and the eye registers thickness. The moment the ends are layered, feathered or thinned, that solid edge dissolves into wisps, and the same amount of hair looks half as thick. Cut 1 is the blunt bob, chin to jaw length, the strongest version of the idea — the shortest perimeter makes the densest edge. Cut 2 is the blunt lob, collarbone length, for anyone who is not ready to go short: the same solid bottom line, just lower down, and it still reads as full because the ends have not been tapered away. Cut 3 is the one-length long cut with no layers at all, kept at or just below the shoulders: the gentlest change, for people who want to keep their length while they wait out the shedding, and it works precisely because the ends are left alone.
What to ask your stylist: “Can you cut this blunt, one length, with no thinning shears and no layers at the ends? I want the bottom edge to look solid, even if that means it feels heavier than I’m used to.” Bring a photo of the exact length you want, and ask the stylist to show you the perimeter from behind in the mirror before you leave — the back view is where a blunt edge proves itself, and it is the view everyone else sees.
What it looks like in real life
In real life a blunt bob looks almost severe on the first day — a clean, heavy line that swings as one piece — and that severity is the point: it is the shape that photographs as thick hair. The lob is the everyday version, easier to tie back and less of a commitment, and it still holds a visible bottom edge when the hair is air-dried or blow-dried smooth. The one-length long cut is the quietest of the three: from the front it looks like the same hair, just neater, but from behind the difference is obvious, because the ends no longer taper into nothing. For more volume-first shapes in the same spirit, the 30 hairstyles ideas for fine hair guide is a useful next read — it is built around the same principle of keeping weight where the eye can see it.
Variations worth trying
If a dead-straight blunt line feels too severe, ask for a barely-there bevel — the very last half-centimetre turned under, not a layer. A blunt bob with a soft undercut at the nape (hidden, not visible) removes bulk underneath without touching the perimeter, which helps thick hair sit better while keeping the edge. For wavy or curly hair, the blunt perimeter works too, but ask for it cut dry or with the curl pattern in mind — cutting curly hair wet and blunt can spring up shorter than expected, so the length should be agreed on the dry curl, not the wet one.
When to skip it
Skip the blunt bob if you love tying your hair up every day — at chin length it will not stay in a ponytail, and the grow-out months are fiddly. Skip the one-length long cut if your ends are already badly split or broken from past bleaching: a blunt edge on damaged ends just makes the damage line more visible, and a small trim first is the honest fix. And skip all three if the thinning is concentrated at the crown rather than the ends — blunt ends do not fix a flat crown, and the short crops in the next section do that job better.
📌 Save this before your appointment — the blunt perimeter, the “no thinning shears” wording, and the monthly photo check are the three things to take into the chair.
Cut 4–6: Short Crops and Bobs That Lift the Crown
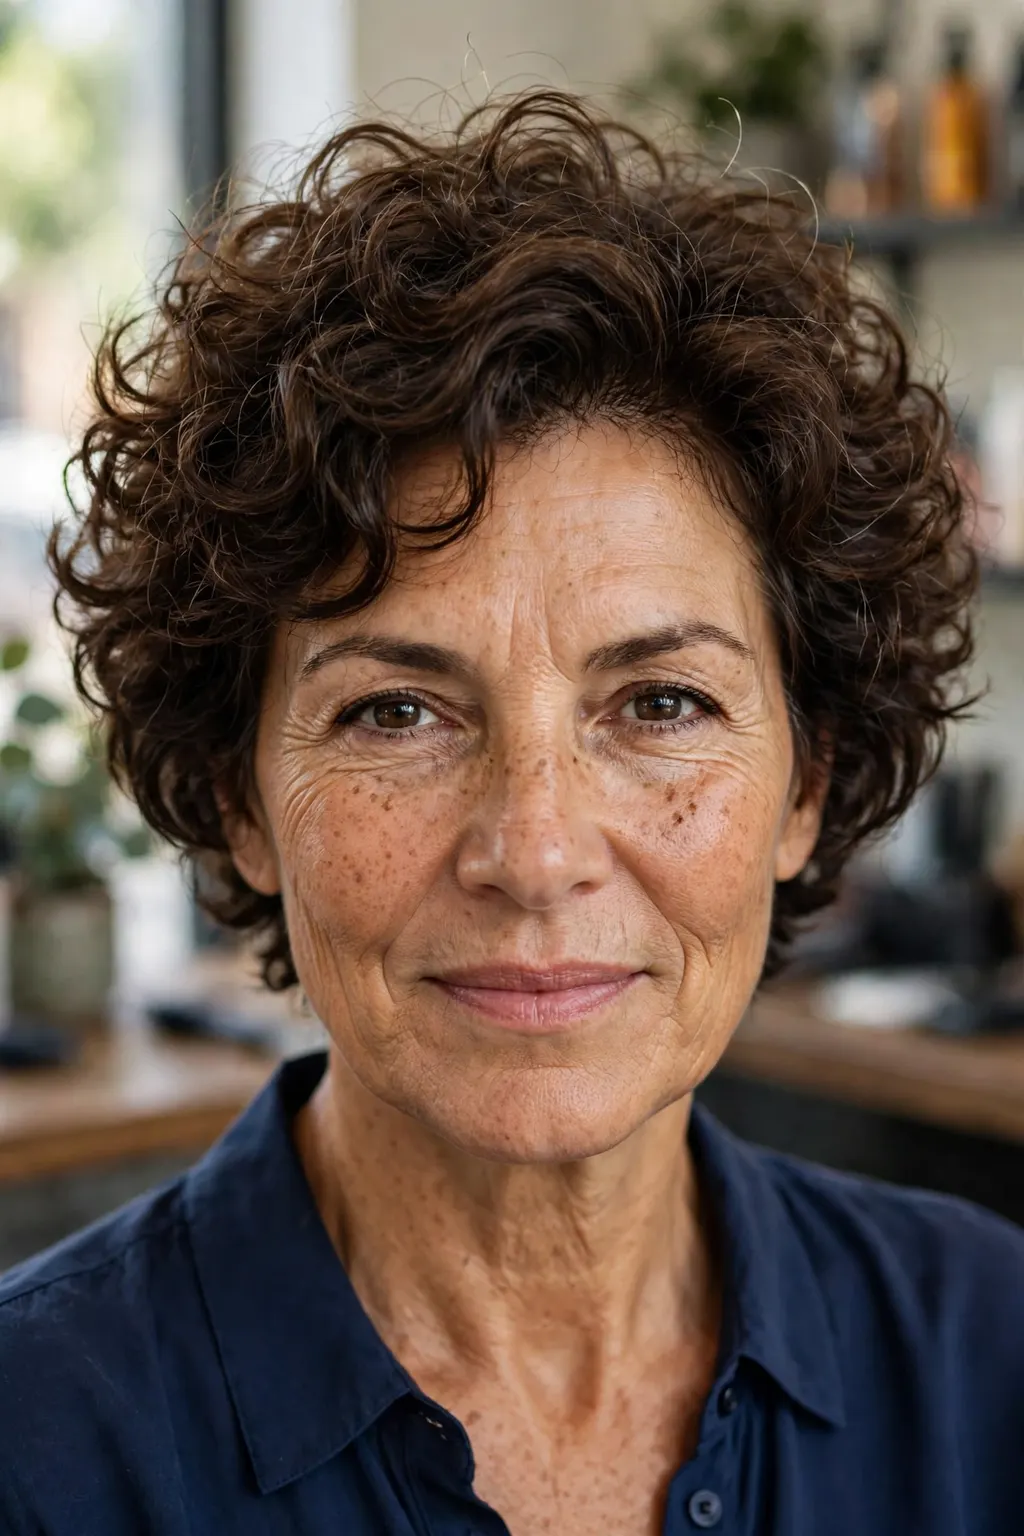
When the thinning shows most at the crown and the parting, the fix is height, not length. Long hair pulls down with its own weight, and that weight flattens the crown and opens the part wider — the exact two places diffuse shedding is most visible. Shorter hair is lighter, so it stands up more easily, and a cut that builds volume into the crown hides a widening part better than any amount of length ever will. Cut 4 is the textured pixie crop: short at the back and sides, longer and piecey on top, so the top can be pushed forward or to the side and the scalp simply does not show through. Cut 5 is the stacked bob: graduated layers at the back that stack the hair up and create volume at the crown, with the front kept long enough to frame the face. Cut 6 is the bixie — the bob-pixie hybrid that has become the default recommendation for thinning hair — short enough to lift, long enough to tuck behind an ear or sweep across the forehead, and forgiving during the grow-out.
Who it suits best
Short crops suit anyone whose main complaint is the crown or the parting rather than the ends, and they suit round and square faces particularly well, because the height on top lengthens the face. They suit straight and wavy hair best — the texture on top is what creates the lift — and they suit people who are ready for a real change, because a pixie is a commitment, not a trim. The stacked bob is the gentlest entry point of the three: it keeps enough length to feel like a bob, and the graduation at the back does the lifting work invisibly. The bixie suits the widest group of all, which is why stylists reach for it first for thinning hair: it is short where it needs to lift and long where it needs to cover.
How to ask for it (or do it at home)
Say: “I want volume at the crown and coverage over the part — a shorter cut that lifts, not a longer cut that pulls flat. Please keep the top long enough to move, and don’t thin the top out.” At home, the styling is deliberately simple: blow-dry the crown forward and up with a small round brush or your fingers, then push it into place once it is dry — styling the crown while it is wet and then leaving it alone is what gives the lift all day. A root-lifting spray or a little volumising powder at the crown is worth more than any amount of backcombing, which roughs the hair up and breaks the fine hairs that are already fragile.
Styling and upkeep
Short cuts need more frequent trims than long ones — every four to six weeks keeps the shape lifting, and a grown-out pixie goes flat at exactly the wrong moment. That is the real cost of this group: less daily styling, more appointments. On the plus side, the wash-and-go is genuinely quick, the hair dries in minutes, and there is far less breakage from brushing and heat, because there is simply less hair to manage. If you are between appointments and the crown starts to flatten, a dry shampoo at the roots, massaged in and brushed out, restores the lift for a day without a wash.
Cut 7–9: Fringe and Part Changes That Disguise a Widening Part

Sometimes the best cut is not a cut at all, but a change to where the hair falls. A widening part is the most photographed sign of diffuse shedding, and it is also the easiest to disguise, because a part is just a line — move the line and the problem moves with it. Cut 7 is the curtain fringe: long, face-framing pieces that fall across the forehead and break up the hairline, so the eye reads the fringe instead of the scalp behind it. Cut 8 is the deep side part: moving the part an inch or two to the side covers the centre, where the thinning shows first, and the weight of the hair falling across the old part hides it completely. Cut 9 is the textured micro-fringe or wispy fringe for people who want a real fringe: short, light pieces across the forehead that disguise a thinning hairline and add shape to the front, without the commitment of a full heavy fringe that can look thin itself.
The technique, step by step
Start with the part, before any cutting: try a deep side part for a week and see whether the widening centre disappears in photos — if it does, the fringe is optional, and you have solved the problem with zero scissors. If you go for a curtain fringe, it should be cut on dry hair, with the pieces left long enough to tuck behind the ears: too short and it springs up and exposes the hairline it was meant to cover. A wispy fringe should be cut with the hair falling naturally forward, never pulled tight, because a fringe cut under tension springs shorter once it is released — and a too-short fringe on thinning hair is very hard to hide. The stylist should point-cut the ends, not cut a straight line across, so the fringe ends in soft points rather than a hard edge that shows the scalp through it.
Common mistakes to avoid
The biggest mistake is a heavy, straight-across fringe on thin hair: a fringe needs density to look like a fringe, and taking a thick section from already-thin hair just moves the thinness from the hairline to the crown. The second is cutting the fringe too short in the chair and then discovering it springs up at home — always ask for it left a touch long, because you can take more off but you cannot put it back. The third is changing the part every day: the hair needs a few washes to learn a new part, and switching back and forth just leaves both parts visible. Pick one part, commit to it for two weeks, and then judge it in photographs, not in the mirror.
Products and tools that help
A light texturising spray gives a fringe grip without weight, and a tiny amount of pomade on the ends of curtain pieces stops them separating into gaps that show the forehead. A small round brush, or just fingers and a hairdryer on low heat, is enough to shape a fringe — a flat iron on a fringe is usually too much heat on the most fragile hairs on the head. Dry shampoo at the roots of the fringe keeps it from separating into clumps by midday, which is when a fringe most often betrays the hair behind it.
Colour Tricks That Add Visual Density (and What to Avoid)
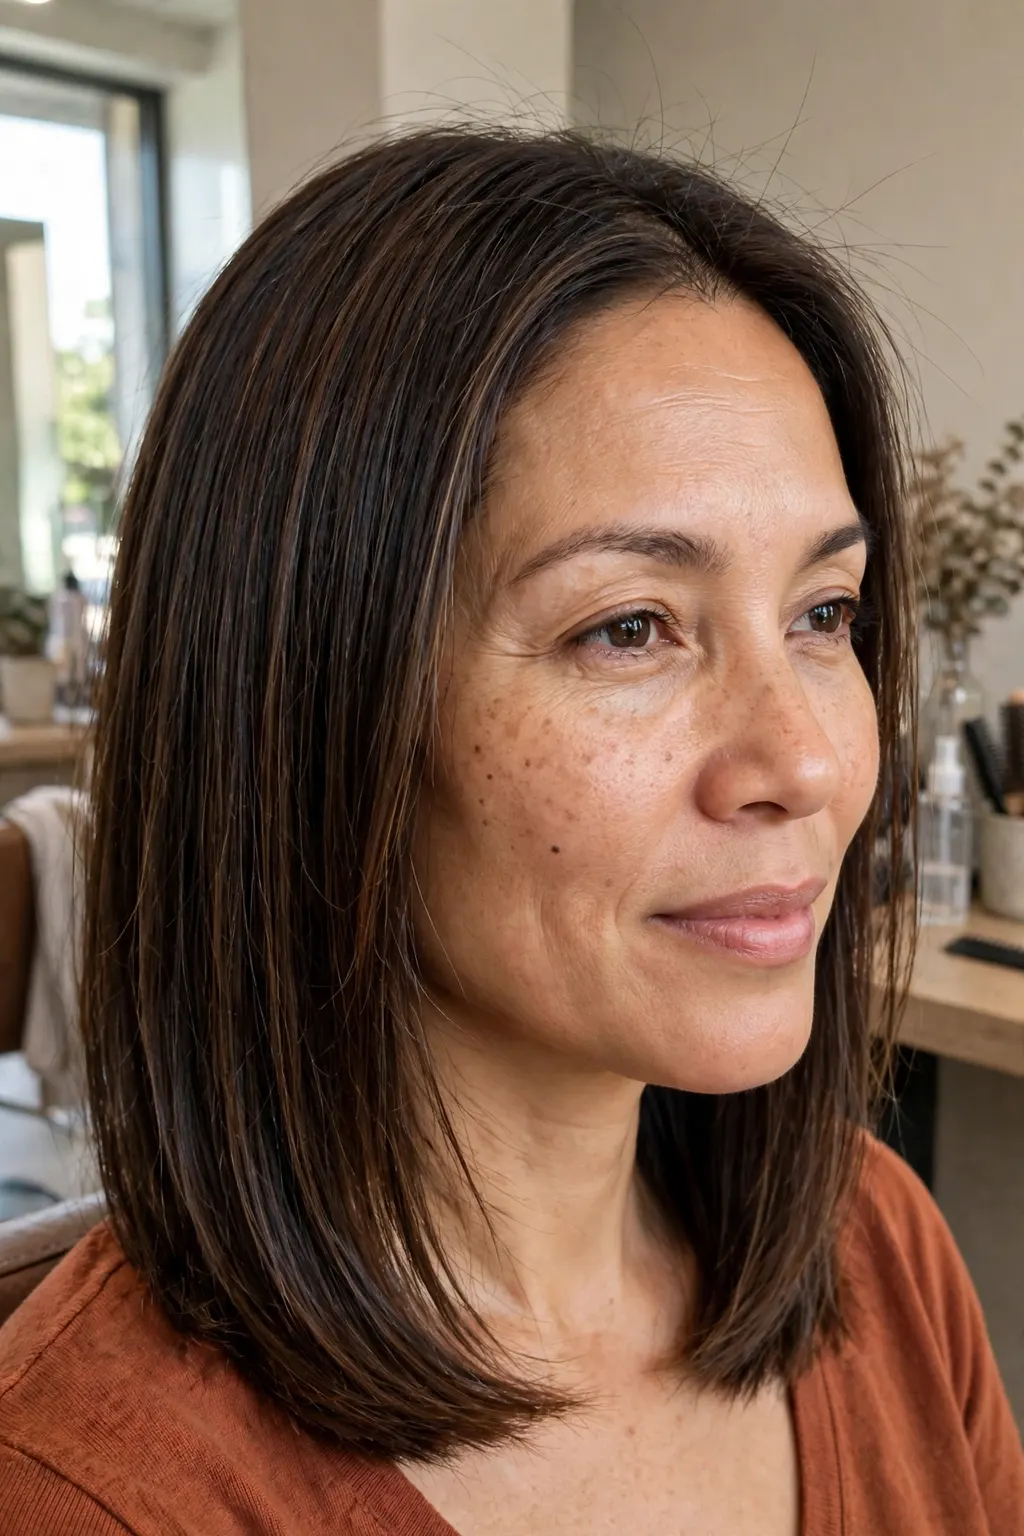
Colour cannot grow hair, but it can change how much hair the eye thinks it sees — and it can also do the opposite, so the choices matter. The rule is contrast: hair reads as fuller when the colour is close to the scalp, because a dark scalp showing through light hair is the most visible sign of thinning there is. That is why a root shadow or a root smudge — a slightly deeper tone melted into the roots — is the single most useful colour trick for shedding: it narrows the contrast between hair and scalp, and the parting and crown immediately look denser. Low-lights a shade or two darker than the base, placed through the mid-lengths, add depth and dimension, and dimension reads as thickness, because flat single-process colour on thin hair can look like a sheet. A gloss or a demi-permanent colour adds shine and a slight coating to each strand, which makes the hair look and feel a little thicker without any permanent change.
What to avoid is just as important. High-lift blonde on a dark scalp is the worst combination for thinning hair: every millimetre of scalp shows. Bleach, and especially double-process blonde, also weakens hair that is already shedding, and the breakage it causes at the lengths can look like more shedding than it is. If you love being blonde, talk to your colourist about a shadow root and a lower-maintenance blonde that grows out softly, rather than a scalp bleach that needs redoing every few weeks. And be honest about the trade-off: colour is a visual trick, not a treatment, and if the shedding is still active, the gentlest colour — a gloss, a demi, a root shadow — is the right call until it settles.
Best for: hair types and face shapes
Root shadows and low-lights suit everyone with diffuse thinning, on every hair type, because they work on the scalp contrast rather than on the hair itself. They suit darker hair best of all, because the contrast between a dark scalp and light hair is the most visible — but they help blonde hair too, by keeping the root area from looking stark. Gloss treatments suit fine hair particularly well, because fine hair takes a shine easily and the added coating is proportionally more noticeable. The only group to be cautious with is hair that is already heavily bleached or damaged: in that case the gentlest option is a gloss and a break from lightening, not another round of colour.
The exact salon wording
Say: “My hair is shedding and the scalp is showing through at the part — can you add a root shadow to close the contrast, and some low-lights for dimension, without lightening the roots? I want the gentlest option that makes it look denser.” Ask the colourist to show you the root shadow in daylight, not just under salon lights, because the parting is judged in daylight. And ask how the colour will grow out: a root shadow that grows out softly needs a top-up every eight to twelve weeks, while a hard line needs one every four — the softer grow-out is the one that suits a shedding phase, when you do not want another appointment every month.
Maintenance schedule
A root shadow needs refreshing every 8–12 weeks; a gloss every 4–6 weeks, and it can be done at the same appointment as a trim, so it adds no extra visits. Low-lights last longer, usually 10–12 weeks, because they are placed through the lengths rather than at the root. Between appointments, a colour-depositing conditioner in a shade close to your own can keep the root area from looking stark as it grows out — but use it sparingly, because build-up on fine hair weighs it down and undoes the volume the colour was meant to create. And while shedding is active, stretch the gap between lightening appointments rather than shortening it: the hair you have is the hair you need to protect.
Styling Rules During Shedding: Heat, Tension and Products

During a shedding phase, the goal of styling changes: it is no longer about the most polished finish, it is about the least damage while the hair recovers. Heat is the first thing to ration. A flat iron at high heat on fine, shedding hair breaks the hairs that are already at their most fragile, and the breakage shows up as shorter, flyaway pieces that look like more thinning. If you use heat, keep it on the lowest setting that works, always use a heat protectant, and never flat-iron the same section twice. Air-drying, or diffusing on low heat, is the kindest default — and for the cuts in this article, air-drying usually gives a better result anyway, because the blunt and short shapes hold their own structure without heat.
Tension is the second thing to ration. Tight ponytails, tight braids, tight buns and heavy extensions all pull on the roots, and pulling on roots that are already shedding is how a diffuse problem becomes a traction problem as well. If you tie your hair back, use a soft scrunchie or a spiral tie, keep it loose and low, and vary the position so the same hairs are not pulled every day. Sleep on a silk or satin pillowcase: cotton catches fine hair and roughs it up overnight, while silk lets it slide, and the difference shows up as fewer broken hairs on the pillow in the morning. The same gentle approach runs through our winter hair care routine for dry hair — low heat, loose ties and silk at night are winter defaults, not just shedding-phase rules. And brush gently, with a wide-tooth comb on wet hair and a soft brush on dry hair, from the ends up — never drag a brush through tangles from the roots down.
What it looks like in real life
In real life, gentle styling looks a little less perfect than the old routine, and that is the trade to accept for a few months: a blunt bob air-dried with a bit of natural wave, a pixie pushed into place with fingers rather than ironed flat, a fringe left to fall where it falls. The hair will look softer and a little less “done”, and it will also break less — and in a shedding phase, less breakage is worth more than a sleeker finish. The test is the brush, not the mirror: if the brush is collecting fewer broken short pieces after two weeks of gentler styling, the routine is working, even if the style feels less polished.
Variations worth trying
If you cannot give up heat entirely, use it only on the pieces that need it — the front sections that frame the face — and leave the rest to air-dry. A heatless overnight wave (a loose braid or a soft robe tie, kept loose) gives movement without any heat at all, and it suits the blunt and lob shapes particularly well. For hold without stiffness, a light mousse or a volumising spray at the roots gives lift without the crunch of a strong hairspray, and a tiny amount of texturising powder at the crown is worth more than a whole can of spray. The rule for products during shedding is simple: fewer products, lighter formulas, and nothing that needs aggressive brushing to remove.
When to skip it
Skip the gentle-styling rules only once the shedding has clearly settled — the monthly photos are the judge, not a feeling. And skip heatless styling if it means sleeping with wet hair tied tightly: damp hair tied up overnight breaks more than dry hair ever does, so if the hair is still damp at bedtime, leave it loose and dry it gently first. Do not skip the heat protectant because you have turned the heat down: lower heat is still heat, and the protectant is the cheapest insurance in the whole routine.
What to Tell Your Stylist (and What to Ask Your Doctor)
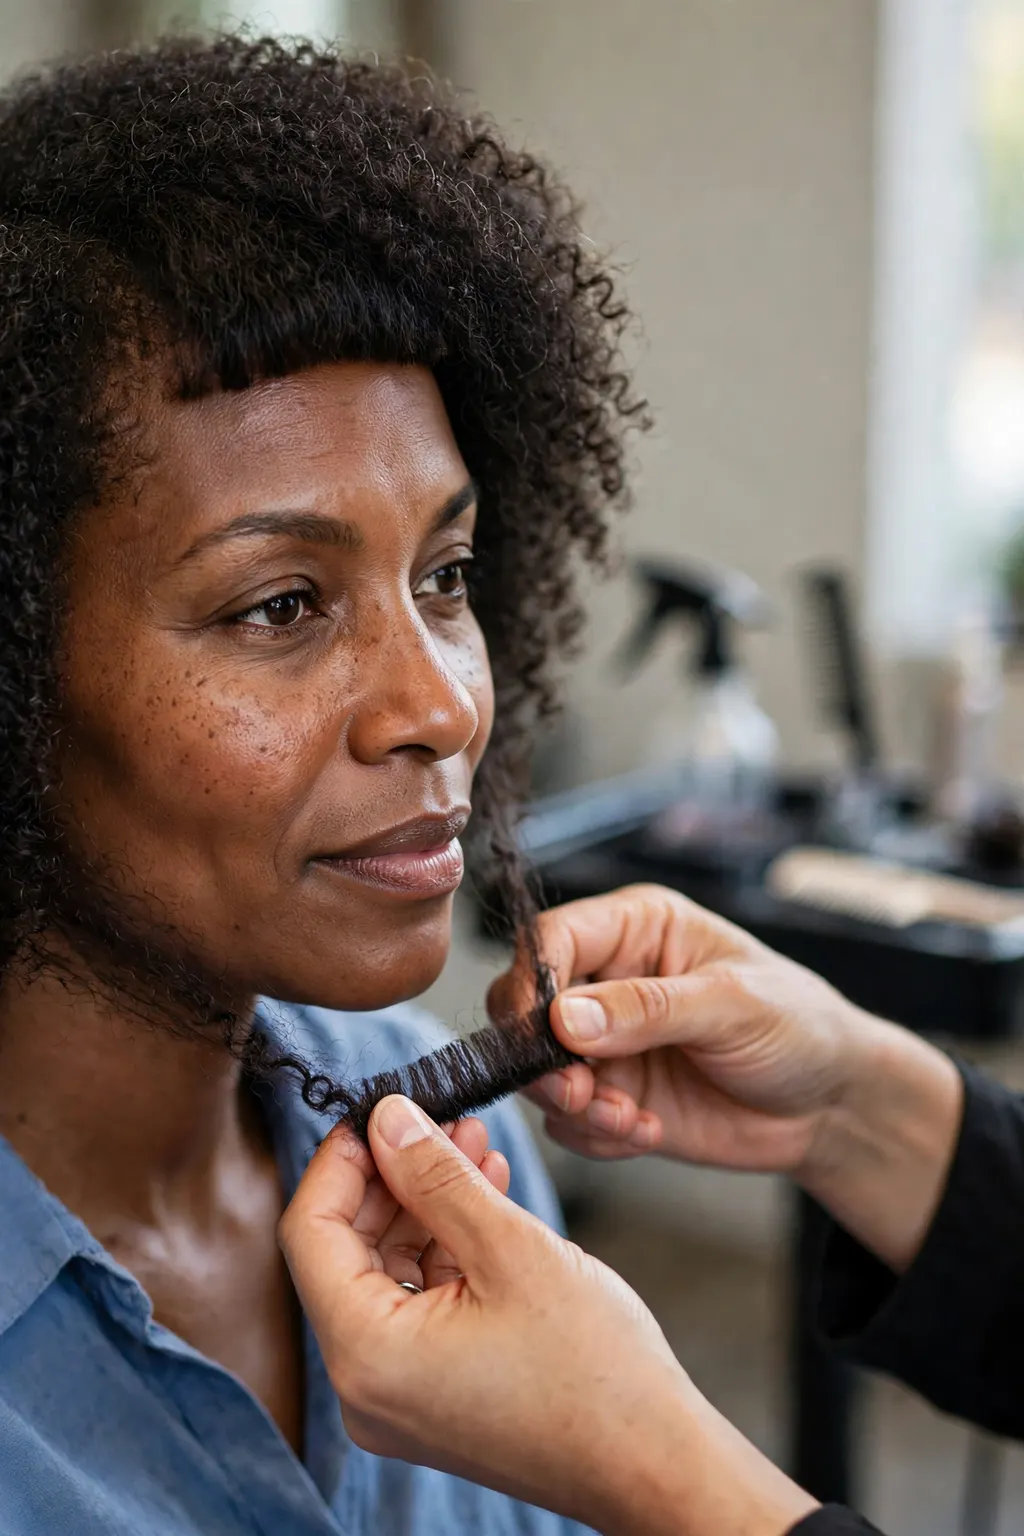
The appointment goes better when you arrive with the right sentences, so here they are in one place. To your stylist: the pattern (diffuse, not patchy), the goal (fullness, not length), the constraints (no thinning shears, no razor on the ends, no heavy layers), and the history (when the shedding started, how fast the weight came off). A good stylist will also want to know what you do to your hair at home — heat, colour, tying it back — because that decides which of the nine cuts will actually survive your routine. Bring the monthly photos: a stylist who can see the change over three months will cut differently from one who only sees today, and the photos are the fastest way to show them what “thinner” means in your case.
To your doctor, the questions are different, and they are worth writing down before the appointment so nerves do not eat them. When did the shedding start, and how does it line up with the dose or the fastest weight loss? Is blood work worth doing — iron, ferritin, B12, vitamin D, thyroid — and would a referral to a dermatologist help? Is the shedding consistent with the medication and the weight loss, or is something else worth ruling out? And the question everyone is really asking: should anything about the medication change, and who decides that? The answer to that last one is the doctor, not the internet and not this article — never change a prescribed medication because of hair shedding without talking to the clinician who prescribed it.
Who it suits best
A prepared appointment suits everyone, but it suits two groups most: people who have never talked to a stylist about thinning before and feel awkward bringing it up, and people who have a doctor’s appointment coming up and want to use the short time well. For the first group, the sentences above are a script — use them word for word if that helps. For the second, the timeline (shedding start, weight-loss pace, monthly photos) is the thing the doctor will actually use, so it is worth having it written down rather than reconstructed from memory in the room.
How to ask for it (or do it at home)
At the salon, ask for a consultation before the cut, even a five-minute one: “Can we talk before you cut — I want to show you the photos and agree the shape first.” A stylist who rushes straight to the chair is a stylist to be cautious with when the problem is thinning. At the doctor’s, ask for the blood work by name if it is offered as an option, and ask what the follow-up is: a single appointment with no plan to recheck is less useful than a plan that says “we’ll recheck in three months and see whether it is easing”. At home, keep the timeline going — one photo a month, one note about how the shedding feels — because the next appointment, whichever kind it is, will be better for it.
Styling and upkeep
Between appointments, the upkeep is the gentle routine from the previous section: low heat, loose ties, silk pillowcase, careful brushing. It is also worth keeping the colour gentle while the shedding is active, as the colour section explains, because a colour appointment is a chance to check in with the stylist about how the hair is responding. And keep the trim schedule: a blunt edge only stays blunt if it is re-cut every six to eight weeks, and a short crop only keeps lifting if it is re-cut every four to six. The upkeep is the cut, repeated — that is what keeps the fullness there while the hair itself recovers.
When to See a Doctor: The Red-Flag Checklist
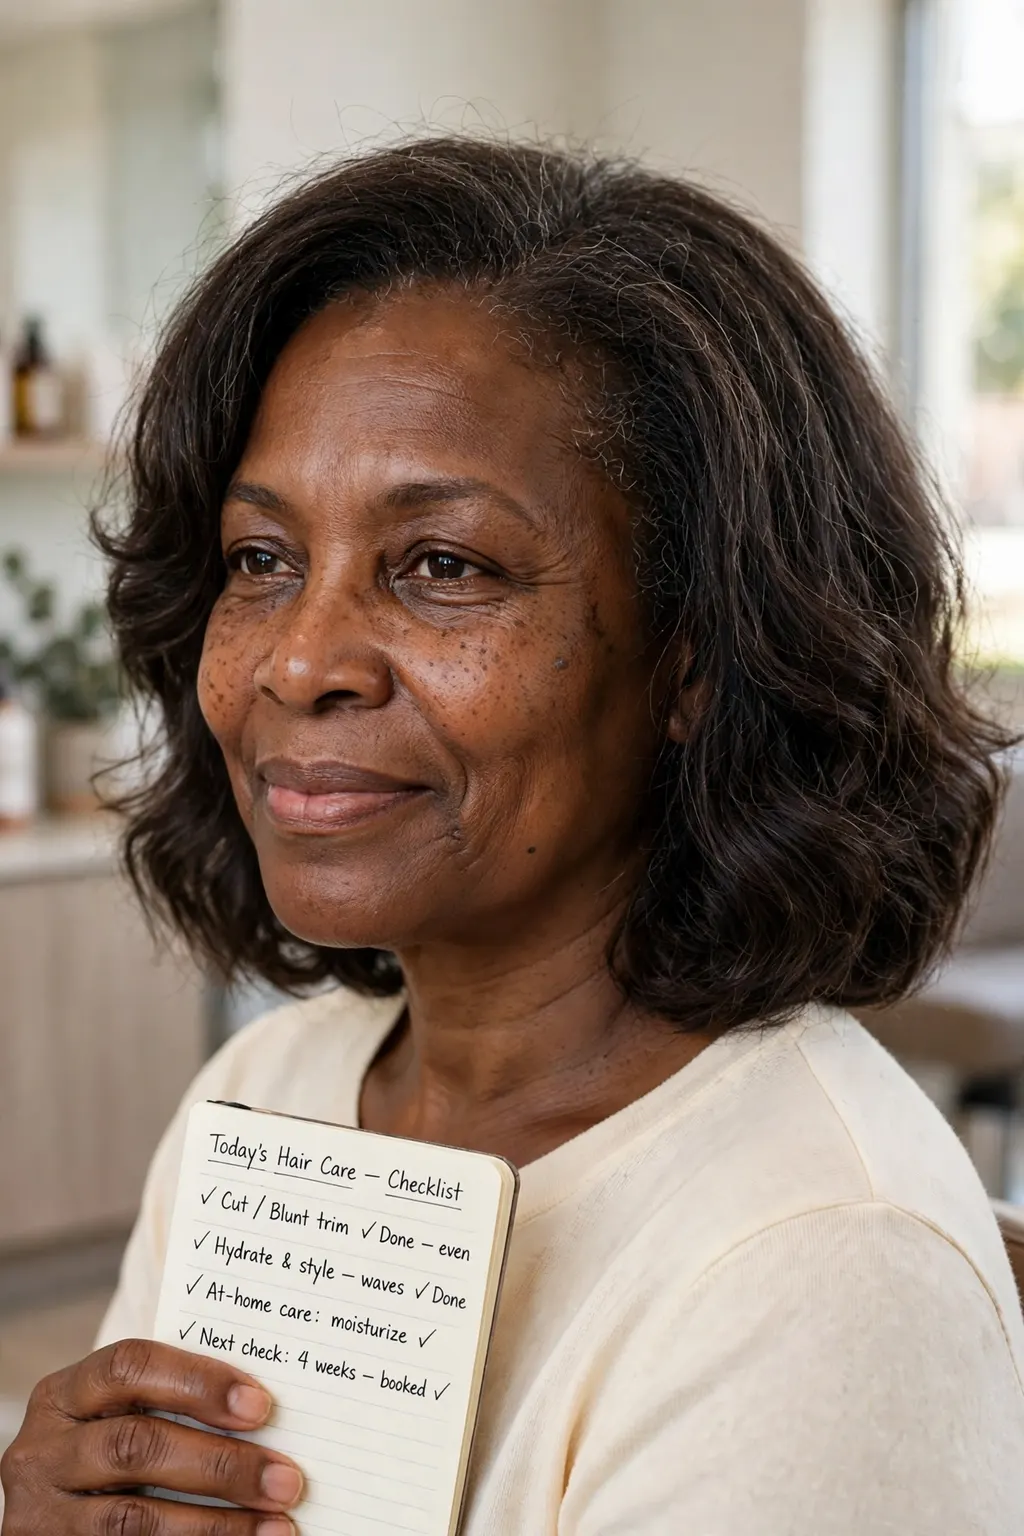
A haircut can make diffuse shedding look fuller, and for many people that is enough while the shedding runs its course. But some signs mean the answer is a clinician, not a cut, and they are worth knowing by name so you do not waste months styling a problem that needs investigating. See a doctor promptly if you notice any of these: hair coming out in patches, or a smooth bald spot; scarring, scaling, redness or pain on the scalp; itching that does not settle, or sores that do not heal; shedding that keeps going, or gets worse, more than six months after your weight has stabilised; hair loss together with other new symptoms — unusual fatigue, feeling very cold, a racing heart, or big changes in mood or periods; or a sudden, dramatic shed that starts all at once rather than building gradually. None of these is a diagnosis, and most of them have straightforward explanations — but they are the signs a clinician would want to hear about early, and this article cannot substitute for that conversation.
It is also worth seeking advice if the shedding is distressing you, even without any red flag. Hair loss is not a cosmetic footnote when it is your hair: it affects how you feel about yourself, and a doctor or a dermatologist can talk through the options — including whether a referral, blood work or a period of watchful waiting is the right step — in a way a blog post cannot. If you are unsure whether your situation counts, that uncertainty itself is a reasonable reason to ask. Bring the timeline and the monthly photos, bring a list of your medications and supplements, and bring the questions written down. And remember the boundary that matters most: do not stop, skip or reduce a prescribed medication because of shedding without discussing it with the clinician who prescribed it.
The technique, step by step
Step one is the timeline: when the shedding started, when the weight loss was fastest, what dose you were on, and whether anything else changed at the same time — a new medication, an illness, a stressful period. Step two is the photos: one a month, same light, same parting, so the change is visible rather than remembered. Step three is the appointment itself, with the questions written down in advance. Step four is the follow-up: agree what happens next — blood work, a dermatology referral, or a date to recheck — before you leave, so the appointment ends with a plan rather than a shrug. And step five is the haircut, booked after the appointment, so the stylist is working with whatever the clinician said, not instead of it.
Common mistakes to avoid
The most common mistake is waiting too long because the shedding “is probably just the medication” — that is often true, and it is also exactly the assumption a clinician can confirm or correct in one appointment. The second is trying supplements, special shampoos or scalp treatments that promise regrowth, and spending months on them instead of getting the basic checks done: most over-the-counter hair products cannot address the causes a doctor would look for, and some can irritate a scalp that is already sensitive. The third is changing the medication on your own, or stopping it suddenly, because the hair feels more urgent than the reason the medication was prescribed — that is a decision for the prescribing clinician, with the full picture in front of them.
Products and tools that help
The tools that help here are not products but records: the monthly photos, the timeline, the list of medications and supplements, and the written questions. If you want one physical thing, make it a silk pillowcase and a soft brush — the gentle routine from the styling section — because those reduce breakage while you wait for answers, and they do not interfere with anything a clinician might check. Be wary of any product that claims to regrow hair or stop shedding quickly: if it sounds like a promise, it is a marketing claim, and the money is better spent on the appointment.
Frequently Asked Questions
What haircut makes thinning hair look fuller?
A blunt, one-length cut makes the ends read as a solid edge — a blunt bob or lob, with no thinning shears and no wispy layers. Short crops that lift the crown help at the parting, and a fringe or side part disguises a widening part. Keep weight where the eye sees it: the perimeter, the crown, or the forehead.
Does hair lost on GLP-1 medication grow back?
For many people, shedding linked to rapid weight loss eases once the trigger settles — as weight stabilises and nutrition catches up — and shed hair can regrow over months, because the follicles are still there. But that is a general pattern, not a promise: how much regrows varies, and depends on the cause, which only a clinician can establish.
When should hair shedding be checked by a doctor?
See a doctor if the loss is patchy or in one spot, if the scalp is painful, red, scaly or scarred, or if shedding continues six months after your weight stabilises. Also seek advice if the shedding distresses you, even without a red flag. Bring your timeline and medication list, and never change a prescribed medication without your prescriber’s advice.
Conclusion: Hair Thinning on GLP-1 Medication? 9 Cuts That Make Diffuse Shedding Look Fuller — and When to See a Doctor — Your Next Step
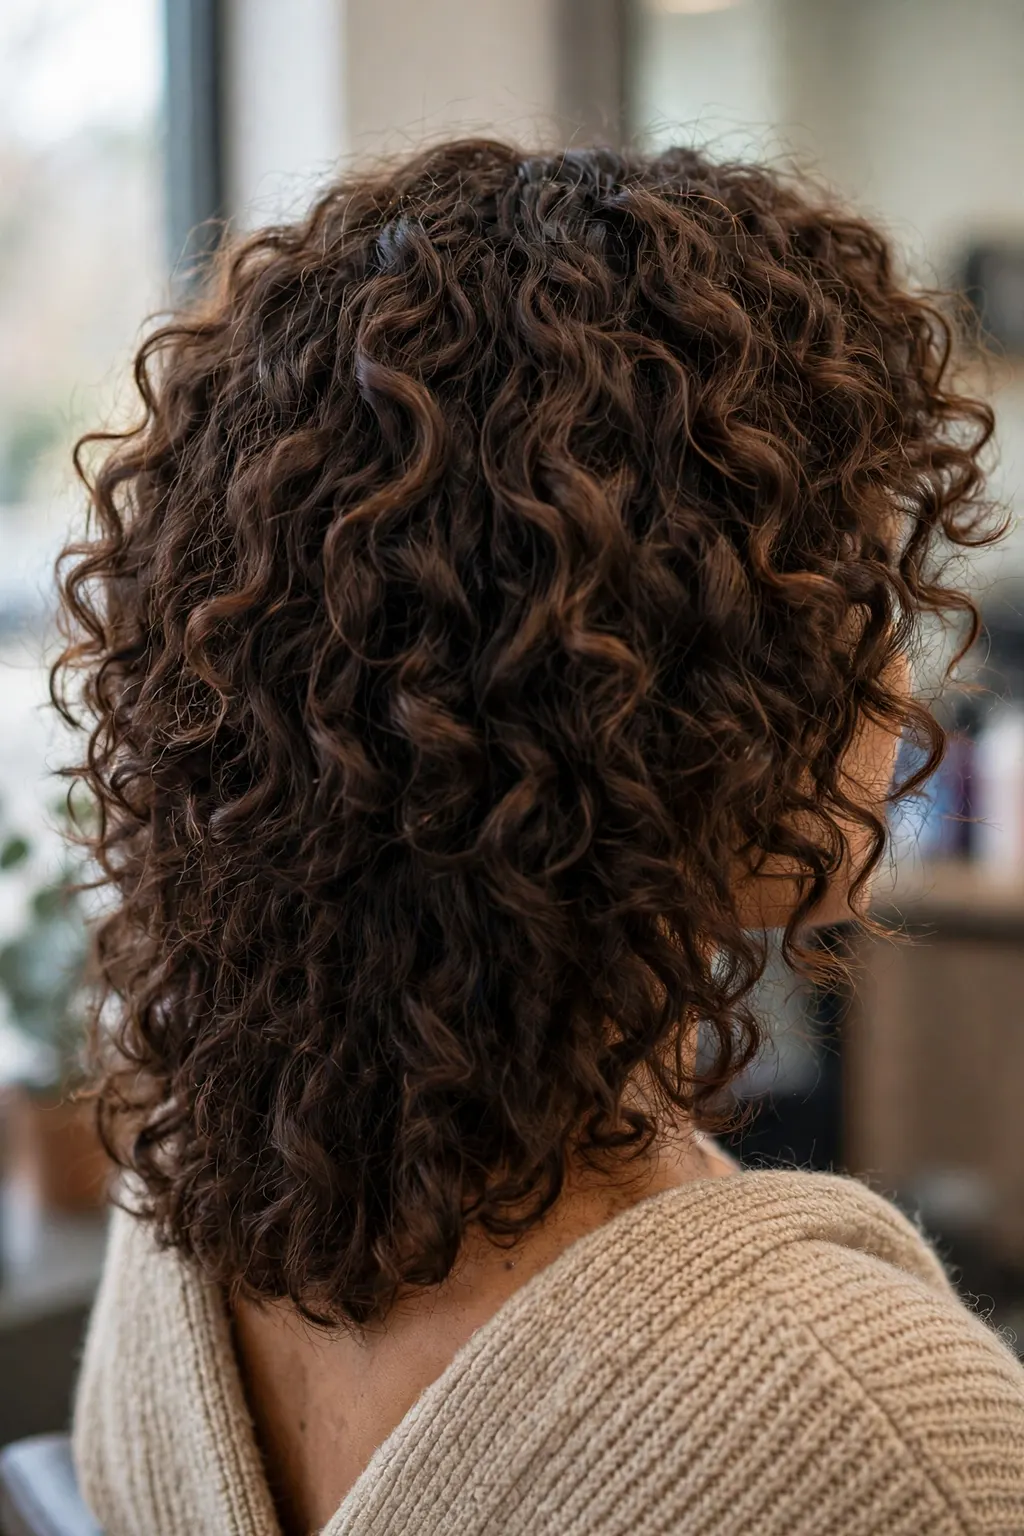
The nine cuts come down to three ideas: keep the ends blunt so they read as a solid edge, keep the crown lifted so the parting does not gape open, and move the fringe or the part so the eye lands on hair instead of scalp. Add the colour rules — a root shadow to close the scalp contrast, dimension instead of flat colour, nothing harsh while the shedding is active — and the gentle styling rules — low heat, loose ties, silk at night — and you have a routine that makes the hair you have look like more hair, while you wait for the shedding to settle. None of it is a treatment, and none of it replaces the appointment when the red flags apply: the haircut is what you do while you wait, and in some cases while you find out what is actually going on.
Start with the smallest step that helps most: try the deep side part this week, and book the blunt trim or the crown-lifting cut that matches where your thinning shows. Take the first monthly photo now, so the next one has something to compare against. And if anything in the red-flag list sounds like you, book the doctor first and the haircut second — in that order, and without changing any medication in between. Your hair deserves a cut that works with what it is doing right now, and you deserve an answer about why it is doing it.
📌 Save this before your appointment — the nine cuts in three groups, the “no thinning shears” wording, and the red-flag checklist are the parts you will want in the chair and in the clinic, not in your memory.