Winter Curly Hair Care: Stop Dryness, Static and Hat Frizz by Curl Type

Winter is the season curls dread most, and it is not one problem but three arriving together: cold dry air outside, heated dry air inside, and a hat that flattens the crown and frizzes everything it touches. Straight hair notices winter too, but curls lose first — the spiral shape that makes them beautiful also stops the scalp’s natural oil from travelling down the strand, so the ends are already the driest part of the hair before the weather gets involved. This article works by curl type, because a type 2 wave and a type 4 coil do not need the same winter routine at all: the dew-point rule that saves a wavy head will starve a coily one, and the butter that protects type 4 will drown type 2. Read the sections for your type, keep the hat strategy whatever your type, and the curls that come out in spring will be the ones you went in with.
Quick answer: In winter, wash curly hair less often and condition more, seal every wash with leave-in, cream then oil in that order, and drop glycerin-heavy products when the dew point is low. Wear a satin-lined hat or a silk scarf under a wool one, refresh with a water-based spray instead of re-wetting fully, and give type 4 hair a butter and a protective base for the coldest weeks. Wash every 5–10 days depending on type, and never let a wool hat touch bare curls.
Why Curls Lose Winter First (Oil Can’t Travel the Spiral)

A straight strand is a slide: the scalp’s sebum travels down it easily, coating the length as it goes. A curl is a spiral staircase, and oil does not climb stairs well. Every bend slows it down, so the mid-lengths get some and the ends — the oldest, most weathered part of the hair — get almost none. In summer that is a manageable gap, because humidity in the air tops the hair up from outside. In winter the air holds almost no moisture, indoors or out, so the ends dry out from both sides at once: nothing arriving from the scalp, nothing arriving from the air. That is why winter curl damage shows up first as dry, rough ends and a halo of frizz, long before any real breakage — the strand is thirsty, not broken yet, and thirst is fixable.
The second winter thief is static. Cold air and wool, scarves, coats and hats all build static charge, and dry hair holds a charge far longer than moisturised hair does. The frizz you see after taking a hat off is partly flattened curls and partly static lift — fine hairs standing away from the head because they are repelling each other. Moisturised hair discharges static quickly; dry hair keeps it. So the winter routine is not really a styling routine at all — it is a moisture routine with styling on top, and every section below is judged by one question: does this put moisture in and keep it there until the next wash?
The technique, step by step
Start by identifying your type honestly, not aspirationally: type 2 is wavy with an S-shape that starts a few inches from the root, type 3 is a defined springy curl, type 4 is a tight coil or zigzag that shrinks dramatically when dry. Then audit one wash day end to end — what you shampoo with, how long you condition, what you seal with — and change one thing at a time, so you know which change worked. The order of the routine matters more than the brand on any bottle: cleanse gently, condition generously, seal in layers, protect from the hat, refresh between washes. Get the order right first; the products are the fine-tuning.
Common mistakes to avoid
The most common winter mistake is washing more to fight the frizz — it does the opposite, stripping the little oil the scalp managed to send down. The second is reaching for a heavy butter on wavy hair because a curly influencer swears by it; type 2 hair drowns under butters and goes limp, which looks like damage but is just weight. The third is treating all frizz as dryness: hat frizz is friction and static, and no amount of conditioner fixes a wool hat rubbing bare curls. Each kind of frizz has its own fix, and the sections below separate them so you are not conditioning a friction problem.
Products and tools that help
A sulfate-free, low-lather cleanser for winter; a thick rinse-out conditioner you can leave on for five minutes, not thirty seconds; a leave-in cream; a light oil for sealing; and a satin-lined beanie or a silk scarf to wear under a wool hat. A microfibre towel or an old cotton T-shirt for drying — a rough towel roughs the cuticle up and starts frizz before the hair is even dry. A spray bottle for refresh days costs almost nothing and is the single most-used tool in a winter curl routine.
Wash Day in Winter: Less Shampoo, More Conditioner
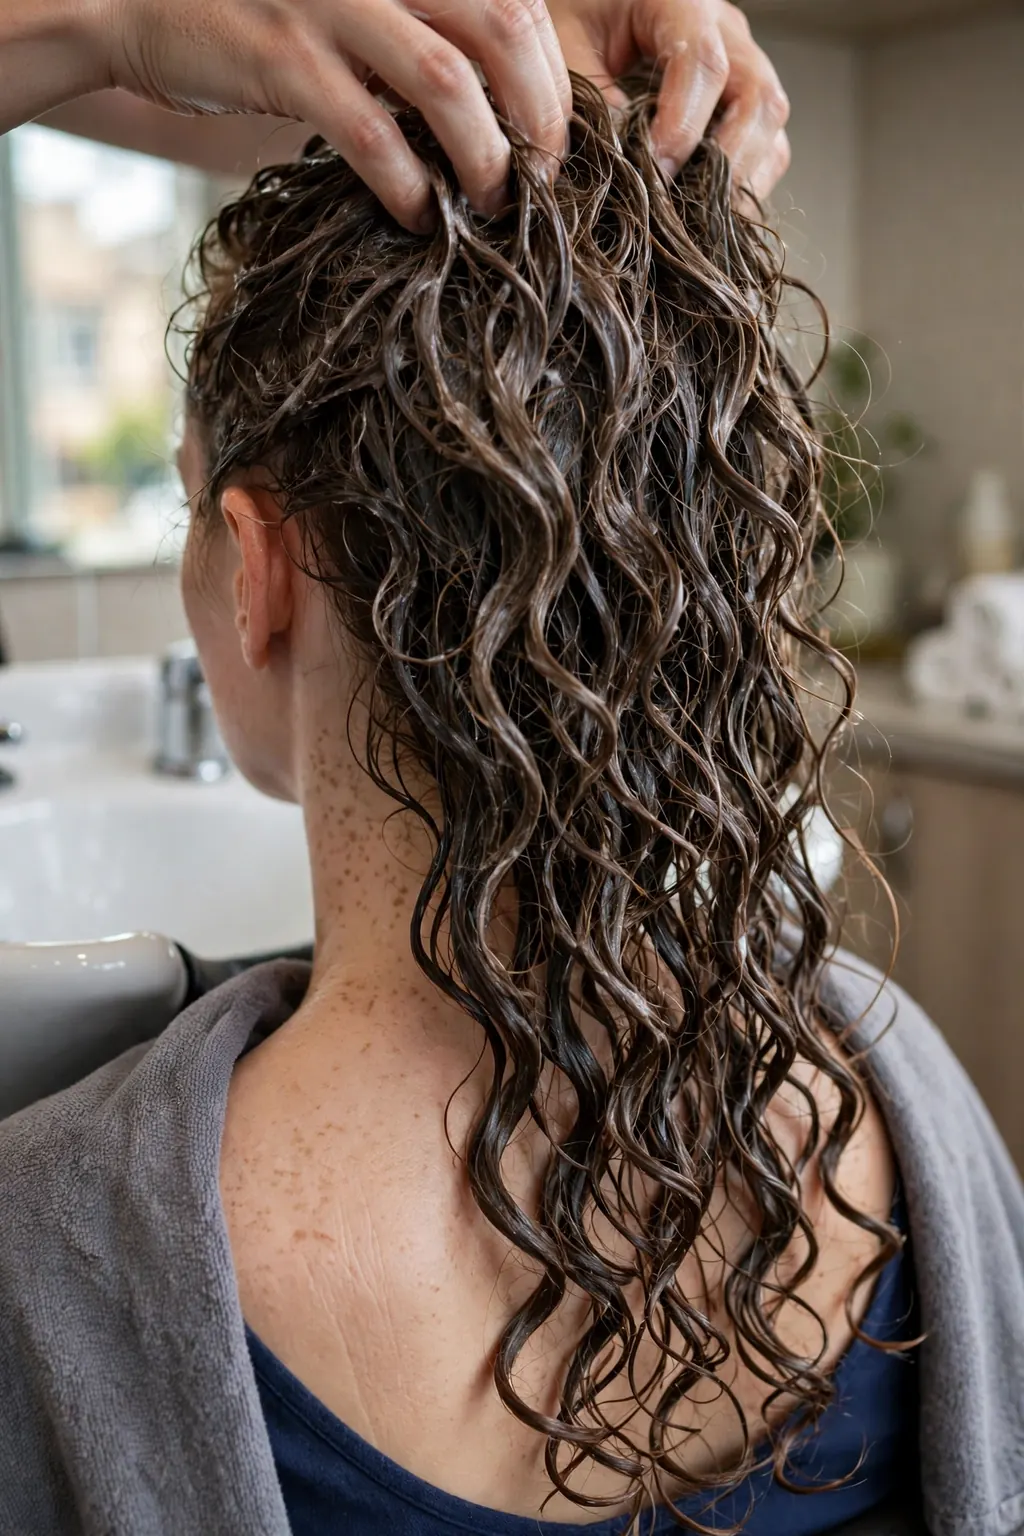
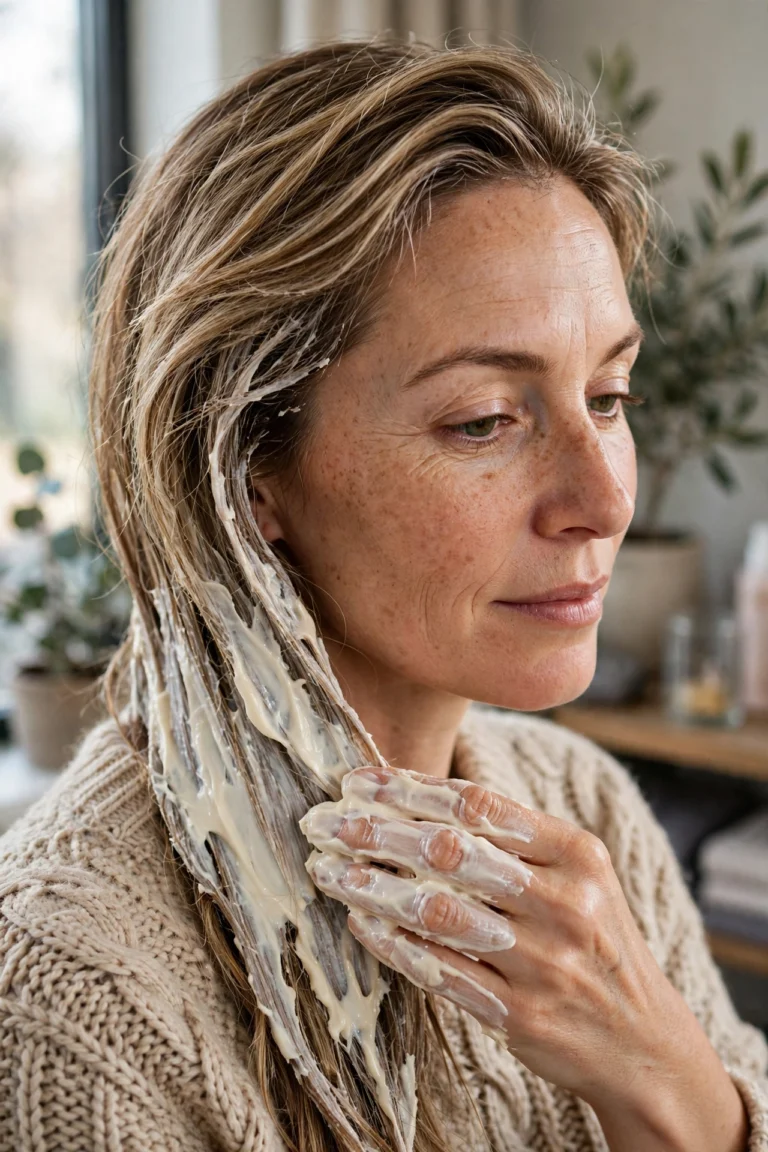
The winter wash-day rule is simple: shampoo less, condition more. In summer a weekly wash with a full shampoo is normal for many curl types; in winter, stretch the gap and soften the cleanse. Shampoo the scalp, not the lengths — the lather running down as you rinse is enough cleaning for the ends, and scrubbing shampoo through the lengths is what strips them. Condition the lengths, not the scalp — conditioner on the roots weighs the curl down at the crown and flattens the shape you are trying to keep. Leave the conditioner in while you finish the shower, at least three to five minutes, so the hair actually absorbs it instead of just getting coated.
Water temperature matters more in winter than in summer, because hot water feels so good on a cold day. Hot water lifts the cuticle and lets the moisture you just put in escape again — lukewarm to wash, cool to rinse is the rule, and it is worth the thirty seconds of discomfort. Detangle only when the hair is wet and full of conditioner, with fingers or a wide-tooth comb, from the ends up. Detangling dry curly hair in winter is how you create the halo of broken flyaways that no product can smooth back down.
Best for: hair types and face shapes
The Dew-Point Rule: When to Drop Glycerin-Heavy Products
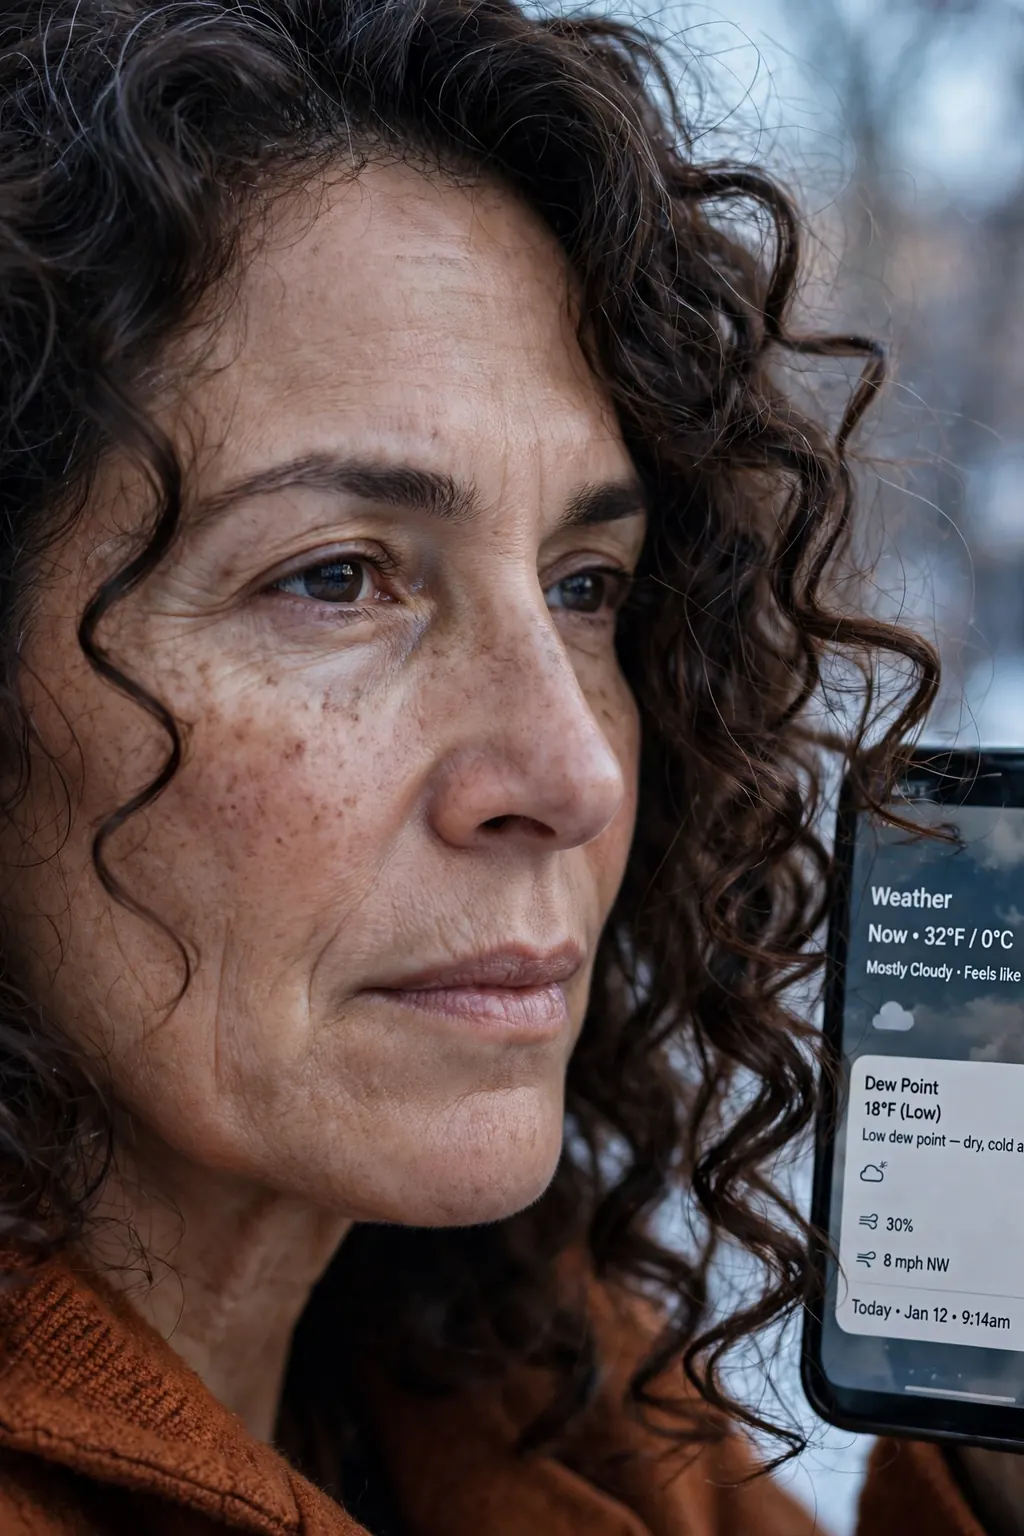
Glycerin is a humectant: it pulls water from wherever there is more of it to wherever there is less. In humid summer air, that means it pulls water from the air into your hair, and it works beautifully. In dry winter air, there is no water in the air to pull — so glycerin pulls water out of your hair and into the air instead. The switch point is the dew point: when the dew point is low, roughly below 35°F (2°C), glycerin-heavy products start working against you, and the same leave-in that gave you soft defined curls in September gives you dry, rough, frizzy curls in January. Check the dew point on your weather app on wash day, the same way you check the temperature: low dew point means put the glycerin products away until spring, and reach for oils, butters and film-forming products that seal moisture in rather than trying to pull it from the air.
The products to watch are the ones that list glycerin in the first three ingredients, and the sprays and refresh mists that are mostly glycerin and water. They are not bad products — they are summer products, and winter is the wrong season for them. The swap is simple: a cream-based leave-in instead of a glycerin spray, an oil or butter seal instead of a glycerin mist, and a gel with a soft cast that holds the curl without needing humidity to work.
The technique, step by step
Check the dew point before wash day. Above roughly 35°F (2°C), glycerin is fine. Below it, switch to the sealing order in the next section and skip glycerin entirely until the dew point rises. If you are unsure whether a product is glycerin-heavy, read the first three ingredients: glycerin in the top three means it is a humectant-led product, and in low dew point it will dry the hair out.
Common mistakes to avoid
The most common mistake is blaming the shampoo or the conditioner when the real culprit is a glycerin leave-in that worked all summer. The second is assuming a product is safe because it says “moisturising” on the bottle — glycerin is moisturising in humid air and drying in dry air, and the bottle does not know your dew point. The third is using a glycerin refresh spray on day 2 or 3, when the hair is already dry: spraying glycerin onto dry hair in dry air pulls the remaining moisture out, and the refresh makes the frizz worse.
Products and tools that help
A weather app that shows dew point; a cream-based leave-in for low-dew-point weeks; a light oil for sealing; a butter for type 4; and a film-forming gel that holds the curl shape without humidity.
Sealing the Strand: Leave-In, Cream, Oil — In That Order
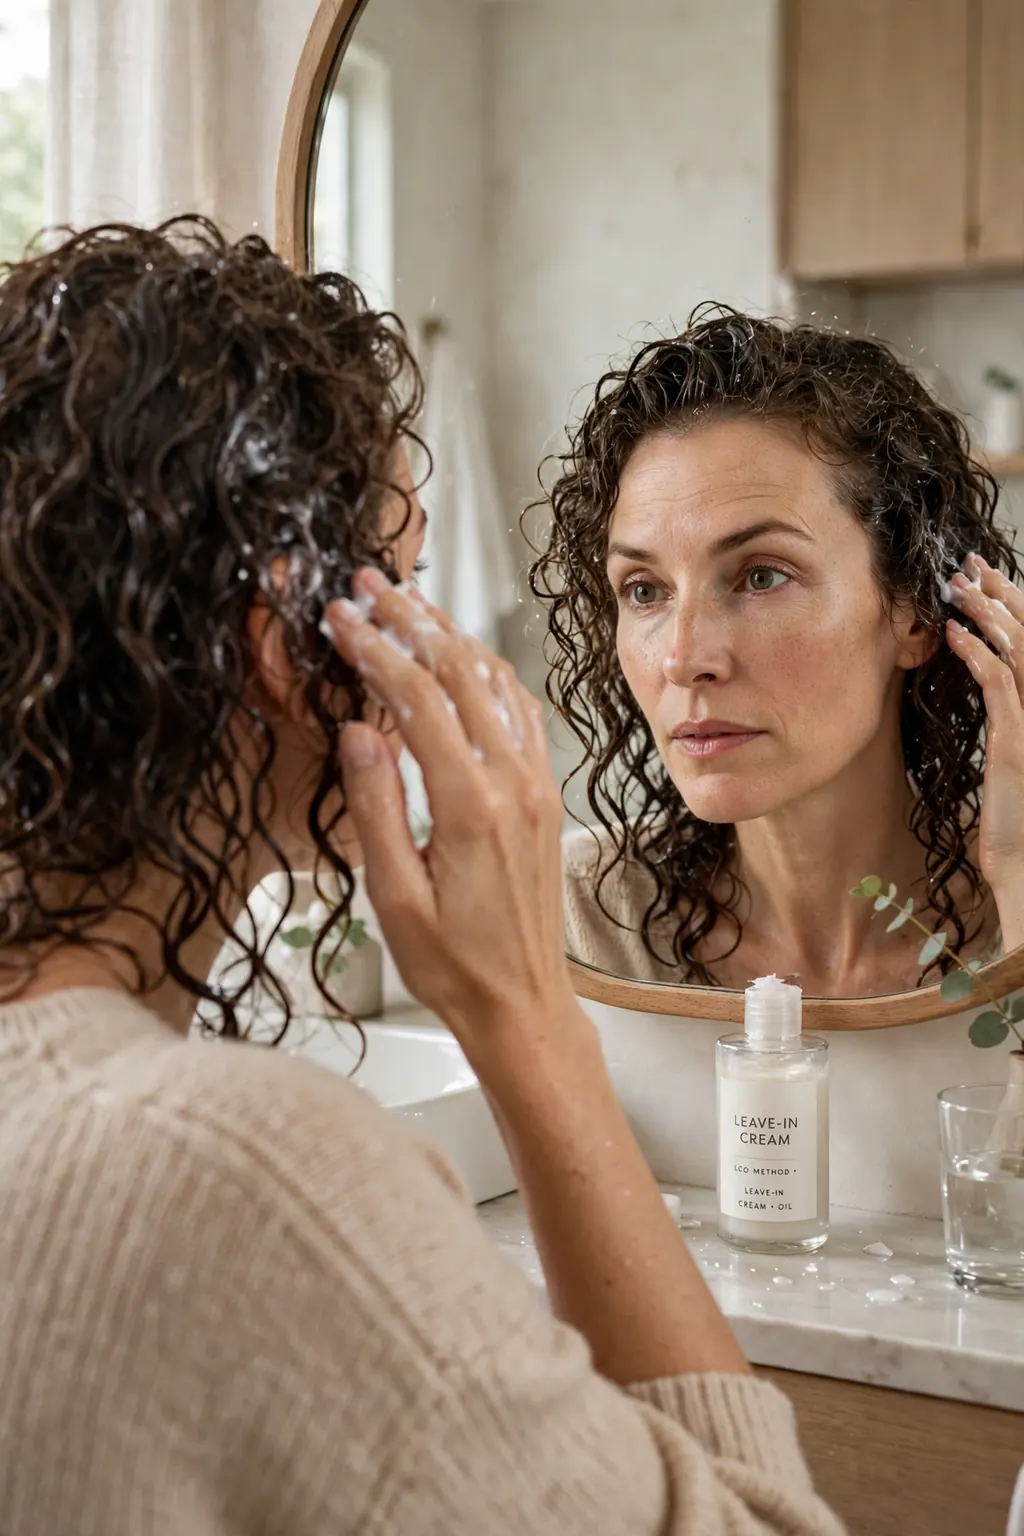
Sealing is the step that makes the rest of the routine last, and the order is the method: leave-in first, cream second, oil last — L-C-O. The leave-in goes onto soaking wet hair and puts water and light moisture into the strand. The cream goes on next and holds that moisture, adding softness and definition. The oil goes on last, and only a little: oil does not moisturise hair, it seals the moisture that is already there, so oil on dry hair just sits there and looks greasy, while oil on properly layered wet hair locks the whole stack in for days. Get the order backwards — oil before cream — and the cream cannot get through the oil film, so you have sealed in nothing. If your whole winter routine needs a reset first, the winter hair care routine for dry, static-prone hair covers the moisture-first wash-day order this sealing step builds on.
How much of each depends on type: type 2 needs a light leave-in, a pea-sized amount of cream and a drop or two of light oil, and will look weighed down if you use type 4 quantities. Type 3 takes a moderate layer of each. Type 4 needs the full stack, generously applied in sections, and is the type where sealing genuinely decides whether the hair survives winter intact. Apply in sections, not in one handful over the top — the underneath layers are the ones that dry out first, because nobody reaches them.
What to ask your stylist: “Can you show me the L-C-O order on my hair — how much leave-in, how much cream, and how little oil — for my curl type? I want to know where my routine is going wrong: am I using too much of one layer and skipping another?”
Who it suits best
L-C-O suits every curl type in winter; only the quantities change. It suits type 4 best of all, because coily hair loses moisture fastest and gains most from a proper seal. It suits anyone whose curls look good on wash day and fall apart by day 2 — that is not a styling failure, it is a sealing failure, and the fix is layers, not more product on day 2. If your hair feels coated rather than soft after sealing, you used too much oil or too much cream, not too many steps.
How to ask for it (or do it at home)
At home, work on soaking wet hair in four sections, and do not towel-dry first — the water in the hair is the moisture you are sealing in, and a towel takes it away before you start. Smooth each layer down the strand with praying hands, then scrunch gently to bring the curl back. At the salon, ask for a sealing demonstration rather than a product recommendation: the technique is the product, and a stylist who shows you the amounts on your own head is worth more than a shelf of new bottles.
Styling and upkeep
Style after sealing, not before: a gel or a curl cream for hold goes on top of the sealed stack, and diffusing on low heat finishes it. Between washes, do not re-seal from scratch — a light refresh spray with water and a drop of leave-in reactivates the layers already there. Re-oiling dry hair mid-week adds shine for an hour and build-up for the rest of the week, so save the oil for wash day.
📌 Save this before your appointment — the L-C-O order, the dew-point rule, and the satin-lined hat are the three things that decide whether your curls survive winter or spend it dry and frizzy.
Type 2–3 Winter Adjustments
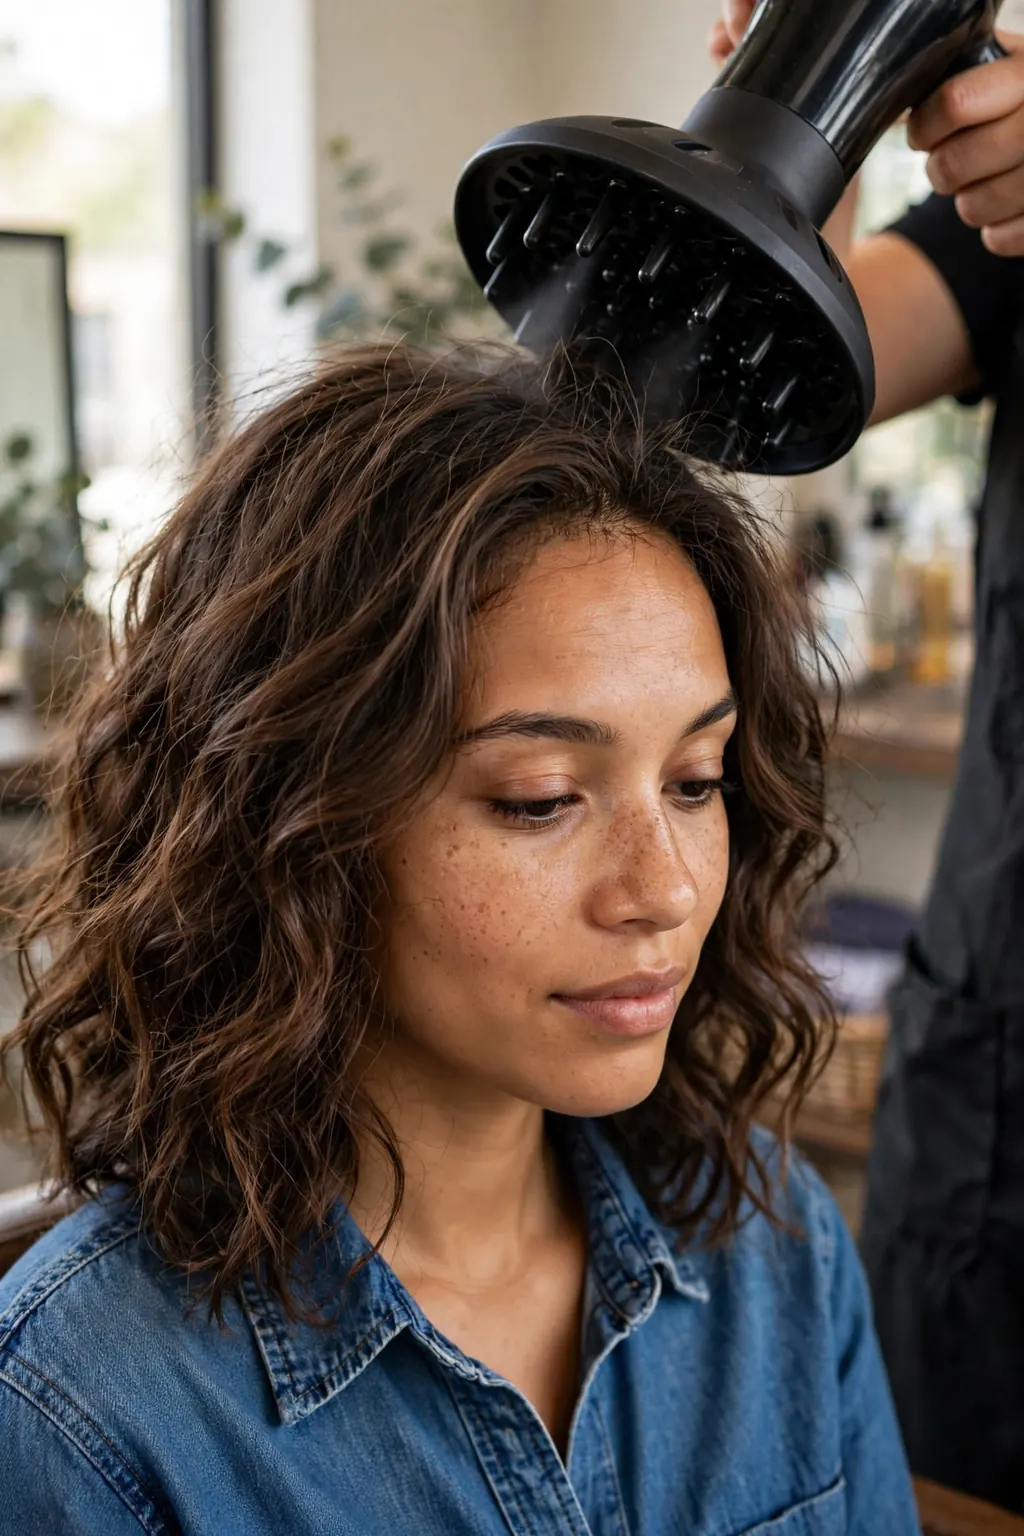
Type 2 waves and type 3 curls share a winter problem: they need more moisture than in summer, but they are the types most easily weighed down by winter products. The adjustment is lighter layers, more often, rather than heavier layers once a week. A light leave-in on wash day, a cream only on the lengths, a drop of oil on the ends — and a refresh spray on day 2 and 3 that reactivates the curl without a full re-wet. Wavy hair in particular goes limp if you treat it like coily hair: the wave pattern is looser, so weight pulls it straight, and straightened-by-weight waves look like damage when they are just overloaded.
For type 3, the curl pattern itself is the asset to protect: winter dryness makes the curls lose their spring and drop into a looser, frizzier shape, so the priority is definition — a gel with a soft cast, scrunched out once fully dry, holds the pattern through dry air far better than a cream alone. Diffuse on low heat or air-dry fully before going outside: going out with damp curls in cold air is how the curl freezes into a frizzy shape it keeps all day, because cold air sets the hair as surely as a diffuser does, just worse.
The technique, step by step
Wash, condition, leave-in on soaking wet hair, cream on the lengths only, a drop of oil on the ends, gel for hold, then scrunch and either diffuse on low or air-dry completely before leaving the house. On refresh days, mist with water until the hair is damp, not wet, smooth a pea-sized amount of leave-in over the frizzy sections, scrunch, and leave it alone — touching curls while they dry is the fastest way to make frizz in winter, because the cuticle is already raised by the dry air.
Common mistakes to avoid
Using type 4 butters on type 2 hair; going outside with wet curls; and brushing dry curls to “smooth” them — a brush through dry winter curls breaks the pattern into frizz that no product can re-form until the next wash. If the crown is flat after a hat, lift the roots with your fingers or a pick once the hair is dry, never with a brush. And do not over-condition wavy hair: a deep mask every wash makes type 2 limp, so keep the mask to once a fortnight and watch whether the waves spring back.
Products and tools that help
A light, spray or milky leave-in; a curl cream that is a cream, not a butter; a light gel with a soft cast; a diffuser on the lowest heat; a silk or satin pillowcase, because winter nights in heated bedrooms dry the hair from underneath while you sleep. A microfibre towel for the initial squeeze — never a rough rub, which starts the frizz before styling begins.
Type 4 Winter Adjustments: Butters and Protective Bases

Type 4 hair is the most fragile curl type and the one winter is hardest on: the tight coil means the scalp’s oil barely travels at all, the strands are finer and more prone to breakage at every bend, and shrinkage hides length so damage is easy to miss until it is serious. Winter for type 4 is not a lighter routine — it is the fullest one: a butter, not just a cream, as the sealing layer; a protective style for the coldest weeks; and a wash routine that treats the scalp as carefully as the lengths, because a dry, tight scalp in winter is how breakage starts at the root. Butters — shea, mango, or a whipped butter blend — sit on the strand and slow moisture loss for days in a way creams cannot, and this is the type where they earn their place.
The protective base is the winter decision that matters most for type 4: twists, braids or a low-manipulation style that keeps the ends tucked away from cold air, wool and friction for a week or two at a time. The ends are the oldest hair and the first to break in winter, and tucking them away is protection, not hiding. Between installs, a proper wash, a deep condition and a fresh seal — and the install itself should never be so tight it pulls the hairline, because winter tension plus dryness is how edges are lost.
Best for: hair types and face shapes
Butters and protective bases are for type 4 first, and for type 3 hair that is very dense or very dry second — type 2 should not use them as a daily layer. For protective styles, the 10 twist braids hairstyle ideas guide is the place to start: twist braids are a good winter base for type 4 because they protect the ends, keep the scalp accessible for oiling, and come out without the matting that tighter installs can cause. Face shape matters less than hairline care here — keep the front soft and loose, and never let a protective style pull at the temples for the sake of a sleeker look.
The exact salon wording
Say: “I want a winter protective base for type 4 hair — twists or braids that protect the ends, not too tight at the hairline, with a butter seal before the install and a scalp oil I can use between appointments. How long can I keep this in, and what do I do on wash day while it is in?” If the answer is a style with no wash plan and no timeline for taking it out, it is not a winter routine, it is just a style — and a style with no exit plan is how winter damage hides until spring.
Maintenance schedule
A protective install lasts 1–3 weeks depending on the style; the scalp gets a light oil 2–3 times a week while it is in, and the lengths get a mist, not a soak. Between installs, a full wash day: cleanse, deep condition for 20–30 minutes with heat if you can, seal with butter, and rest the hair loose for a day or two before the next install. Never install straight over an install — the rest days are when the scalp recovers, and skipping them is how winter turns into breakage by February.
Hat Strategy: Satin Linings, Loose Styles, the Refresh Spray
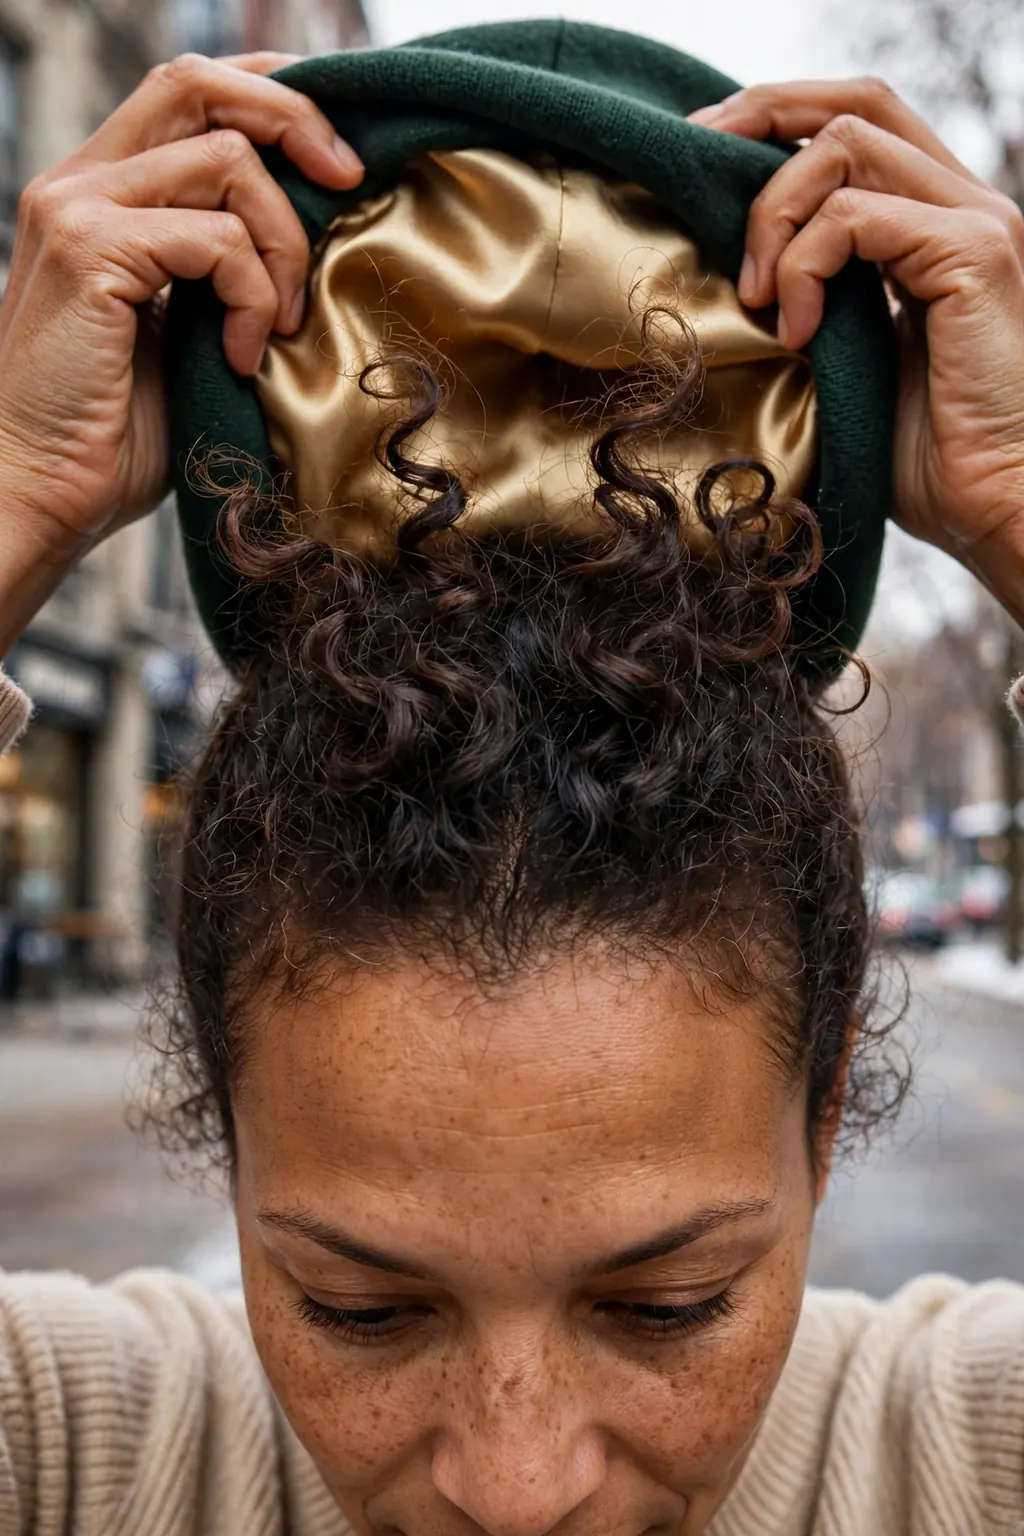
The hat is the winter curl problem nobody’s wash routine can fix, because it is a friction problem, not a moisture problem. Wool against bare curls does three things at once: it flattens the crown, it roughs the cuticle up into frizz, and it builds static that keeps the frizz standing long after the hat comes off. The fix is a layer between the wool and the hair: a satin-lined beanie, a silk scarf worn under a wool hat, or a satin bonnet under a hood. Satin is smooth, so the curl slides instead of catching, and it does not steal moisture the way cotton and wool do. If you own one winter curl purchase, make it this one — it costs less than a bottle of leave-in and does more than any of them against hat damage.
How you wear the hair under the hat matters as much as the lining: loose, low and gathered, never pulled tight and never piled on top of the head, where the hat crushes it flat. A low loose pineapple, a loose low bun, or the curls gathered loosely at the nape all survive a hat far better than hair left loose underneath it, because loose hair moves and rubs while gathered hair mostly stays put. When the hat comes off, do not brush or rake the crown — shake the roots gently with your fingers, mist the flattened sections with a refresh spray, scrunch once, and let it settle for five minutes before judging it.
What it looks like in real life
A good hat day looks like this: you take the hat off, the crown is a little flat, the lengths are intact, and a finger-lift plus a mist brings the shape back in minutes. A bad hat day is a wool hat on bare curls: the crown is crushed, the halo is standing up with static, and no amount of smoothing fixes it until the next wash. If you are having bad hat days every day, the hat is the problem, not the hair — change the lining before you change the routine.
Variations worth trying
A satin-lined beanie is the simplest option and the one most people actually wear. A silk scarf under a favourite wool hat keeps a hat you already love. A satin bonnet under a hood works for the coldest days, and a loose buff or snood in satin is the option for people who hate beanies. For type 4 hair, a satin bonnet under the hat plus a protective base underneath is the full winter armour, and it is worth the extra minute in the morning.
When to skip it
Skip the hat strategy only on days you are not wearing a hat at all — and even then, a silk scarf on a windy day does the same job against wind friction. Do not skip it because the hat is “only for ten minutes”: ten minutes of wool friction is enough to frizz a crown, and the damage is done before you reach the door. The only hat that needs no lining is one that is already satin-lined inside.
Weekly Winter Curl Schedule by Curl Type
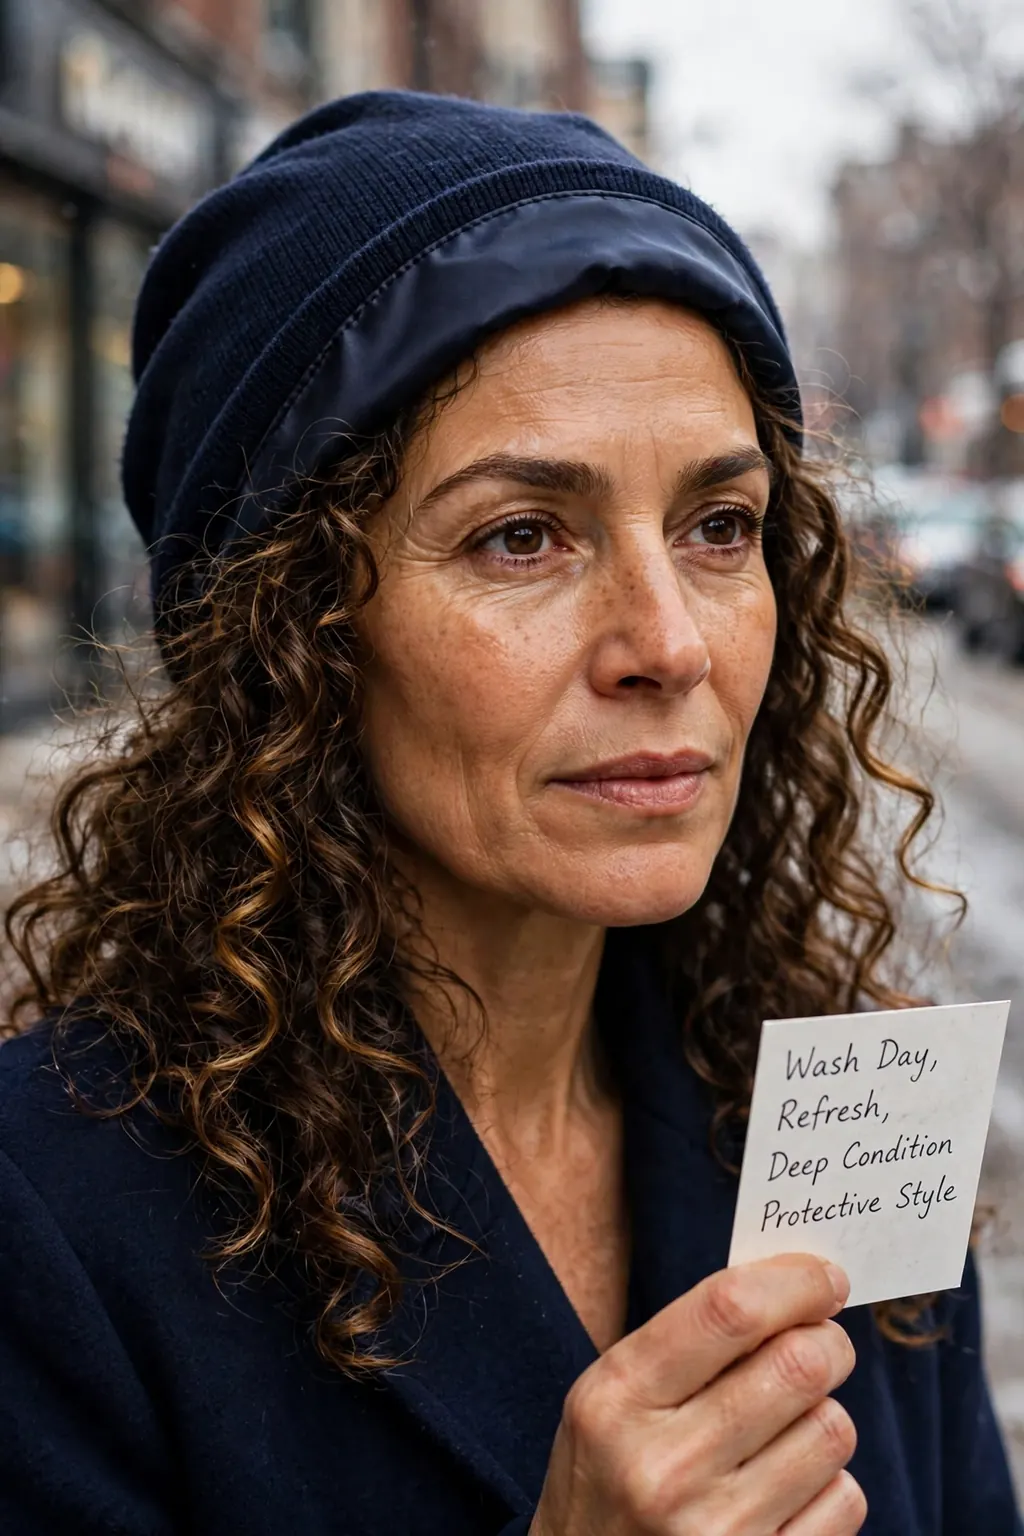
A routine you cannot keep is not a routine, so here is the week in one place. Type 2 (wavy): wash day every 3–5 days with a light leave-in and a drop of oil on the ends; refresh with a water mist on the days between; a deep mask once a fortnight; a satin-lined hat whenever you go out. Type 3 (curly): wash day every 5–7 days with the full L-C-O stack in moderate amounts; refresh on day 2–3 with leave-in misted in; scalp oil once mid-week; a gel cast for definition on wash day; a deep mask every two weeks. Type 4 (coily): wash day every 7–10 days with a butter seal and a protective base for the coldest stretch; scalp oil 2–3 times a week; a deep condition with heat on wash day; refresh with a mist, never a full re-wet, between washes.
The schedule is a starting point, not a prescription: if your hair is still dry by day 3, shorten the gap or add a mid-week seal; if it is limp and overloaded, lengthen the gap or lighten a layer. Winter is the season to watch the hair, not the calendar — the dew point, the heating, and the hat you wore yesterday all change what today needs, and a routine that adjusts is the one that survives until spring.
Who it suits best
A written weekly schedule suits anyone whose winter routine currently happens by accident — wash when it looks dirty, condition when you remember, hat whatever is nearest the door. It suits type 4 most, because the protective-base cycle genuinely needs planning, and it suits busy weeks best of all, because a schedule decided on Sunday is one you actually follow on Wednesday. If you have never written your routine down, this week is the week to try it.
How to ask for it (or do it at home)
At home, write the schedule on one card and stick it where you get ready: wash day, refresh days, scalp-oil days, mask day, hat check. At the salon, ask for the schedule as part of the appointment — “Can you write me a weekly winter schedule for my type, so I know what to do between visits?” — because a stylist who knows your hair can set the gaps far better than a generic plan, and the card is the thing you will actually follow.
Styling and upkeep
Keep styling simple in winter: the less you manipulate the hair between washes, the less frizz you create. A wash-day style that lasts three days beats a fresh style every morning that needs heat and handling to achieve. Protective styles, low buns and loose pineapples are winter styles, not lazy ones — they are the styles that let the moisture routine do its work undisturbed.
Frequently Asked Questions

How often should curly hair be washed in winter?
Less often than in summer, and the gap depends on type: type 2 waves every 3–5 days, type 3 curls every 5–7 days, and type 4 coils every 7–10 days, with a scalp refresh in between. Wash the scalp, not the lengths, condition the lengths, not the scalp, and let the hair tell you — if it is still soft and defined on day 4, the gap is right; if it is dry and frizzy by day 2, the seal needs work, not the wash frequency.
Should you use glycerin products in winter?
Only when the dew point allows it. Glycerin pulls water from the air into your hair when the air is humid, but when the dew point is low — roughly below 35°F / 2°C — there is no water in the air to pull, so it pulls moisture out of your hair instead. Check the dew point on wash day: low means reach for oils, butters and film-formers that seal moisture in, and save the glycerin products for spring.
How do you stop a beanie flattening curls?
Wear the hair loose, low and gathered under the hat — a low loose pineapple or a loose low bun — and wear a satin lining between the wool and the hair, either a satin-lined beanie or a silk scarf under your usual hat. When the hat comes off, lift the roots with your fingers, mist the flattened sections with a refresh spray, scrunch once and leave it alone for five minutes. Never brush the crown after a hat: a brush turns flattened curls into frizz until the next wash.
Conclusion: Winter Curly Hair Care — Your Next Step
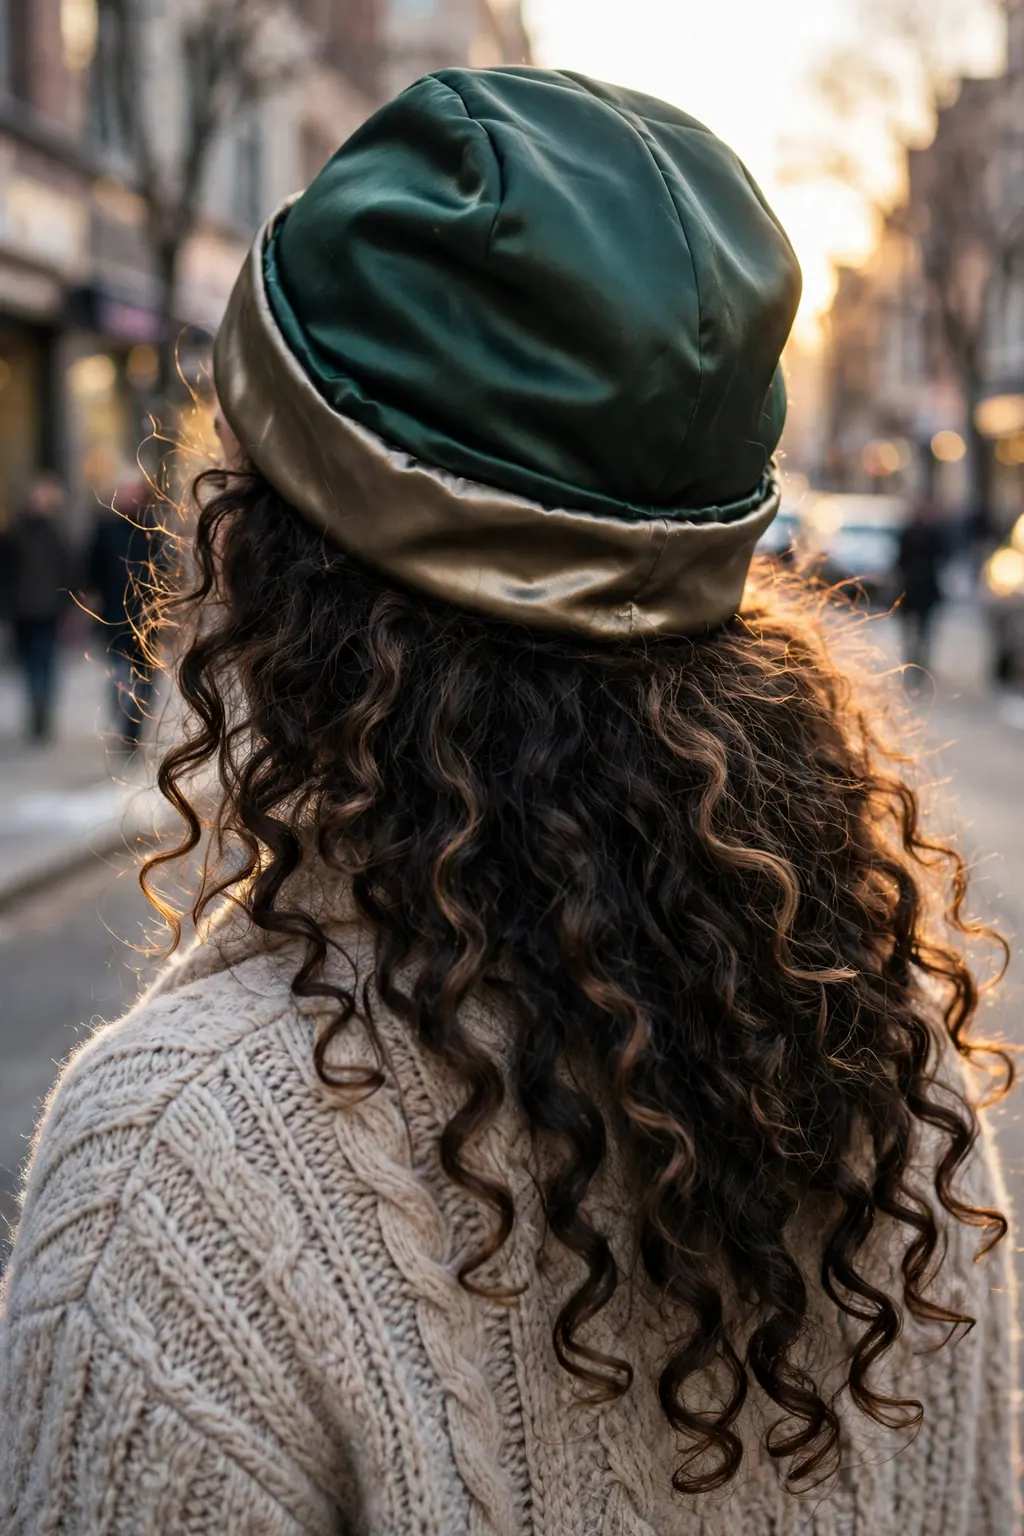
Winter curl care is not a new routine so much as a winter version of the one you already have: wash less and condition more, seal in the L-C-O order, check the dew point before reaching for glycerin, and never let wool touch bare curls. The type-specific parts are the fine-tuning — light layers for type 2, definition and a gel cast for type 3, butters and a protective base for type 4 — and the hat strategy is the same for everyone. Start with the satin lining and the sealing order this week, because those two changes alone fix most winter curl complaints, and add the rest one change at a time so you know what worked. Your curls do not need a new identity for winter; they need the moisture they already had, kept in.
📌 Save this before your appointment — the weekly schedule by curl type, the dew-point rule, and the L-C-O sealing order are the parts you will want in the chair and on wash day, not in your memory.