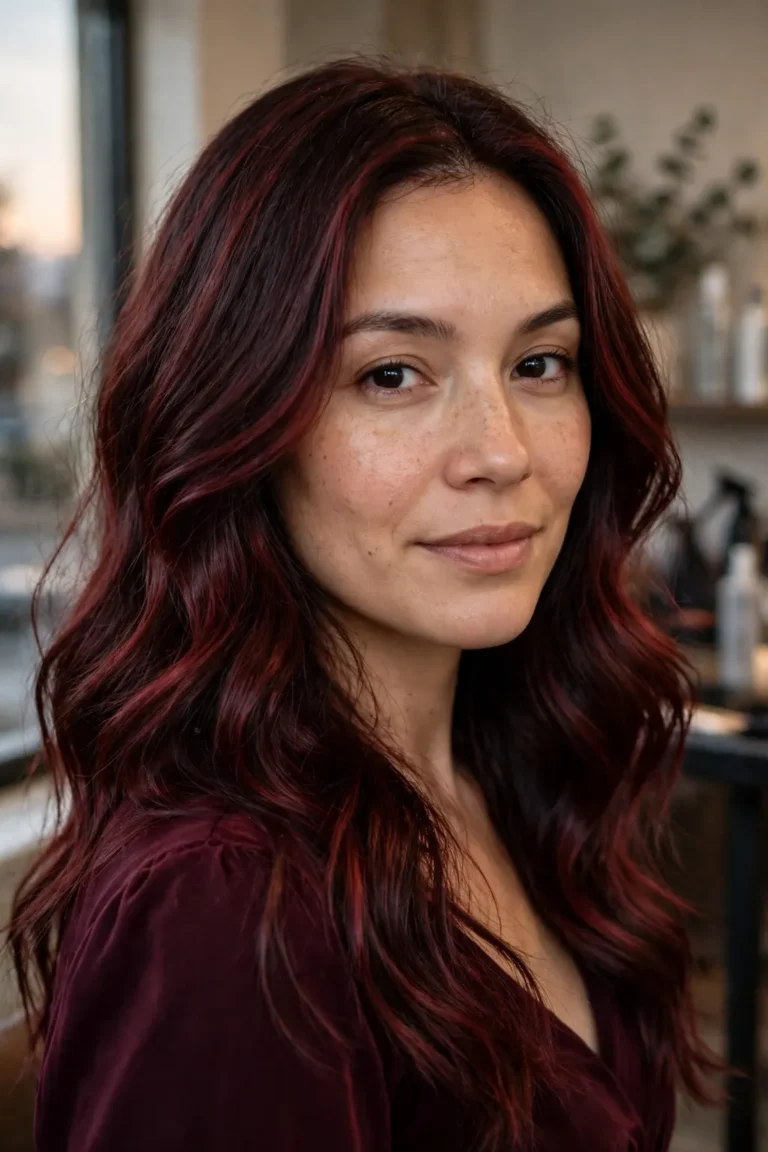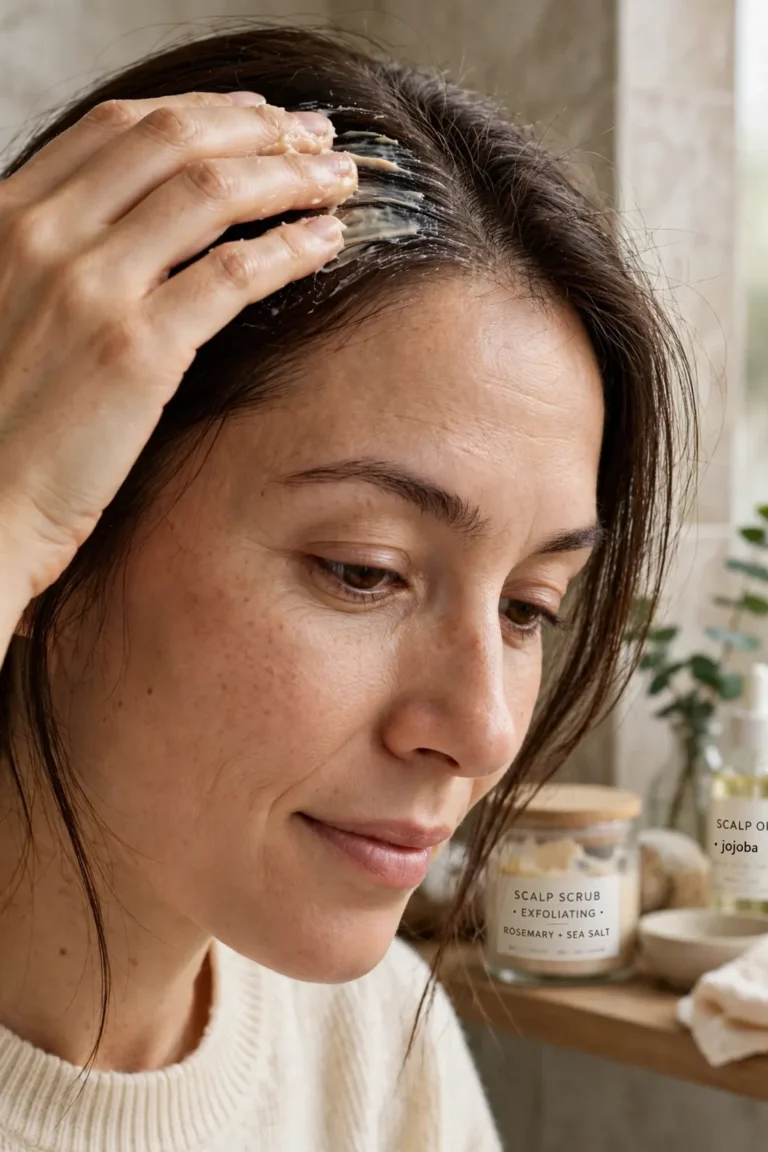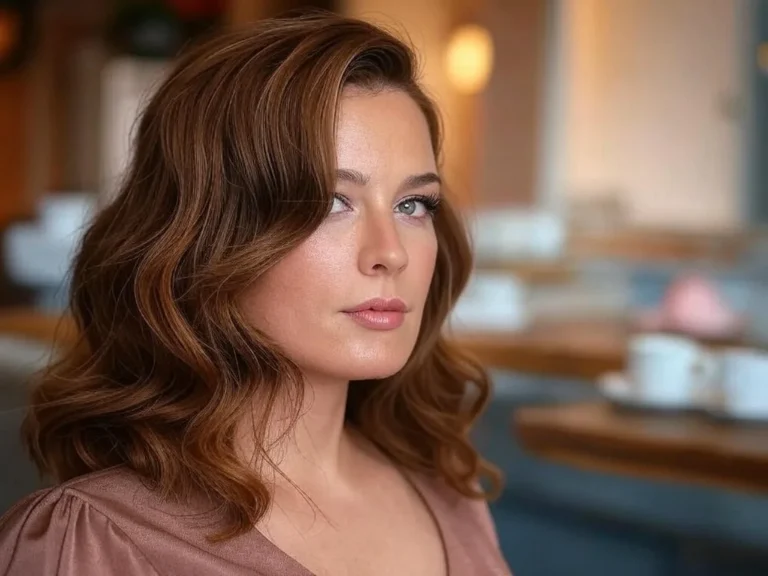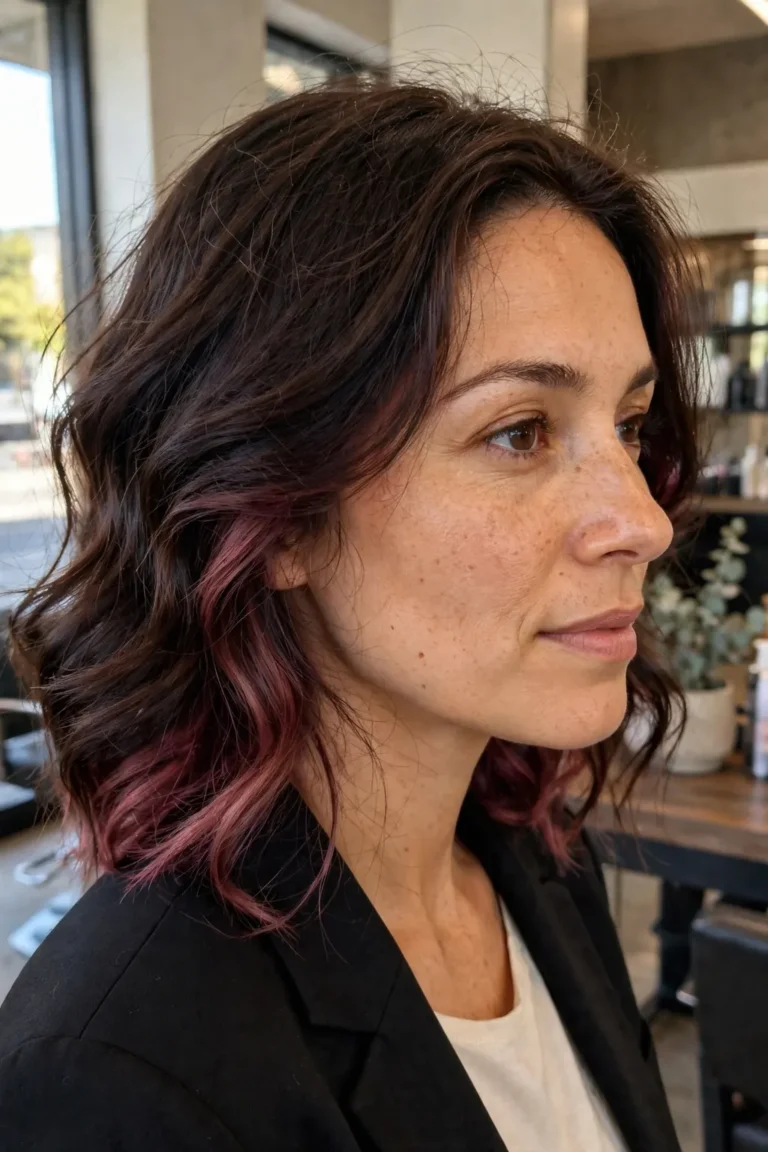
Christmas Party Hairstyles by Hair Length: Velvet Bows, Ribbon Ponytails and 15-Minute Glam
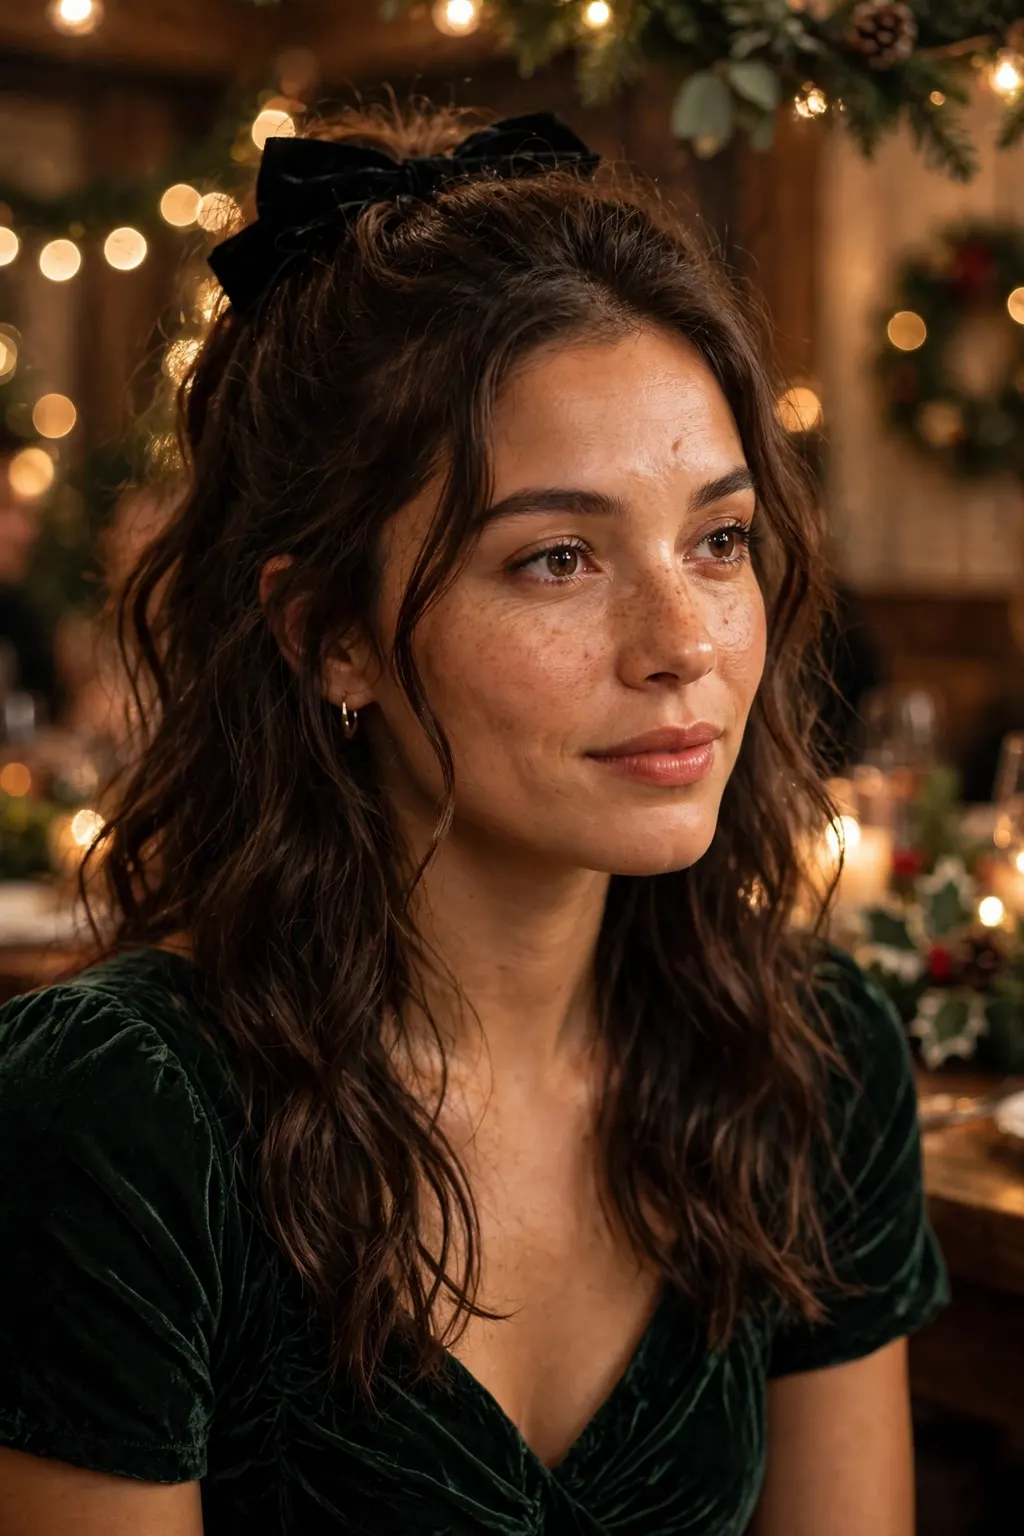
Christmas party hairstyles by length are the answer to the one night of the year when everyone photographs your hair whether you planned for it or not — the group photo by the tree, the candid by the buffet, the selfie in the lift on the way home. And the party is also the night you have the least time to get ready, because the working day ran long, the dress needs steaming, and the taxi is already booked. So the right Christmas hairstyle is not the most elaborate one. It is the one that fits your length, takes fifteen minutes or less, stays in through dancing and coats and cold air, and looks deliberate in a photograph. That is what this guide is built around: one look per length — short, shoulder, long and curly — plus the timing rules, the accessories that actually stay in, the office-to-party switch, and the shine finish that photographs without glitter fallout.
The through-line is the velvet bow. A velvet bow does more work than any other single accessory: it covers a multitude of sins (a grown-out root, a flat crown, a ponytail that would otherwise look like a gym ponytail), it reads as festive without reading as fancy dress, and it photographs as a clear dark shape against hair, which is why it survives even a bad flash photo. Ribbon ponytails are the second workhorse: a length of ribbon tied around the base of a ponytail turns a five-minute style into a party style, and it costs nothing. Everything in this guide is built to be done at home, in front of a bathroom mirror, with tools you already own — and every look has a timed version, because the difference between a style that works and a style that does not is usually five minutes you did not have.
Quick answer: The best Christmas party hairstyle depends on your length: short hair suits sleek tucks, finger waves and one big velvet bow; shoulder hair suits ribbon ponytails and half-up velvet bows; long hair suits bows, braids and a low velvet-ribbon updo; curly hair suits defined curls with a festive clip finish. Every look in this guide takes 15 minutes or less once you have done it once, and the two rules that make them last are grip before glamour (a bow pinned through the hair, not just clipped on top of it) and shine without glitter (a light oil or gloss spray, never loose glitter near the face). Start with your length, pick one accessory, and do a five-minute trial run the night before the party.
Christmas Party Hairstyles by Length for Short Hair: Sleek Tucks, Finger Waves and One Big Bow
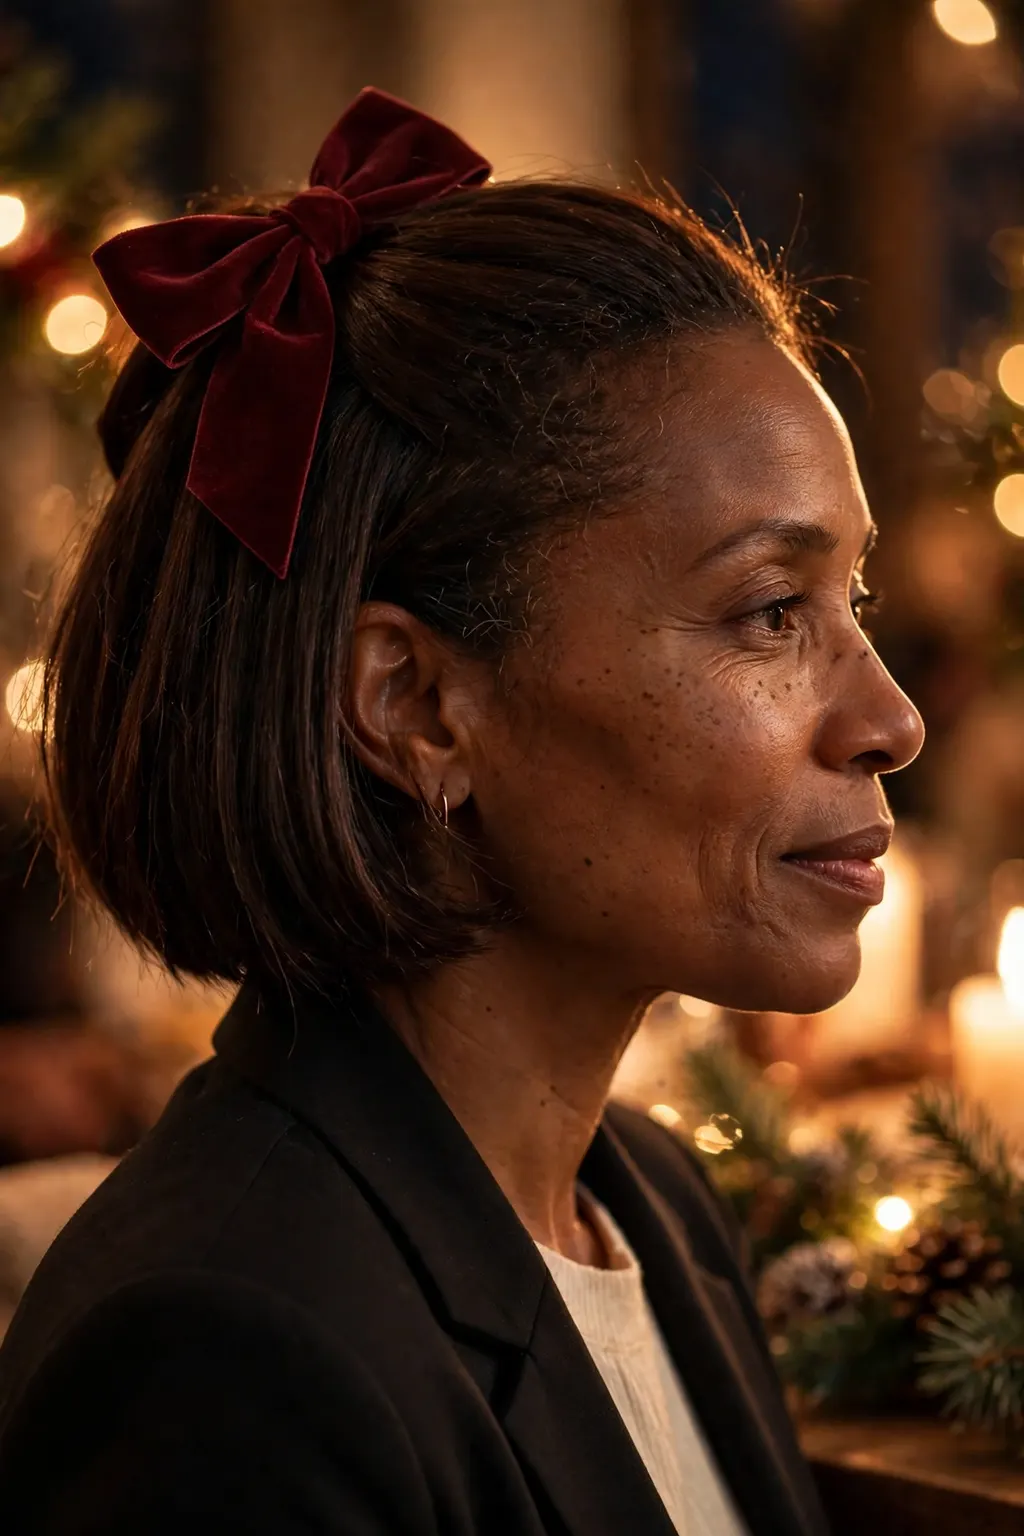
Short hair is the easiest length to make party-ready, and the hardest to hide behind — there is nowhere for a mistake to go, but there is also nowhere for a good idea to hide, which means one strong choice carries the whole look. That choice, for Christmas, is the big velvet bow. On a bob or a pixie, a single oversized velvet bow — black, deep green or burgundy — placed just above one ear or at the back of the crown turns a daytime cut into a party look in ten seconds, and it does it without heat, without product and without a mirror check every half hour. The sleek tuck is the base that makes the bow work: tuck one side behind the ear, smooth the other side flat with a little cream, and the bow becomes the focal point instead of competing with volume that is not there.
Finger waves are the second short-hair option, and they are the one to choose when the party is formal — a work Christmas do with a dress code, a dinner rather than a dance. They sound harder than they are: the modern version is not the 1920s set with pins and setting lotion, it is a flat iron waved in an S-shape through the front sections only, then brushed out with a soft brush so the wave reads as a wave rather than a curl. Two waves on each side, a deep side part, and the same big bow at the back, and the whole thing takes twelve minutes. The key with short hair is restraint: one accessory, one texture, and everything else quiet. Two bows, a bow and a clip, a bow and a glitter spray — that is when a short party look tips from festive into fancy dress.
What it looks like in real life
In real life, the short-hair bow look reads as the most confident look in the room, because it is so clearly a choice: the hair is short, the bow is big, and the person wearing it is not trying to pretend the hair is longer than it is. In photographs it is the look that survives the flash best, because the bow is a solid dark shape and the sleek hair does not throw shadows the way a big curly style does. On the dance floor it is the look that needs the least attention — there is nothing to fall down, nothing to unravel, and the only maintenance is checking once that the bow has not slid, which takes three seconds in a bathroom mirror. And the next morning, it is the look with the least to undo: take the bow out, brush the hair, and the cut is exactly as it was.
Variations worth trying
If the big bow feels too much for your party, try the same sleek tuck with a small velvet bow instead — half the size, same colour, placed at the back of the crown where it shows in photographs from behind and barely shows from the front. If the party is casual, swap the bow for a velvet ribbon tied in a small bow around a low side ponytail, if your length allows it — even a short bob usually has enough hair at the nape for a tiny tie. If you want texture instead of sleekness, add a little texturising spray at the roots before you tuck, so the hair has grip and the bow has something to hold onto — sleek and slippery is the enemy of a bow that stays in. And if your hair is very fine, backcomb the crown section once, lightly, before you place the bow: the bow hides the backcombing completely, and the height it gives is the difference between a bow that sits on flat hair and a bow that sits on a shape.
When to skip it
Skip the big bow if your party is the kind where you will be wearing a coat with a high collar or a scarf all evening — a big bow at the back of the head and a high collar fight each other, and the collar wins. Skip finger waves if you have never done them before and the party is tonight: they are a twelve-minute style only after the first practice run, and the first practice run is twenty minutes of learning. Skip any short style that needs the hair to stay exactly in place if your party involves dancing in a warm room — short hair moves with sweat and heat, and a style that depends on a perfect tuck will need re-tucking. In that case, the bow alone, with the hair left natural, is the better choice: the bow is the style, and the hair underneath is allowed to be itself.
📌 Save this before the party — short hair needs one strong choice, not three. One big velvet bow, one sleek tuck, and nothing else competing with it.
Christmas Party Hairstyles by Length for Shoulder Hair: Ribbon Ponytails and Half-Up Velvet Bows
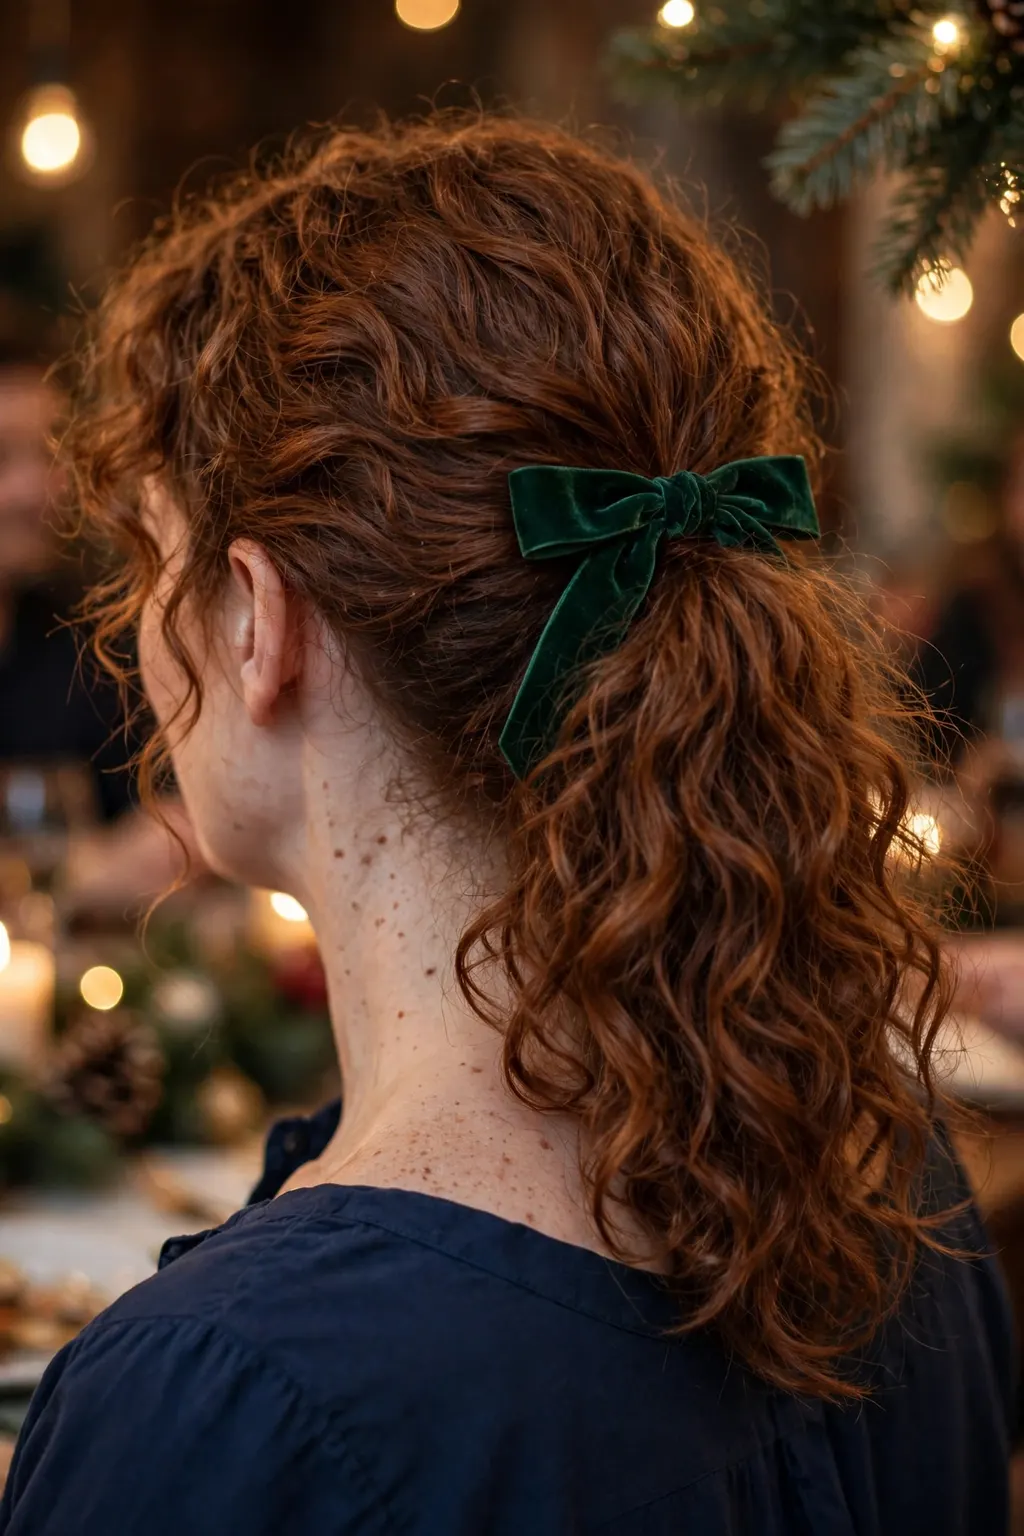
Shoulder-length hair is the sweet spot for Christmas party hair, because it is long enough to tie up and short enough to hold a shape — and the ribbon ponytail is the style that uses both facts at once. Gather the hair into a ponytail at the crown or just below it, wrap a length of velvet ribbon around the base two or three times, and tie it in a bow with the ends left long. The ponytail gives the height and the movement; the ribbon gives the party. It takes five minutes, it needs no heat, and it photographs beautifully from behind, which is the angle most party photographs are taken from. The half-up velvet bow is the alternative for the woman who wants her hair down: gather the top half, secure it with a small elastic, and cover the elastic with a velvet bow — the hair falls over the shoulders, the bow sits at the crown, and the look is half party, half everyday, which is exactly right for an office party where you still have to look like yourself on Monday.
The reason the ribbon ponytail works so well at shoulder length is the weight of the hair: at this length, a ponytail has enough weight to swing without looking thin, and enough length for the ribbon ends to sit against it without disappearing. On longer hair the same ponytail can look heavy; on shorter hair it can look thin. Shoulder length is where the proportions are right. The other advantage is the fix: if the ponytail starts to sag during the evening, you can re-tie it in a bathroom in thirty seconds, and the ribbon hides the re-tie completely. No other party style is as forgiving of a mid-evening repair, and no other style repairs as invisibly.
Who it suits best
The ribbon ponytail suits almost everyone at shoulder length, and it suits thick hair best of all — thick hair fills the ponytail out, the ribbon sits against a full shape, and the bow looks proportional rather than oversized. It suits straight and wavy hair particularly well, because the ponytail falls in a clean line; on curly shoulder-length hair it still works, but the ponytail should be gathered looser and the ribbon tied wider, so the curls have room to expand without pulling the bow tight. It suits the woman who dances, because a ponytail is the style that survives dancing best, and it suits the woman who wears glasses, because the hair is off the face and the glasses sit cleanly. And it suits anyone whose party dress has a high neckline or a detailed collar: the hair is up, the neckline is visible, and the ribbon is the only decoration the hair needs.
How to ask for it (or do it at home)
Say: “I want a ribbon ponytail for a Christmas party — ponytail at the crown, velvet ribbon wrapped around the base and tied in a bow with long ends. I need it to survive dancing, so please show me how tight to tie the elastic and how to hide it with the ribbon.” At home, the method is: brush the hair back, gather it at the crown, secure it with a strong elastic (not a thin one — a thin elastic sags by midnight), wrap the ribbon around the base twice, and tie it in a bow, leaving the ends long enough to sit against the ponytail. The ribbon should be velvet, about an inch wide: narrower ribbon disappears against the hair, wider ribbon overwhelms it. If you are building the look for a wedding as well as a party, the 10 Wedding Guest Hairstyle Ideas for 2025 guide is the next read — it covers the occasion styles that photograph well alongside a ribbon ponytail.
Styling and upkeep
Style a ribbon ponytail the way you would style any ponytail, and let the ribbon do the party work: a little volume at the crown before you gather (one minute of backcombing, hidden under the top layer), a smoothing cream on the lengths so the ponytail swings cleanly, and a light spray over the whole thing once it is tied. The upkeep during the party is a thirty-second bathroom check: re-tighten the elastic if it has slipped, re-tie the bow if it has loosened, and smooth any flyaways with a drop of cream on your palms. The ribbon itself needs no upkeep — velvet does not crease the way satin does, and it grips the hair rather than sliding off it, which is why velvet is the right fabric for a party ribbon and satin is not. Take the ribbon off before bed, brush the hair out, and the style is gone in a minute — there is nothing to wash out and nothing to undo.
Long Hair: Bows, Braids and the Low Velvet Ribbon Updo
Long hair has the most options at Christmas, and the most ways to go wrong — because length gives you the material for a spectacular updo and also the weight to pull it down by nine o’clock. The low velvet ribbon updo is the answer that respects the weight: gather the hair low at the nape, twist it once, pin it into a soft low knot, and tie a velvet ribbon around the base of the knot, finishing in a bow. The low placement means gravity is working with the style rather than against it — a high bun on long hair is a weight hanging off the top of the head, and it slides; a low knot sits on the neck, and it stays. The bow at the base covers the pins, gives the party signal, and turns a plain low knot into a Christmas look in one move. If you want the same low placement with a sleeker, smoother crown, the winter party updos guide covers the sleek-bun version — same stay-put logic, just a polished finish.
Braids are the second long-hair option, and they are the one to choose when the party is long — a dinner that runs into dancing that runs into a taxi home at 1 a.m. A loose braid, pulled apart gently so it looks full, with a velvet ribbon woven through the last few inches and tied in a small bow at the end, is the style that lasts longest of any in this guide, because a braid is a structure, not a shape: it cannot fall down, it can only loosen, and loosening makes it look better, not worse. The bow on the braid is the party element, and it is also the practical one — it stops the braid from unravelling, so the elastic underneath is a backup rather than the only thing holding the style together.
The technique, step by step
Step one is the preparation: brush the hair smooth, apply a light cream to the lengths so the hair has grip, and decide the parting — a centre part for the updo, a side part for the braid. Step two is the gather: for the updo, gather the hair low at the nape, twist it once, and wrap it into a soft knot, pinning it with U-pins crossed inside the knot (two pins, crossed, hold more than four pins placed parallel). For the braid, gather the hair to one side, divide it into three, and braid loosely, pulling each section apart gently as you go so the braid looks full. Step three is the ribbon: for the updo, wrap the velvet ribbon around the base of the knot twice and tie it in a bow, leaving the ends long. For the braid, weave the ribbon through the last few inches and tie it in a small bow at the end. Step four is the check: turn your head, bend forward, and look in the mirror from the back — the knot should not move, the braid should not sag, and the bow should sit flat, not twisted. Step five is the spray: one light mist over the whole style, held at arm’s length, never a heavy coat, which would make the hair stiff and the bow look glued on.
Common mistakes to avoid
The most common mistake is placing the updo too high — a knot at the crown on long hair is a weight that slides, and by nine o’clock it will be sitting on one side of the head. The second is using too few pins, or the wrong pins: bobby pins slide out of long hair under weight, and U-pins are the right tool — they grip the knot from inside and they do not show. The third is braiding too tightly: a tight braid on long hair looks severe and it pulls at the hairline, while a loose braid, pulled apart, looks full and festive and it is comfortable for hours. The fourth is choosing a ribbon that is too narrow for the length of hair: a thin ribbon disappears against a long ponytail or a thick braid, while a ribbon an inch wide reads clearly in photographs. And the fifth is doing the updo on freshly washed hair: clean hair is slippery, and a low knot on clean hair slides. Do the style on day-old hair, or add a little dry shampoo at the roots first — the grip is the difference between a knot that lasts and a knot that does not.
Products and tools that help
You need six things, and the list is deliberately short. A strong elastic is the first, for the initial gather — it does the holding, and the ribbon does the decorating, so the elastic should be chosen for strength, not for looks. U-pins are the second, for the knot — two or three, crossed inside the knot, are worth more than a handful of bobby pins. A velvet ribbon, an inch wide, is the third — black, deep green or burgundy, long enough to wrap twice and tie a bow with ends left over. A light styling cream is the fourth, for grip on the lengths before you gather. A soft brush is the fifth, for smoothing the top layer without flattening the volume at the crown. And a flexible-hold spray is the sixth, for the final mist — flexible, not firm, because a firm spray makes long hair look stiff in photographs and it cracks when the hair moves. Everything else is optional: a little shine oil on the ends is worth more than any extra accessory.
📌 Save this before the party — long hair goes low, not high. A low knot or a loose braid, U-pins crossed inside, and a velvet ribbon an inch wide. High updos slide; low ones stay.
Curly Hair: Defined Curls With a Festive Clip Finish
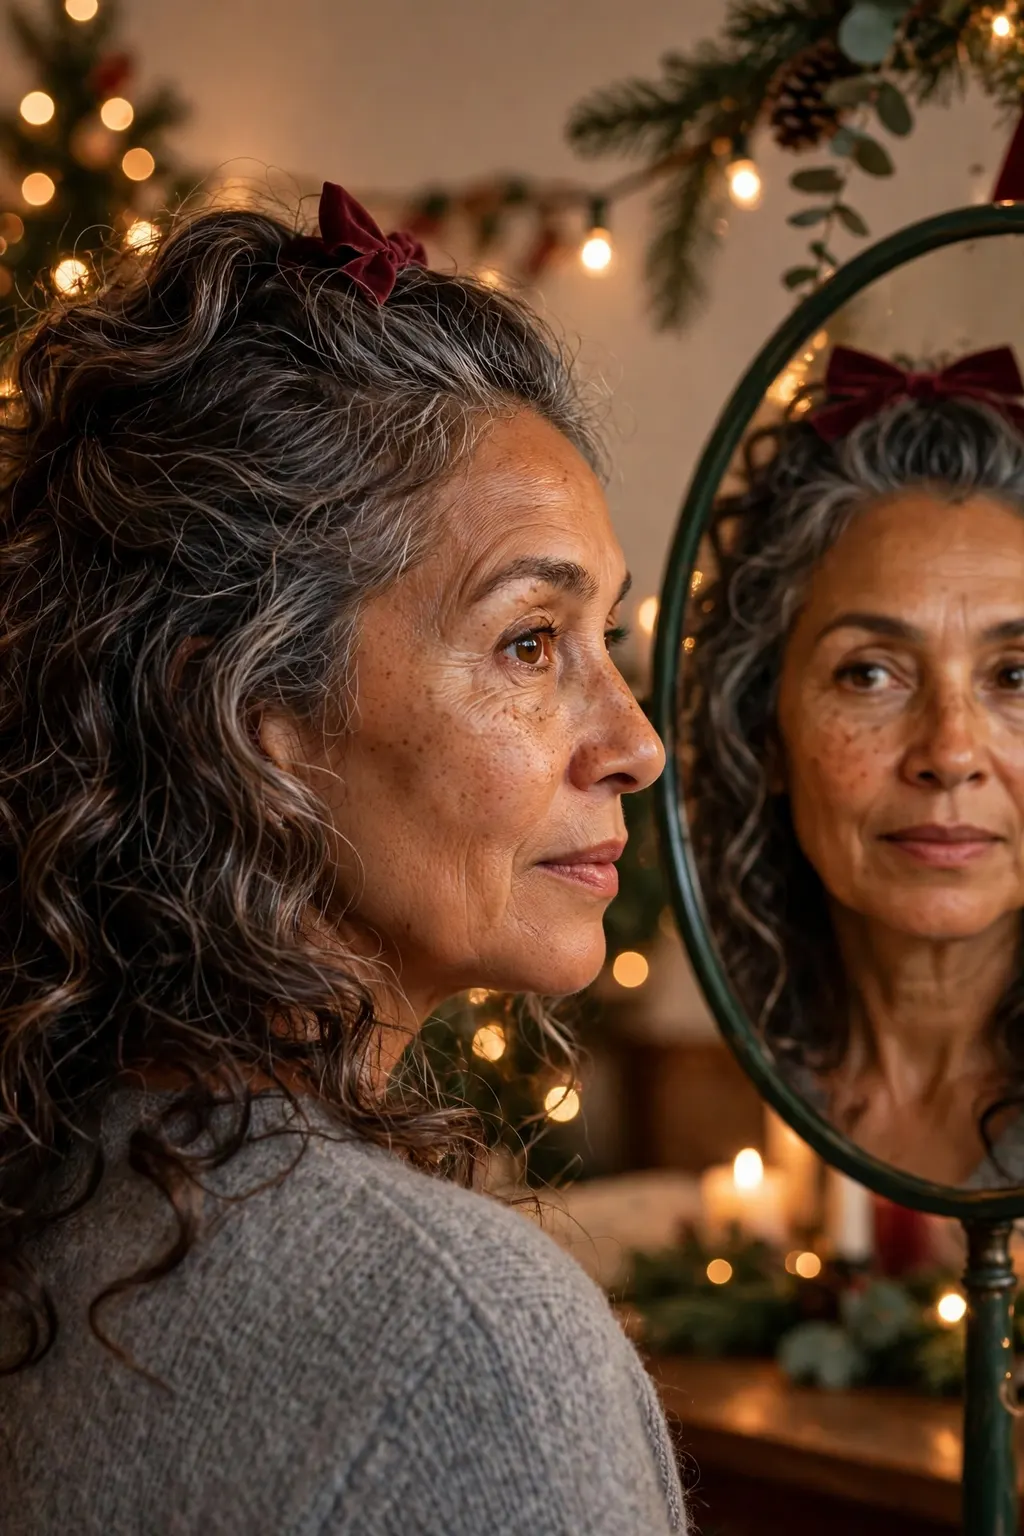
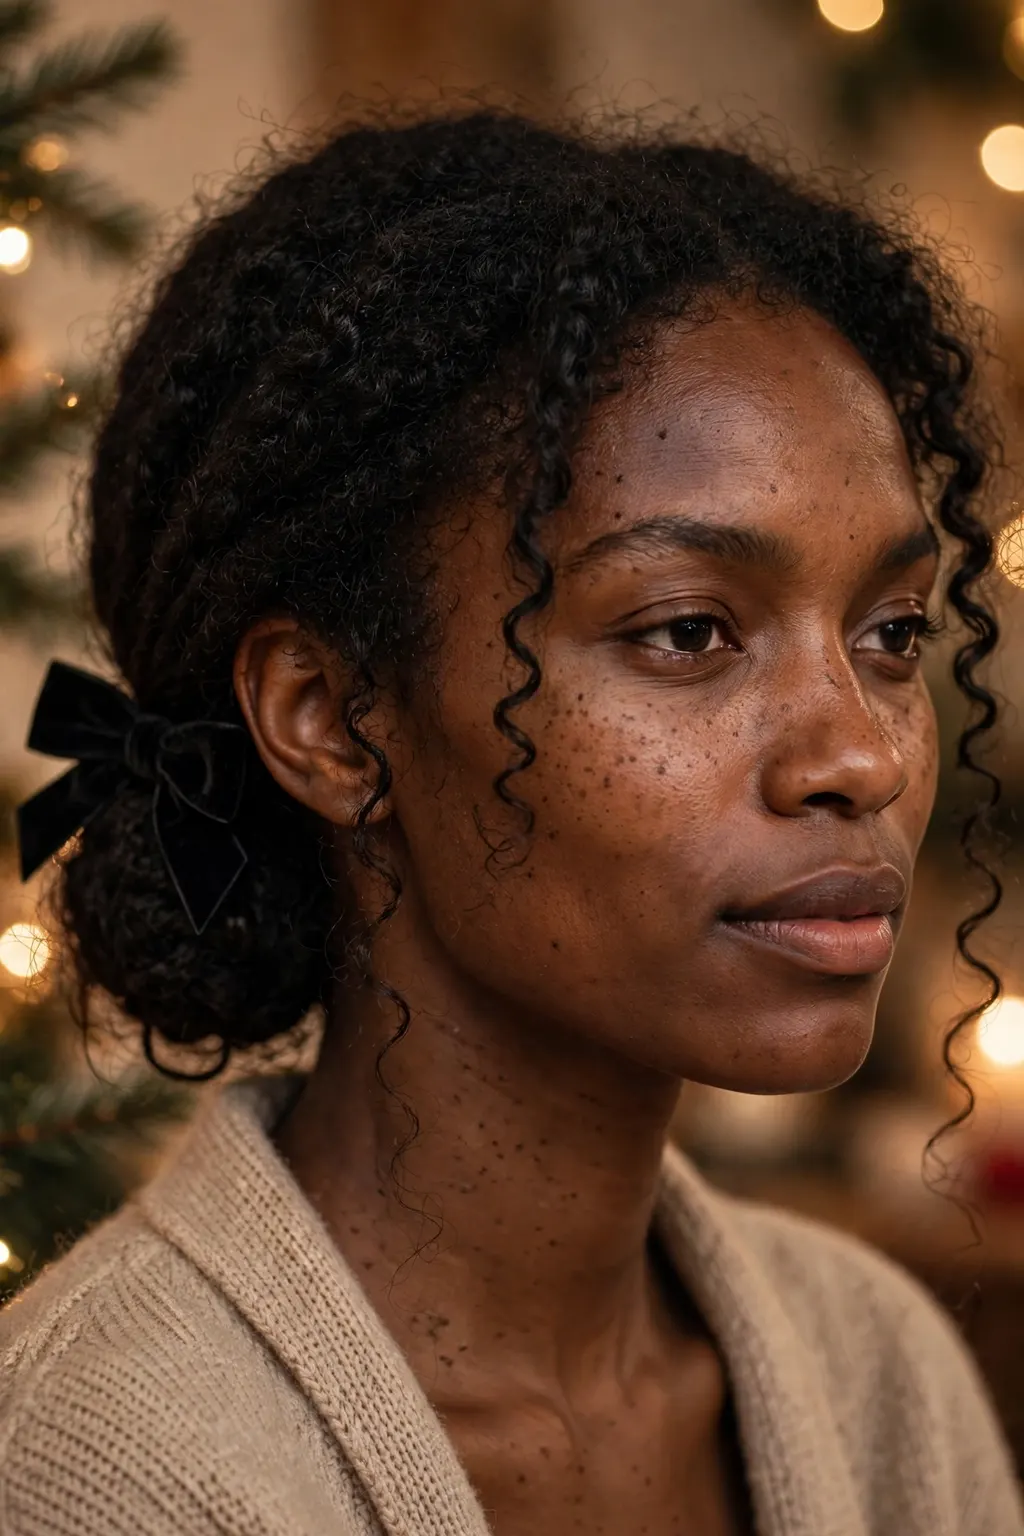
Curly hair at a Christmas party has one advantage no other hair type has: the texture is already the style. The work is not creating the look, it is defining it — and the festive clip is the finishing touch that says the definition was deliberate. Start with the curls as they are on a good wash day: defined, separated, with the clumps intact. Then take one small section at the front — just above one ear, or at the temple — and pin it back with a festive clip: a velvet bow clip, a jewelled clip, a gold claw clip. The clip does two jobs at once: it keeps the curls off the face for eating and dancing, and it is the party signal, the one deliberate festive element in a look that is otherwise just good curls. One clip, one section, and the rest of the hair is left alone — that restraint is what makes it look expensive rather than decorated.
The mistake to avoid with curly party hair is over-styling it. Curl-by-curl defining with a wand, brushing the curls out into a big shape, or adding three accessories — all of these fight the texture instead of working with it, and the result photographs as effort rather than ease. The better approach is the wash-day routine you already trust, plus one change: a little more definition at the front, where the photographs are taken, and a little more hold overall, because a party is longer than a normal evening and the curls will be asked to survive heat, dancing and a coat. A light gel or cream, scrunched in while the hair is damp and then left completely alone until it is dry, gives that hold without stiffness — and the clip, placed once the hair is dry, is the only thing added at the end.
Best for: hair types and face shapes
The clip finish suits every curl type, because the clip can be tuned to the curl: a small velvet bow clip suits tight curls, where a big clip would disappear into the volume; a larger jewelled clip suits loose waves, where a small clip would look lost. It suits every face shape, because the section pinned back can be placed to flatter the face — a section pinned at the temple lengthens a round face, a section pinned above the ear softens a long face. It suits the woman whose curls are at their best on wash day and who does not want to spend the party worrying about them: the clip holds the front section, the rest of the hair is free, and there is nothing to fall down. And it suits anyone whose party involves a coat with a hood or a scarf: the curls are not gathered into a shape that a hood can crush, so the hair survives the journey to the party as well as the party itself.
The exact salon wording
Say: “I want my curls defined for a Christmas party, not re-styled — my usual wash-day definition, with a little more hold at the front, and one festive clip pinning back a small section above one ear. I want the curls left as they are everywhere else, no brushing out, no wand work, and the clip should sit flat against the head, not perched on top of the curls.” The words “defined, not re-styled” are the whole brief, and they tell the stylist that the texture is the look, not a problem to be solved. Bring the clip you plan to wear, and ask the stylist to place it while you are still in the chair — the placement is the part that is hard to get right at home, because it has to sit flat against the head and grip the curls without flattening them. And ask for the maintenance plan before you pay: what to do if the curls start to frizz in a warm room, and what to carry in your bag — the answer is usually a tiny bottle of serum and the clip itself, nothing more.
Maintenance schedule
The maintenance for curly party hair is the lightest in this guide, because there is so little to maintain: the curls are the style, and the clip is the only thing that can move. Plan on one check in the bathroom mirror halfway through the evening — is the clip still flat, are the front curls still defined, is there frizz at the crown? If the clip has loosened, re-pin it: take the section out, smooth it once with a drop of serum on your palms, and pin it back. If the crown is frizzing, smooth it with serum on your palms, never with a brush, which would break the curl clumps. Between now and the party, the maintenance is the wash-day routine itself: one practice run, on a normal evening, to check that your definition holds for five hours — if it holds for five hours on a Tuesday, it will hold for five hours on a Saturday. And keep the clip in your bag, not on your head, until you arrive: a clip worn under a coat hood gets crushed, and a clip put on in the party bathroom takes ten seconds.
The 15-Minute Rule: Styles Timed and Tested
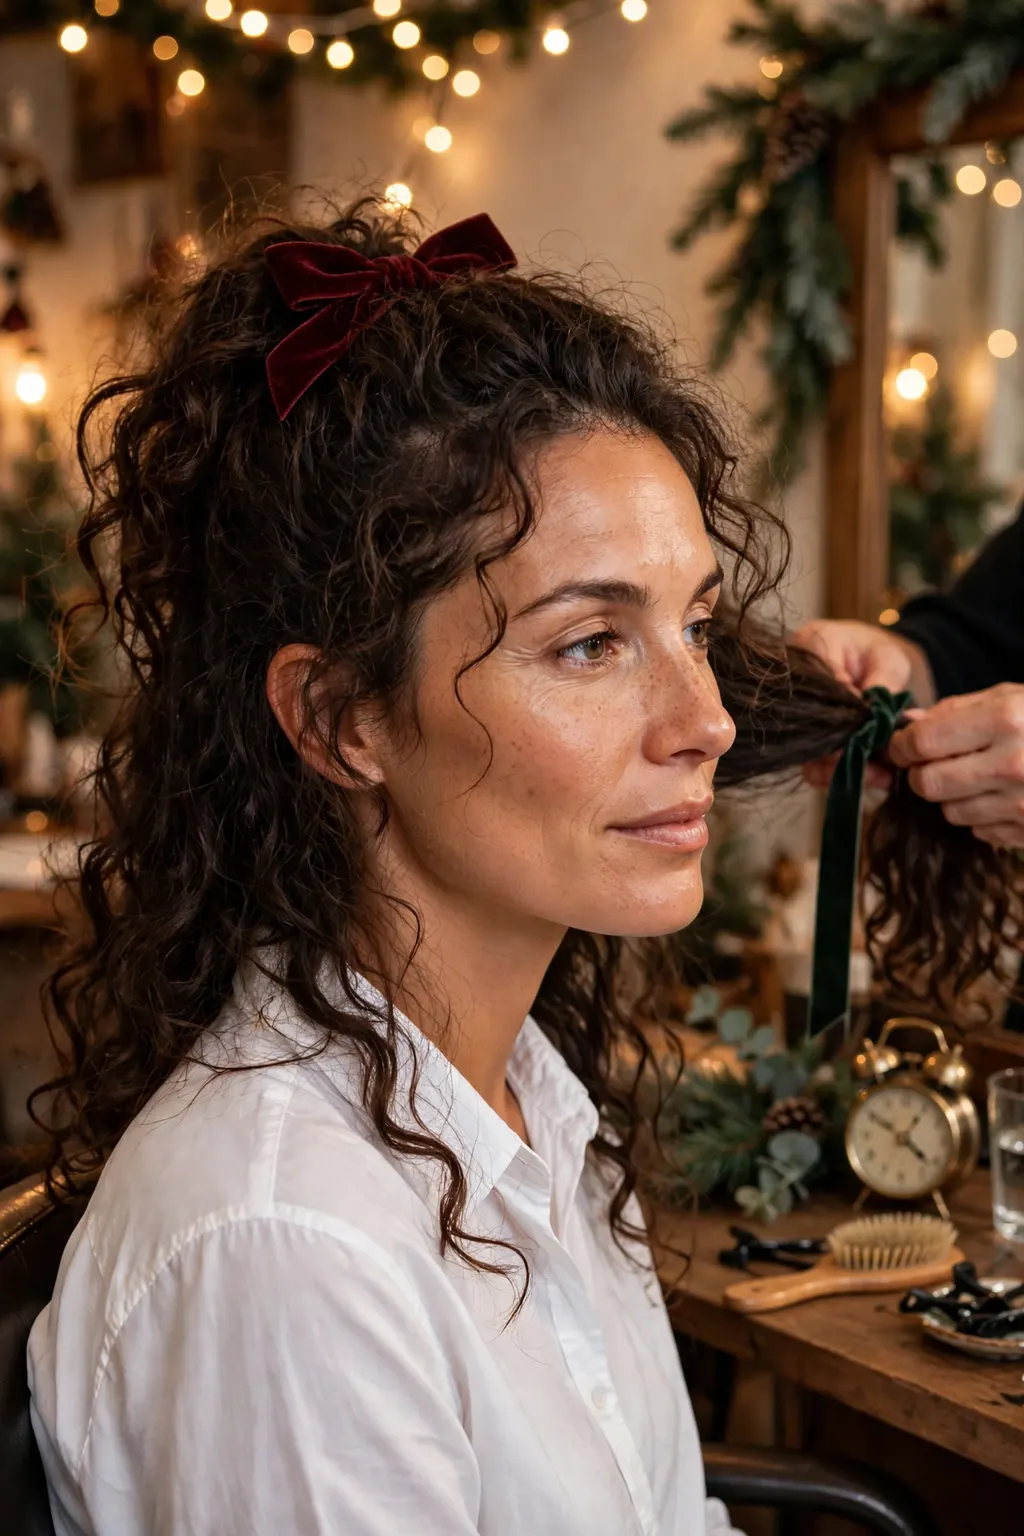
Every style in this guide claims to take fifteen minutes, and the claim is only true if you have done the style once before. The first time you try a ribbon ponytail, it takes twenty minutes: you are learning where the ribbon goes, how tight to tie the elastic, how long to leave the bow ends. The second time, it takes ten. The third time, it takes five, because your hands know the moves. That is the 15-minute rule, and it is the reason this guide insists on a trial run: the night before the party, do the style once, start to finish, with a timer running. Not a mental rehearsal, an actual run — hands in hair, ribbon in hand, mirror in front of you. Time it. If it takes twenty minutes, you have learned the moves, and tomorrow it will take ten. If it takes thirty, you have learned that this is not the style for tomorrow, and you have learned it on a night when there is still time to choose another one.
The trial run also answers the questions you cannot answer by reading: does the bow stay in your hair, or does it slide? Does the ponytail sag after an hour, or does it hold? Does the style survive a coat, a car seat, a hug? Wear the style for an hour after the trial run — cook dinner in it, watch television in it — and check it at the end of the hour. The styles that survive an hour of ordinary life will survive a party; the styles that do not survive an hour of ordinary life will not survive a party either, and it is better to find that out on the trial night than in the party bathroom. The fifteen minutes is not a promise about the first attempt. It is a promise about the second, and the trial run is what buys it.
What it looks like in real life
In real life, the 15-minute rule is the difference between a relaxed party and a stressed one. The woman who has done a trial run walks into the party knowing her hair will hold, because she has already seen it hold for an hour at home. The woman who has not done one spends the first hour of the party checking her hair in every reflective surface, because she does not know whether it will hold and she is waiting to find out. The trial run also changes the morning of the party: instead of a forty-minute hair session with a taxi waiting, it is a ten-minute repeat of a style your hands already know, and the saved thirty minutes are the difference between leaving on time and leaving late. And the photograph difference is real too: a style done calmly, in ten minutes, looks calm. A style done in a rush, in forty minutes, looks rushed — the hair knows, even if nobody else can say why.
Variations worth trying
If fifteen minutes still feels like too much on the night, pick the five-minute version of your style: the ribbon ponytail without the crown volume, the half-up bow without the smoothing, the clip finish without the extra definition at the front. A five-minute version of a good style looks better than a fifteen-minute version of a style you are still learning, because the five-minute version is a style you can do cleanly. If you have more time than fifteen minutes, spend it on the trial run, not on the night itself: a second practice run on the trial night is worth more than ten extra minutes on the party night. And if you are doing someone else’s hair as well as your own — a sister, a daughter, a friend — time that too, on the trial night, and add it to your own fifteen minutes: two heads at fifteen minutes each is thirty minutes, and the taxi will not wait for the second one.
When to skip it
Skip the 15-minute rule — that is, skip the idea that a style can be done in fifteen minutes — if you have never done the style before and the party is in an hour: choose the style you already know instead, even if it is simpler, because a known style done well beats an unknown style done in a rush. Skip a style entirely if the trial run takes more than thirty minutes: it is not a fifteen-minute style for you, whatever the guide says, and the honest move is to pick a different one. Skip the trial run only if the style is the clip finish on curly hair, which is a ten-second style with nothing to learn — every other style in this guide earns its trial run. And skip the idea of timing yourself on the party night: the timer is for the trial night, when there is nothing at stake. On the party night, the only clock that matters is the taxi.
What to ask your stylist: “I need a Christmas party style I can do myself in fifteen minutes, on the night, after one practice run. Can you show me the style once, slowly, and then watch me do it once, so I know I have the moves? I want the version that survives dancing and a coat — not the version that looks best in the salon mirror and falls apart by nine o’clock. Which accessory should I buy, and how wide should the ribbon be for my hair length?” A stylist who teaches you the style is giving you more than a style — they are giving you the party, and the next party too. Ask them to write down the steps, in order, and to tell you the one thing most people get wrong with this style: that one sentence is worth the whole appointment.
Accessories That Stay In: Grip, Placement and Backup Pins
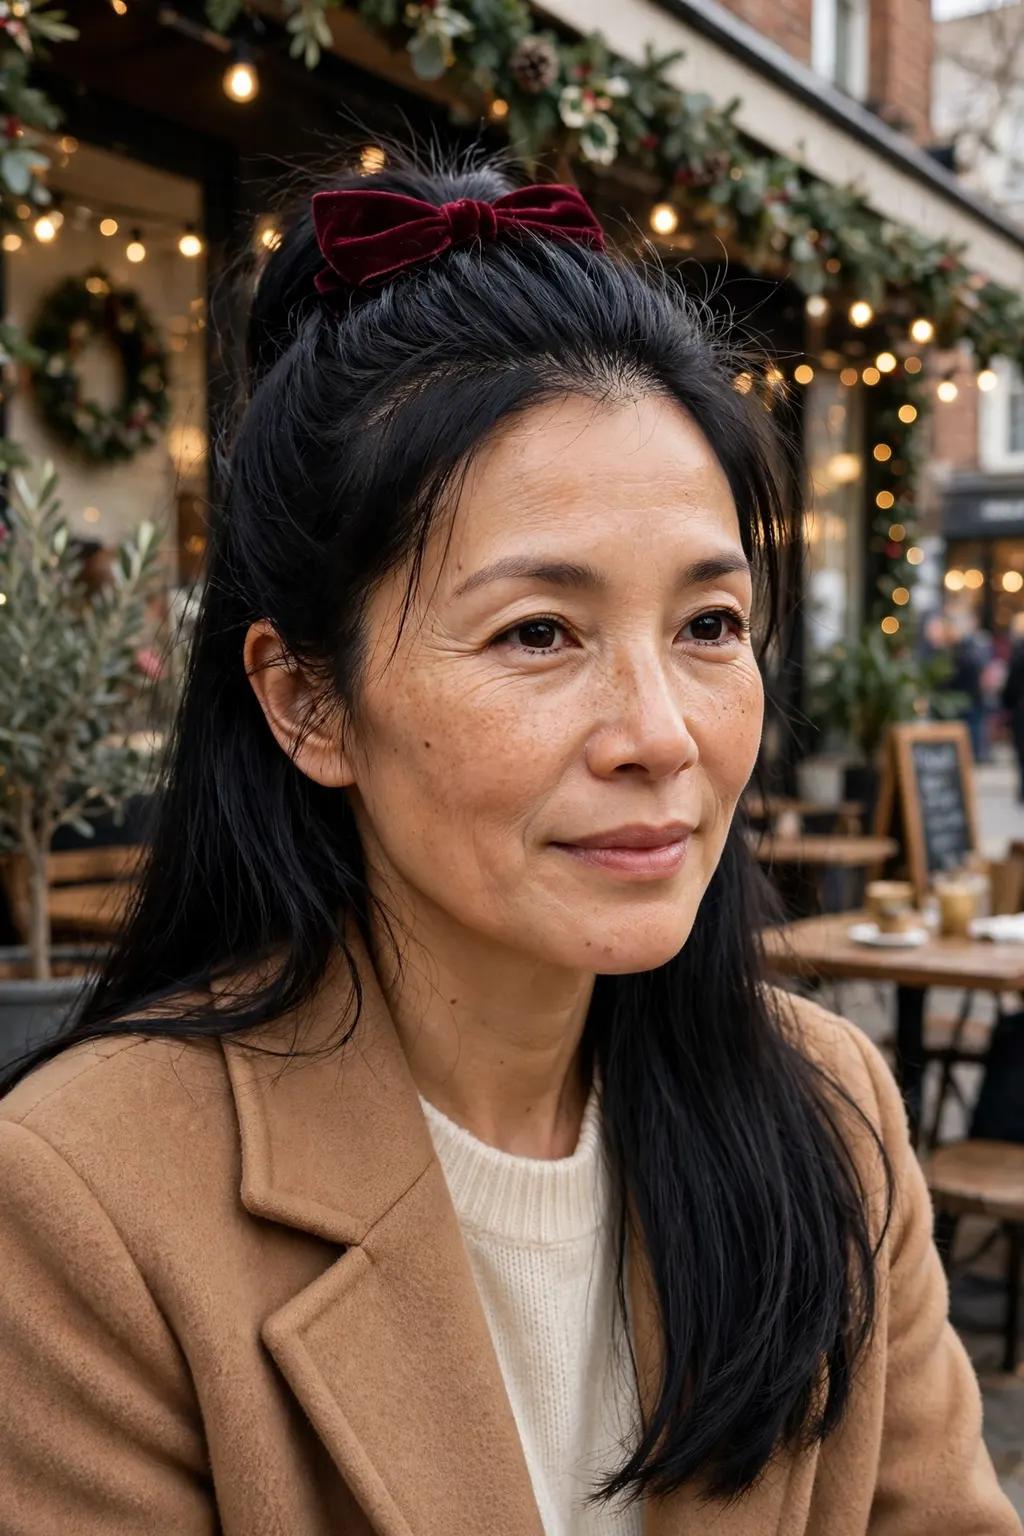
A Christmas party accessory fails in exactly three ways: it slides, it falls out, or it hurts. A bow that slides ends up on one side of the head by nine o’clock. A clip that falls out ends up on the floor of the dance floor. A claw clip that hurts ends up in your bag by eight, and the style goes with it. The fix for all three is the same word: grip. An accessory stays in when it grips the hair, not when it sits on top of it — and grip comes from placement, not from force. A bow pinned through the hair, with a bobby pin pushed through the bow’s knot and into the hair underneath, stays in. A bow clipped onto the surface of the hair, with nothing anchoring it, slides. A clip that grips a section of hair, with the hair folded over the clip’s teeth, stays in. A clip that perches on top of a smooth section slides off the moment the hair moves.
Placement is the second half of grip. A bow placed where the hair is thickest — at the crown, or just above the ear where the hair changes direction — has the most hair to grip, and it stays. A bow placed where the hair is thinnest — at the very front hairline, or on a fine section at the temple — has nothing to hold onto, and it slides. A clip placed against the direction of the hair — pushed in against the grain, so the hair has to bend around it — grips. A clip placed with the grain slides out with the hair. And the backup pin is the third half, the one nobody remembers: one bobby pin, pushed through the accessory and into the hair underneath, in a colour that matches the hair, is the insurance that turns a good placement into a placement that survives the night. Carry two spare pins in your bag, and the accessory is unloseable.
Who it suits best
The grip-first approach suits everyone, but it matters most for the woman with fine, slippery hair — the hair that every accessory slides off, and the hair that most accessory advice ignores, because most advice assumes the hair has grip to start with. It suits the woman who dances, because dancing is the test that separates a pinned accessory from a perched one. It suits the woman with a lot of hair, too, because a heavy accessory on heavy hair needs a real anchor, not a decorative clip — a big velvet bow on thick hair needs a pin through its knot and a second pin at its base, or the weight of the bow will pull it down. And it suits anyone who has ever lost an accessory at a party: the backup pin is the lesson learned, and the lesson is cheap — two pins, in the bag, and the accessory stays where you put it.
How to ask for it (or do it at home)
Say: “I want this bow to stay in all night while I dance. Please pin it through the knot and into the hair underneath, not just clip it on top — and show me where the pin goes, so I can re-pin it myself if it loosens.” At home, the method is: place the accessory where the hair is thickest, push a bobby pin through the accessory’s knot or base and into the hair underneath, then push a second pin in the opposite direction, so the two pins cross and lock each other. Test it: shake your head, bend forward, and jump once — if the accessory moves, add a pin; if it does not move, it will survive the party. The test takes ten seconds and it is worth doing before you leave the house, because the bathroom mirror at the party is a worse place to discover a sliding bow than your own mirror at home. And carry the spares: two bobby pins in the same colour as your hair, in the small pocket of your bag, are the cheapest party insurance there is.
Styling and upkeep
Style around the accessory, not through it: do the hair first, place the accessory last, and do not brush or comb the hair after the accessory is in, because brushing moves the hair the accessory is gripping. The upkeep during the party is a ten-second check: is the bow still flat, is the clip still closed, is the ribbon still tied? If anything has loosened, re-pin it with a spare pin — do not take the accessory out and start again, because starting again means re-doing the hair underneath it, and the hair underneath it has been holding the accessory all evening. At the end of the night, take the accessory out before you brush the hair: a bow pulled through brushed hair tangles, and a clip pulled through brushed hair snags. Remove it, then brush. And store the velvet bow flat, not crumpled in a bag: velvet crushes, and a crushed bow looks tired the next time you wear it. A flat bow, in a drawer, is ready for the next party.
📌 Save this before you buy the bow — grip first, glamour second. One pin through the knot, one pin crossed against it, two spares in your bag. A pinned bow survives the night; a perched bow slides by nine.
Day-to-Night: Office Hair to Party Hair in the Bathroom Mirror
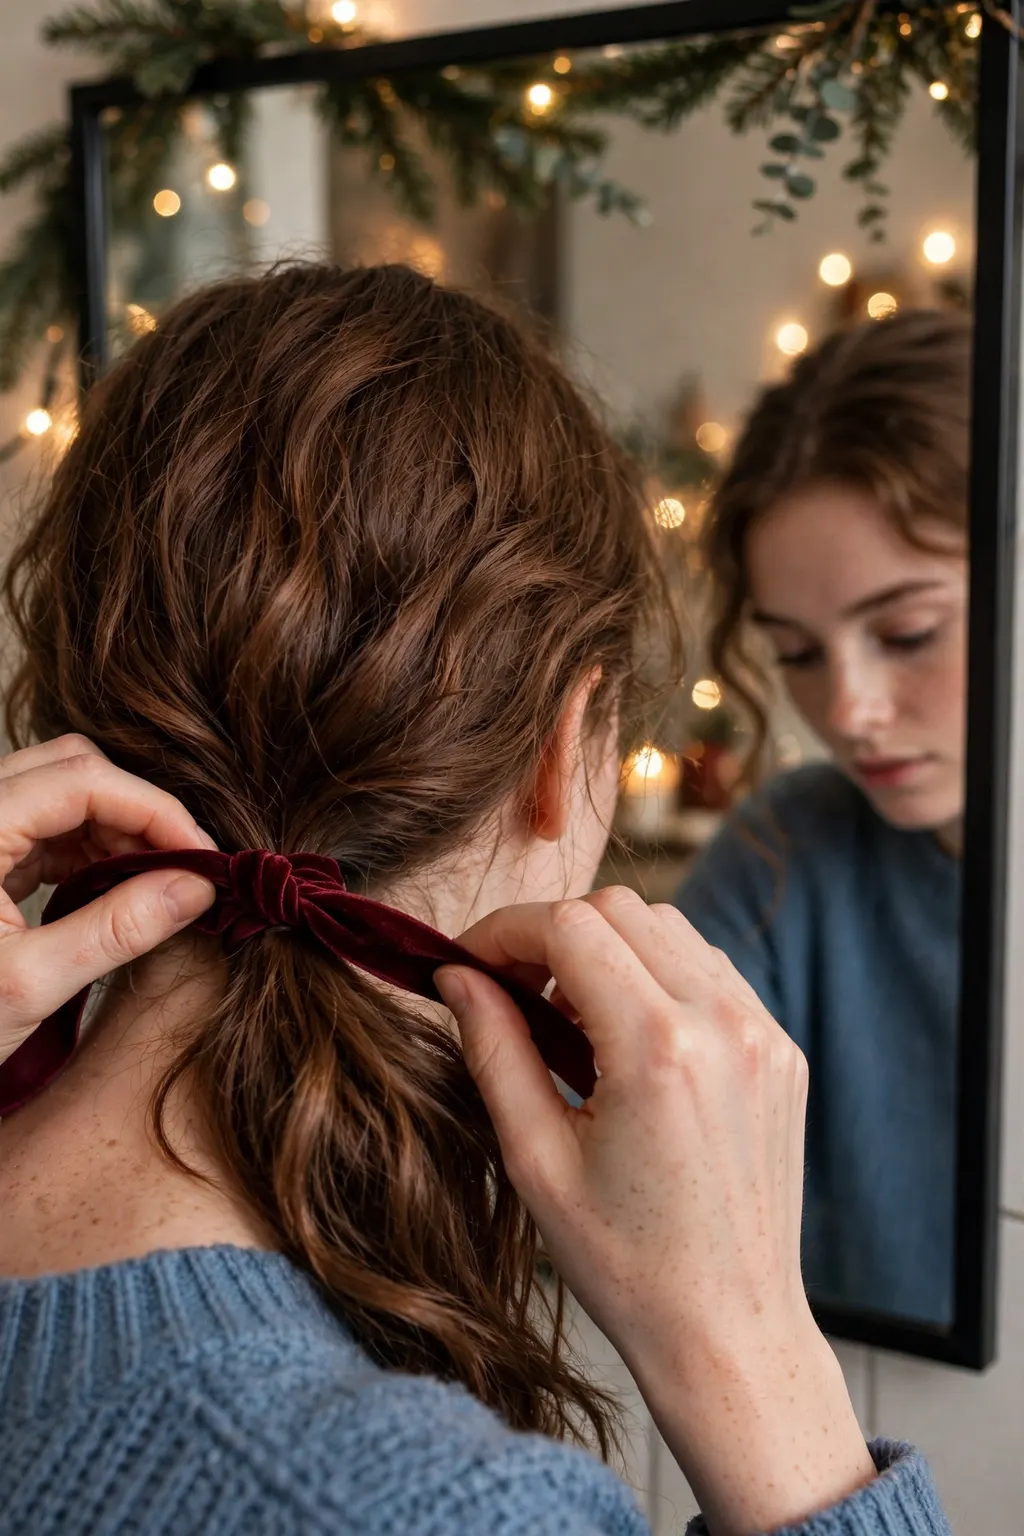
The office Christmas party is the hardest party to dress your hair for, because you arrive as your office self and you have five minutes in a bathroom mirror to become your party self. The hair you wore to work — a neat low ponytail, a tidy bun, hair down and straight — has to become party hair without a wash, without heat, and without a mirror bigger than the one above the sink. The trick is to plan the day hair as the first half of the party hair, not as a separate style. Wear the low ponytail to work, and at party time, loosen it, pull out the front sections, wrap a velvet ribbon around the base and tie a bow: the day style becomes the party style in two minutes, and nobody in the office saw the change happen. Wear the hair down to work, and at party time, gather the top half, secure it with a small elastic, and cover the elastic with a velvet bow: the half-up is the party version of the hair you already had, and it takes ninety seconds.
The bathroom mirror is the constraint that shapes everything about this section. There is no plug for a straightener, no space to lay out tools, and no time to redo anything that goes wrong. So the day-to-night kit is small enough to fit in a handbag: a velvet ribbon, a velvet bow clip, two bobby pins, a small bottle of shine spray, and a pocket mirror for the back of the head. That is the whole kit, and it is enough for every style in this guide. The other constraint is the dress: you are changing into a party dress in the same bathroom, and the hair has to work with the dress, not against it — a high neckline needs the hair up, a bare shoulder needs the hair down on one side, and the style you choose in the mirror should be chosen for the dress you are about to put on, not the office clothes you are about to take off.
The technique, step by step
Step one is the morning decision: choose the day style that converts. A low ponytail converts to a ribbon ponytail. Hair down converts to a half-up bow. A low bun converts to a low knot with a ribbon — loosen the bun, pull out two face-framing pieces, tie the ribbon around the base. Step two is the carry: put the ribbon, the bow clip, the pins and the shine spray in your bag in the morning, so the kit is there when you need it — the most common day-to-night failure is not a bad style, it is a good style whose ribbon is sitting at home on the dressing table. Step three is the bathroom switch, five minutes before the party starts: loosen the day style, add the volume (one minute of backcombing at the crown, hidden under the top layer), place the accessory, and spray. Step four is the back check: hold the pocket mirror up to the bathroom mirror and look at the back of the head — the party is photographed from behind as often as from the front, and the back is the angle you cannot see without the second mirror. Step five is the coat check: put the coat on, take it off, and check the hair again — a coat collar crushes a high style and lifts a low one, and it is better to find that out in the bathroom than in the taxi.
Common mistakes to avoid
The most common mistake is planning a day-to-night style that needs heat — a curling wand, a straightener — and then discovering the bathroom has no plug. The second is choosing a party style that needs both hands and a big mirror, when the bathroom mirror is small and the sink is full of other people’s bags. The third is doing the party hair before changing the dress: the dress change pulls the hair, the necklace catches it, and the style you perfected is disturbed before the party starts — hair last, after the dress, after the jewellery, is the order. The fourth is forgetting the coat: a style that looks perfect in the bathroom and is crushed by a coat collar on the way out is a style that was never tested. And the fifth is the opposite mistake — over-doing it in the bathroom because the mirror is small and you cannot see the whole effect: one accessory, one change, and stop. The bathroom mirror makes everything look smaller than it is, and the woman who adds a second bow because the first one “didn’t look like enough” in a small mirror is the woman who arrives at the party wearing two bows.
Products and tools that help
You need five things, and they all fit in a handbag. A velvet ribbon is the first — an inch wide, long enough to wrap twice and tie a bow. A velvet bow clip is the second — a clip, not a loose bow, because a clip can be placed one-handed in a small mirror, and a loose bow cannot. Two bobby pins are the third, in the colour of your hair, for the grip that the clip alone does not give. A small bottle of shine spray is the fourth, for the finish — a light mist over the whole style once it is placed, never a heavy spray, which would make the hair stiff in the warm party room. And a pocket mirror is the fifth, for the back of the head — the one tool that turns a bathroom switch from a guess into a checked style. Everything else stays at home: the straightener, the curling wand, the big brush, the full-size spray — they belong to the morning, not to the bathroom mirror.
Photo-Ready Finishing: Shine Without Glitter Fallout
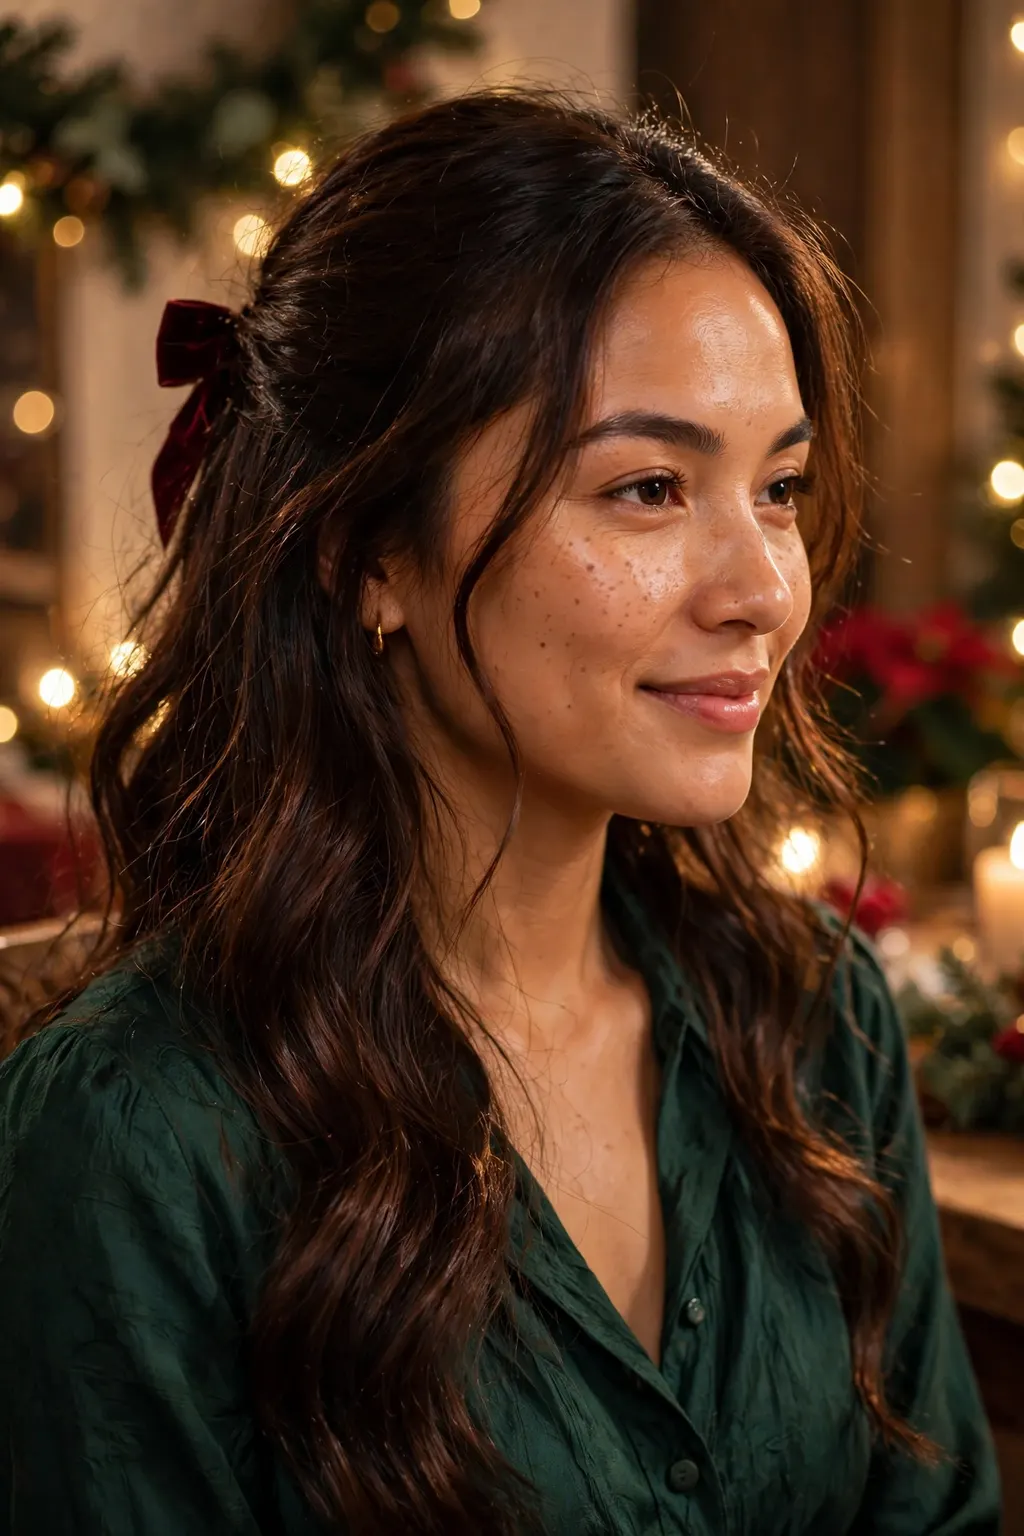
Christmas party photographs are taken in the worst light for hair: warm yellow party lighting, a camera flash, and a background of fairy lights that the camera wants to focus on instead of you. In that light, shine reads as health and glitter reads as mess — and the difference between them is the finish you choose. Shine comes from smooth hair reflecting light evenly: a light oil on the ends, a gloss spray over the whole style, or a smoothing cream on the top layer. It photographs as a clean, bright surface, and it looks good in every light, including the harsh flash. Glitter comes from particles sitting on the hair, and it photographs as specks — on the hair, on the face, on the shoulders, on the dress — because the flash catches every particle and the camera records every one of them. A little glitter on the hair is festive in person and fallout in a photograph, and the fallout is what you will see when you look at the pictures the next day.
The rule is simple: shine, not glitter. If you want sparkle, put it in the accessory — a jewelled clip, a gold claw clip, a bow with a metallic thread — where the sparkle is contained in one object and the camera reads it as a deliberate detail. If you want the hair itself to look festive, give it shine: a drop of light oil, warmed between the palms and smoothed over the ends only, never the roots (oil on the roots photographs as grease); a gloss spray, held at arm’s length and misted once over the whole style; or a smoothing cream on the top layer, applied before the style is finished. The finish should be applied last, after the accessory is placed, because the accessory needs grip and shine products reduce grip — oil on the section where the bow sits is the reason a bow slides, and the reason to keep the shine to the ends and the lengths, away from the anchor points.
Best for: hair types and face shapes
The shine finish suits every hair type, because every hair type photographs better with a smooth, light-reflecting surface — but it suits dull, winter-tired hair best of all, because winter hair is dry hair, and dry hair scatters light instead of reflecting it, which is why it photographs as flat. It suits every face shape, because the shine is on the lengths, not on the face — the face-framing pieces get the lightest touch, so they do not look greasy in a close-up. It suits the woman whose party photographs matter to her — the work party where the photos go on the company page, the family party where the photos go to relatives — because the finish is the difference between a photograph you keep and a photograph you delete. And it suits anyone wearing a dark dress: dark hair against a dark dress needs shine to separate the two, or the hair disappears into the dress in the photograph, and the style you spent fifteen minutes on becomes invisible.
The exact salon wording
Say: “I want a photo-ready shine finish for a Christmas party — not glitter, shine. A light oil on the ends and a gloss spray over the whole style, applied after the accessory is placed, so the bow still grips. My hair is [dry / fine / thick], and the photographs will be taken in warm party light with a flash — what product will give me shine without looking greasy in a flash photograph?” The words “not glitter, shine” are the whole brief, and they tell the stylist that you have thought about the photographs, not just the mirror. Ask them to show you the finish in the salon’s harshest light, not its softest — the soft light flatters everything, and the harsh light is the one the party camera will use. And ask how much product to use at home: the answer is almost always less than you think, and the stylist who tells you “one drop, warmed between the palms” is the stylist who understands that shine is a finish, not a treatment.
Maintenance schedule
The maintenance for a shine finish is nothing during the party and everything before it: the finish is applied once, at the end of the styling, and it does not need re-applying — re-applying oil during the party is how hair goes from shiny to greasy, and re-applying spray is how it goes from flexible to stiff. What the finish does need is the right base: the hair should be clean enough to reflect light, but not so clean that it is slippery — day-old hair with a little dry shampoo at the roots, and shine on the lengths, is the combination that photographs best. Between now and the party, the maintenance is the wash routine: one deep-conditioning treatment the week before, to give the hair the moisture it needs to reflect light, and no clarifying shampoo in the three days before the party, because clarifying strips the natural oils that give hair its shine. And on the night, the only maintenance is a pocket mirror check: if the shine has gone flat in the warm room, a single drop of oil on the ends, smoothed with the palms, brings it back — one drop, not two.
Frequently Asked Questions
What is an easy Christmas party hairstyle for short hair?
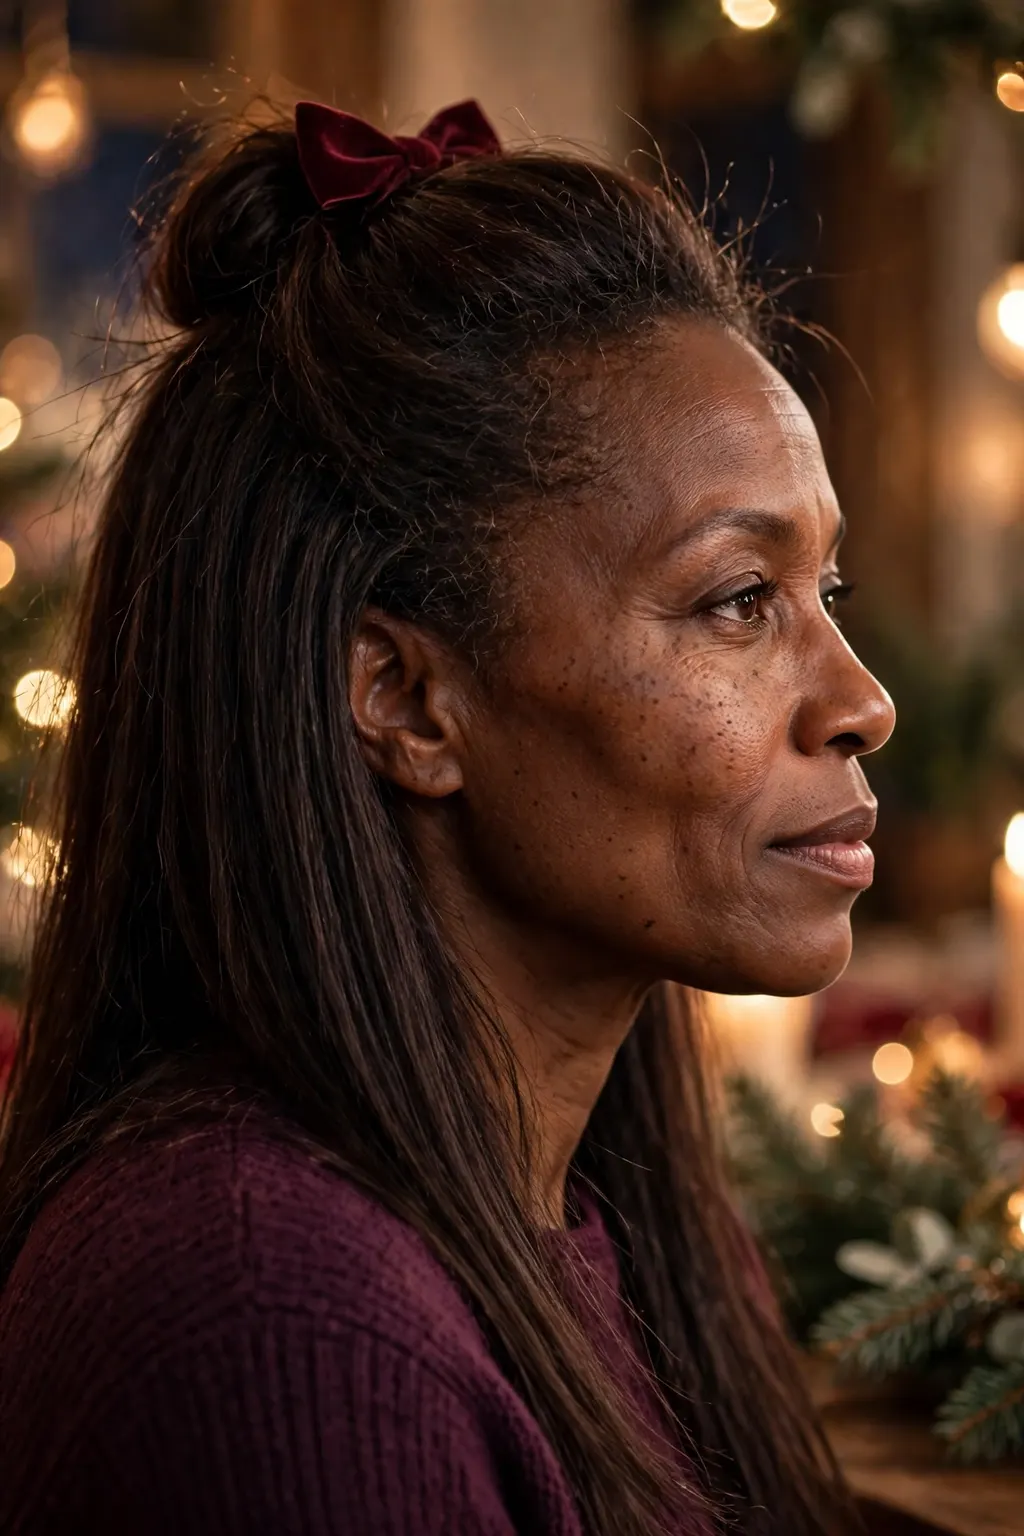
A sleek tuck with one big velvet bow. Tuck one side behind the ear, smooth the other side flat with a little cream, and place a single oversized velvet bow — black, deep green or burgundy — just above one ear or at the back of the crown. It takes ten seconds to place, needs no heat and no product beyond the cream, and it is the whole look: one strong choice, nothing competing with it. Finger waves are the formal alternative, but they need a practice run first — do not try them for the first time on the night of the party.
How do you keep a velvet bow in fine hair?
Grip, not force. Place the bow where the hair is thickest — at the crown, or just above the ear where the hair changes direction — and pin it through the knot and into the hair underneath with a bobby pin, then cross a second pin against the first so the two lock each other. Backcomb the crown section once, lightly, before you place the bow: the bow hides the backcombing, and the height gives the bow something to sit on. Keep shine products away from the anchor point, because oil under a bow is the reason it slides, and carry two spare pins in your bag.
What party hairstyle takes under 15 minutes?
All of them in this guide, once you have done each one once — but the fastest is the ribbon ponytail at shoulder length: gather the hair into a ponytail at the crown, secure it with a strong elastic, wrap a velvet ribbon around the base twice and tie it in a bow with long ends. Five minutes, no heat, and it survives dancing and a mid-evening re-tie in thirty seconds. The rule behind the timing is the trial run: do the style once the night before with a timer running, and the party-night version will take half as long as the first attempt.
Conclusion: Christmas Party Hairstyles by Hair Length — Your Next Step
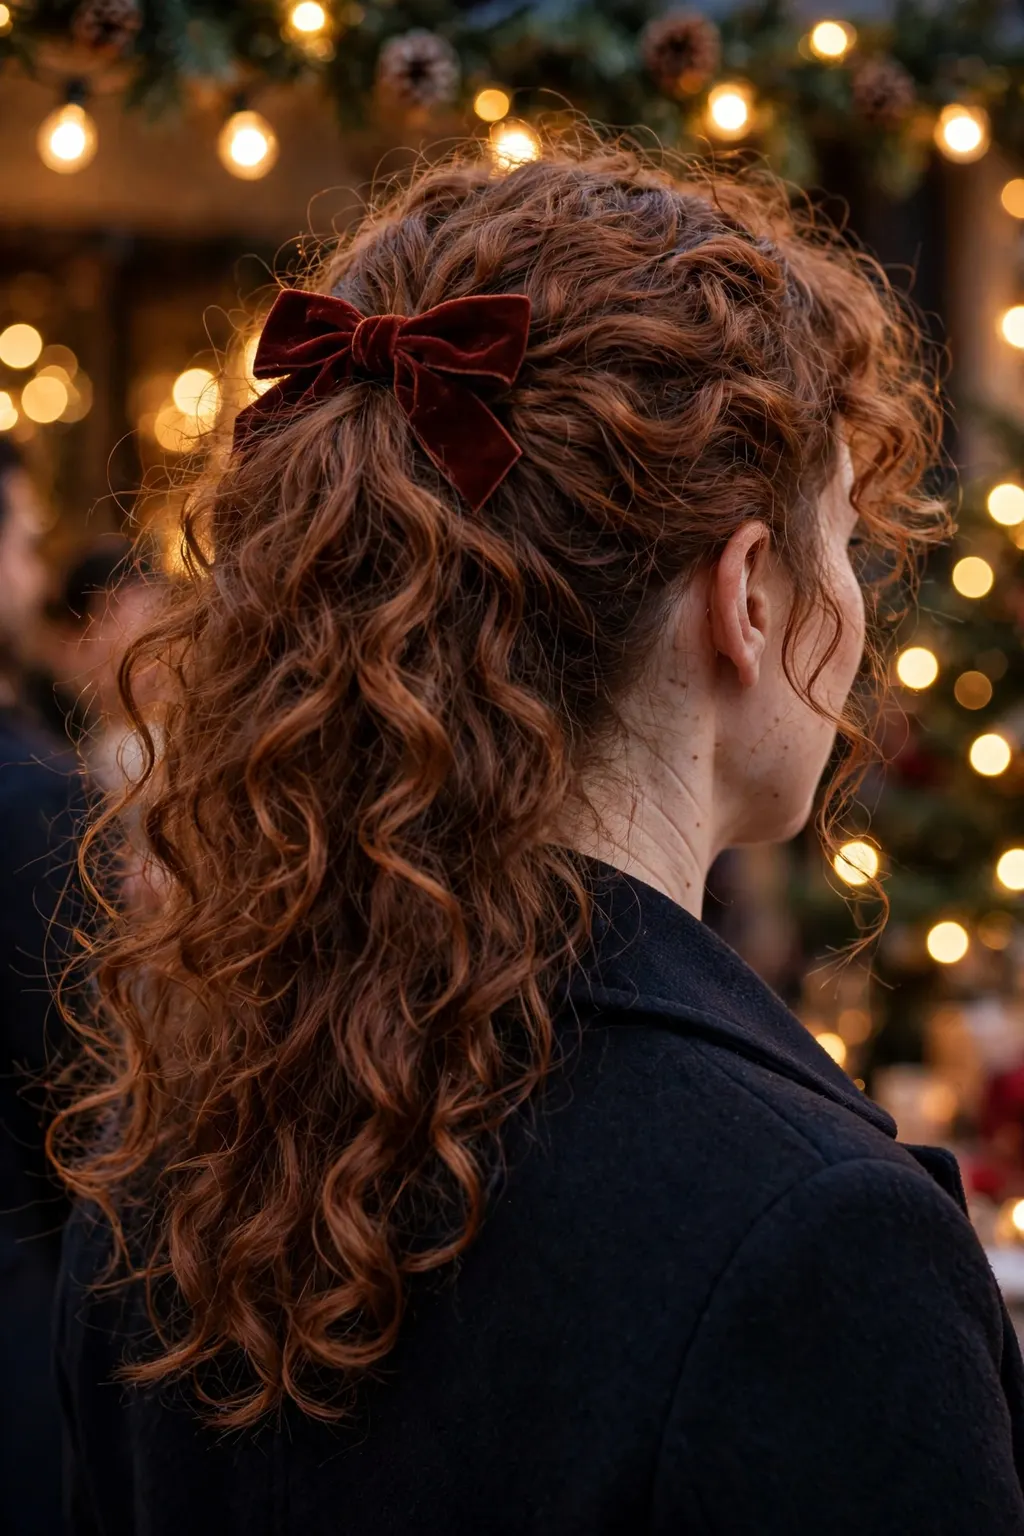
Christmas party hair is a length question before it is a style question, and now you have the answer for your length. Short hair: one big velvet bow, one sleek tuck, nothing else competing. Shoulder hair: a ribbon ponytail or a half-up velvet bow, five minutes, and a re-tie that takes thirty seconds. Long hair: a low knot or a loose braid, kept low so gravity works with it, with a velvet ribbon an inch wide. Curly hair: your own wash-day definition, one festive clip pinning back a single section, and the rest left alone. Underneath all four is the same timing rule — do the style once the night before, with a timer, and the party-night version will take half as long — and the same grip rule: pin the accessory through the hair, not onto it, and carry two spare pins.
Start with the smallest step that tells you the most: tonight, pick your length, pick one accessory, and do the style once, start to finish, with a timer running. If it takes twenty minutes, you have learned the moves, and tomorrow it will take ten. If the bow slides, you have learned where it needs a pin, and you have learned it on a night when there is still time to fix it. Then, on the party night, do the style after the dress is on, check the back with a pocket mirror, and finish with shine — one drop of oil on the ends, one mist of gloss spray, never glitter on the hair. The photographs will show a style that looks deliberate, because it was: chosen for your length, timed, tested, pinned, and finished. That is the whole guide, in one evening, and it is the evening the photographs will remember.
📌 Save this before the party — pick your length, pick one accessory, do a trial run the night before. One bow, pinned through the knot, shine on the ends only, and hair last, after the dress.